This is part four of the USB MultiComms project, you can view parts one, two and three from the links below:
USB MultiComms Part One - USB Board
USB MultiComms Part Two - RS232 Board
USB MultiComms Part Three - UART Board
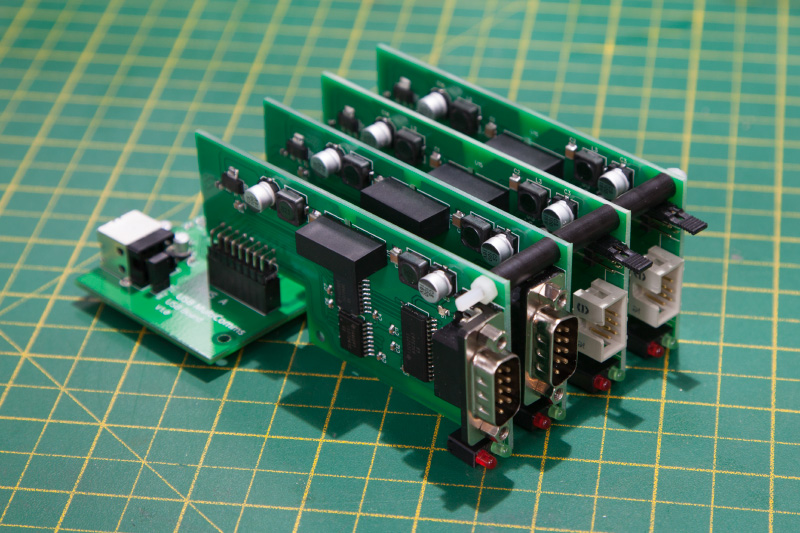
With the main board and the four daughter boards built for the USB Multicomms project, the next stage was to fit it all inside an enclosure. Often when designing projects, we will design and build the PCB and then try and find an enclosure to fit the board, this works most of the time but you often end up hunting for a box that is the correct size or making one out of plastic or aluminium.
For this project, we decided to find a suitable enclosure first and then design the PCBs to fit that enclosure. The space on the workbench where the test equipment sits is fairly limited and there was only a gap about 120mm wide to fit the new project into so we had to find a box smaller than that width.
After looking around at what is available we ended up choosing a box from Hammond Manufacturing model number 1455N1202. This is an aluminium extruded enclosure with plastic end caps. We decided to use this enclosure for a couple of reasons, first, the aluminium sides would act as a heatsink for the 7805 linear regulators that we are using on the main board and secondly, the plastic ends would insulate the daughter boards from the case and keep them isolated from each other.


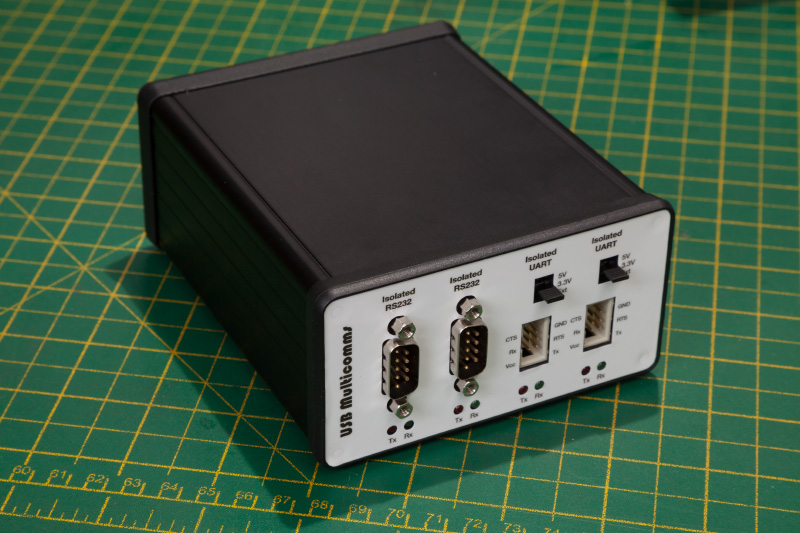
The first job with the new enclosure was to design the front and back panels. These would need to have cut-outs for the various connectors and then be labelled so we would remember what each connector does. We started by getting the measurements for the box and all of the connectors from their datasheets and then mocked up a panel layout in Adobe Illustrator. The daughter boards were spaced 20mm apart so once we had the measurements for one board it was easy to replicate this for the next board by copying the shapes and shifting them 20mm across.
Once the layouts were complete we printed them out on paper and cut out the holes to check that everything was aligned correctly. After checking it all fitted together we created a cut path for our milling machine and then cut out the holes in each end panel.
To add labels to the panels we designed the two panels with all of the text and then paid a visit to our local friendly sign writer Sign Images, who printed and cut out the labels on white sticky-backed vinyl. Hopefully, this should last longer than our usual method of printing onto self-adhesive labels.
With the end panels complete the next stage was to create some spacers to hold the daughter boards apart. As the boards need to be isolated from each other we decided to use some nylon threaded rods and plastic spacers to bolt the four boards together.
The enclosure and its contents were then assembled, a hole was drilled into the base and the 7805 was bolted down with some heat transfer paste then everything was slotted into the enclosure and the ends screwed on. Four rubber feet finished the unit and it was plugged into the PC ready for use.
We do plan on building a second unit at a later date with daughter boards for I2C, SPI, JTAG and RS485 but there are a few other projects that need to be completed first.


PCB design files for this project can be downloaded from https://github.com/briandorey/USB-MultiComms
Comments