This is part three of the USB MultiComms project, you can view parts one and two from the links below:
USB MultiComms Part One - USB Board
USB MultiComms Part Two - RS232 Board
With the main controller board and the RS232 board built the next stage was to design the isolated UART interface. UART (universal asynchronous receiver/transmitter) is a common communications system found on microcontrollers and a wide range of interface devices. It works in a similar way to RS232 with separate RX and TX lines and on some devices RTS and CTS as well. Unlike RS232 UART works at common logic voltages such as 5V or 3.3V and is normally used over relatively short distances either connecting to devices on the same PCB or nearby. UART is commonly used in conjunction with other communication standards such as RS232 or RS485 where the UART bus connects the microcontroller to the RS232 transceiver.
For the USB Multicomms project, we wanted a UART daughter board that would be isolated from the PC. The board would also need to supply common voltage levels to the isolated side of the circuit so an isolated power supply would be needed. Some form of overcurrent protection on the power supply would also be useful so accidentally shorting the power pin to ground will not kill the daughter board.


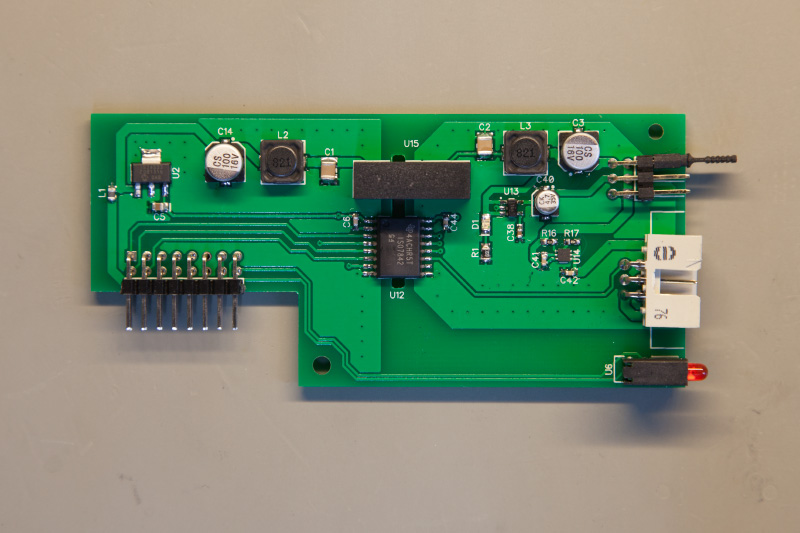
The overall design for the UART daughter board is similar to the RS232 board but with a few additions. On the PC-connected side of the board, we used the same 3.3V regulator which powers the digital isolator. As UART only needs four lines, RX, TX, RTS and CTS we used a single ISO7842 digital isolator from Texas Instruments which has two inputs and two outputs on each side of the isolator. The digital lines on the isolated side are routed directly into a six-pin IDC socket. We decided to use an IDC socket as it is smaller than a DB-9 connector and we needed some extra space for the power supply voltage selection header.
For the power supply, we used the same TMA0505S isolated switch mode supply with an LC filter on each side to reduce noise. As UART comes in a range of voltages we added a 3.3V linear regulator on the isolated side and used a header with a selection jumper so you can switch between 5V, 3.3V or an external power supply. We added the option for an external supply as some devices such as FPGAs use lower voltages and some of the devices that we will be connecting to already have their own power supply so the UART isolator can be powered directly from the device it is connecting to.
The TMA0505S can supply up to 200mA so we needed some form of overcurrent protection to stop it from releasing the magic smoke if the power pins are shorted. We chose a TPS25200 eFuse from Texas Instruments as it has an adjustable current limit which can be set using a pair of resistors. We chose a limit of 150mA as we didn’t want the power supply to get too close to its limits.
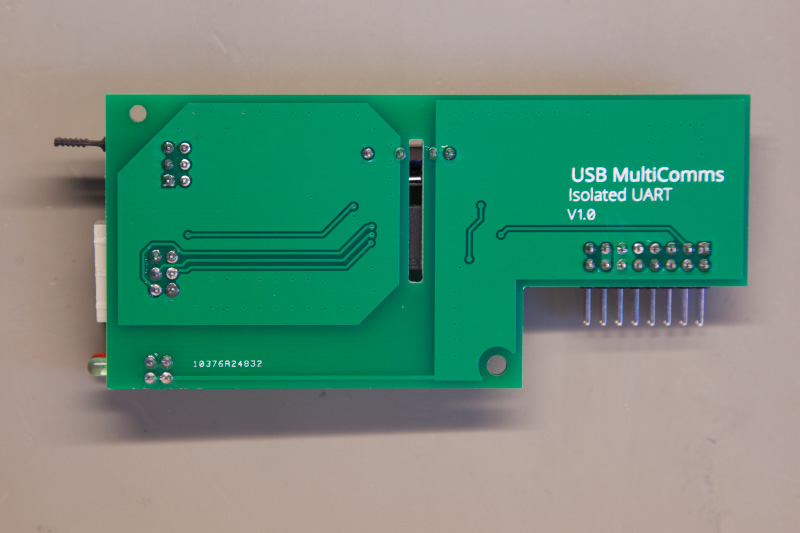
The PCB was laid out in a similar way to the RS232 board with the two headers at the front alongside a pair of LEDs which flash when data is being sent down the RX and TX lines.
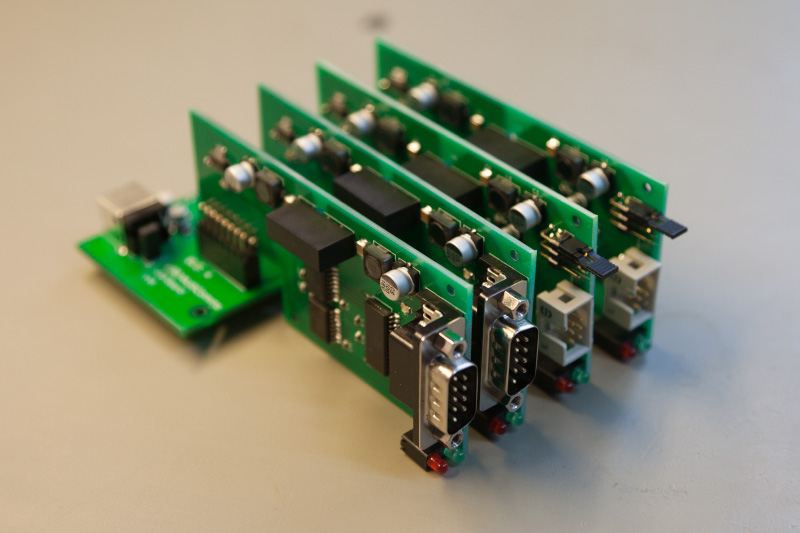
Two UART boards were built which it alongside the two RS232 boards to fill all of the available busses on the mainboard. The next step will be to put the boards into a case and design the front and back panels.
PCB design files for this project can be downloaded from https://github.com/briandorey/USB-MultiComms
Comments