
This is part two of the USB MultiComms project, you can view part one where we built the controller board at USB MultiComms Part One - USB Board
In part one of this USB MultiComms, I detailed the design and construction of the main USB board that acts as an interface between the PC and different daughter boards. With the main board complete the next stage was to design an RS-232 daughter board.
RS-232 is a popular serial communications protocol that has been used to connect computers to other data equipment for over 40 years. It has been superseded by USB for modern computer peripherals but it is still used for some consumer and industrial equipment. We use RS-232 for several different projects, one of which is testing the Serial Pi Plus boards that we sell for the Raspberry Pi. We also like to play with old computers and peripherals that use the RS-232 standard.
The RS-232 originally specified a 25-pin D-type connector but most personal computers and peripherals adopted several other connector types instead, the most popular being the 9-pin D-type. For our interface, we decided to use the 9-pin standard mainly because it is smaller and most of the equipment we want to connect to uses the 9-pin D-type connector.
The 9-pin D-type RS-232 standard consists of 8 signal lines and one ground line.
| DE-9 Pin | Signal Name | Dir | Description |
| 1 | DCD | Data Carrier Detect | |
| 2 | RXD | Receive Data | |
| 3 | TXD | Transmit Data | |
| 4 | DTR | Data Terminal Ready | |
| 5 | GND | System Ground | |
| 6 | DSR | Data Set Ready | |
| 7 | RTS | Request to Send | |
| 8 | CTS | Clear to Send | |
| 9 | RI | Ring Indicator |
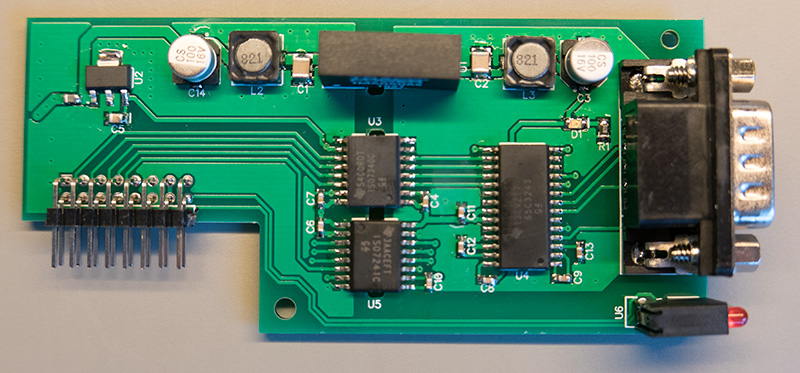
Most modern RS-232 equipment only uses the RXD, TXD, CTS, and RTS signal lines but some older equipment such as modems use all of the signal lines so we decided that our interface board would implement the full 9-pin RS-232 standard. This presented a bit of a problem as most of the isolated RS-232 interface ICs only support two or four signal lines and we could not find a chip which supported all 8 lines. We considered several different options for the design and finally decided that we would use two digital isolators to isolate the signals and ground from the computer and then use a normal UART to RS-232 converter IC to change the voltage levels from 5V to the +-15V used on RS-232. As would be using a three-chip solution this meant that we would also need an isolated power supply to provide power to the isolated side of these three chips.
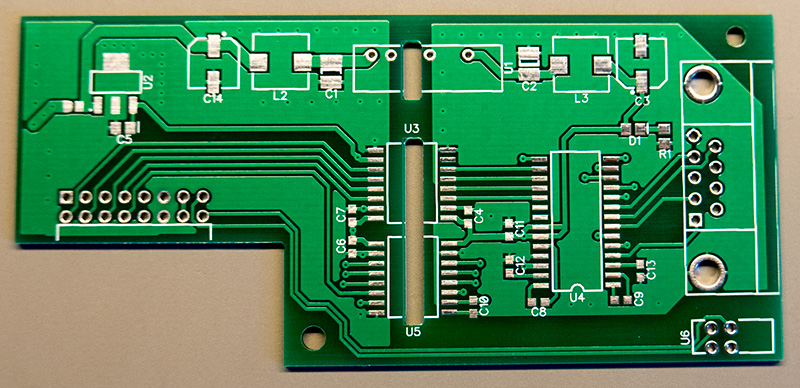
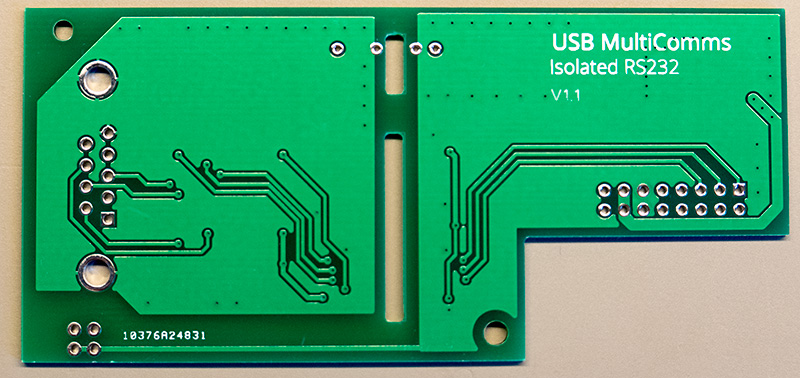
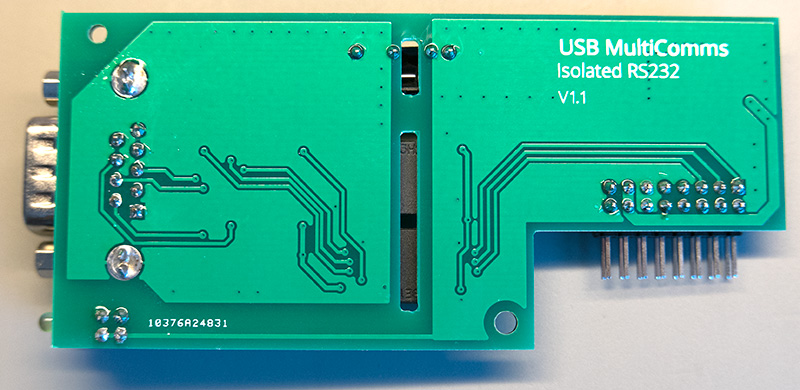
We found a TMA0505S 1W isolated DC-DC converter from Traco Power that would be suitable for powering the RS232 converter and the digital isolators. All three chips only use a few milliamps so 1W would be more than enough to power the circuit. After designing a prototype using this DC-DC converter we found that the voltage fluctuated when there was very little load and there was a large amount of noise on both the input and output power lines so for the final design we decided to add a low pass LC filter to both sides of the power supply to limit the noise and an LED on the isolated side to provide a constant 10mA current draw which would keep the power supply stable.
For the digital isolators, we needed 5 signal lines going towards the PC and 3 going towards the RS-232 port. We could not find any digital isolators that supported that number of lines so we opted for a two-chip solution using the ISO7840 and ISO7241 from Texas Instruments.
For the RS-232 converter, we used an SN65C3243 also from Texas Instruments. This converter supports the full 9-pin RS-232 specification and also has ±15 kV ESD protection.
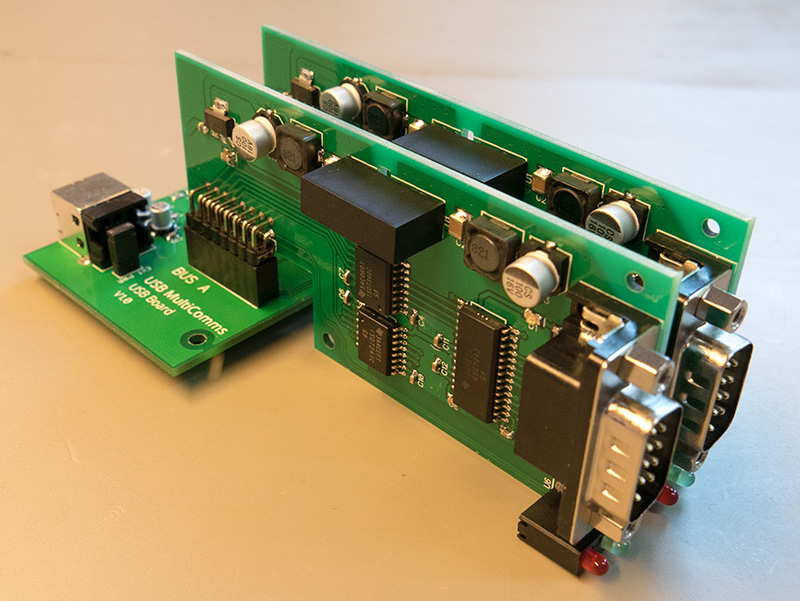
When we started work designing the USB MultiComms project we came up with a board template for the daughter boards that would allow them to fit within an extruded aluminium enclosure with plastic ends while keeping the isolated side far enough away from the aluminium parts to make it safe. The daughter boards sit vertically inside the case so four can be stacked side by side. Plastic mounting posts will be machined to hold the daughterboard securely to the sides and front of the case. Two LEDs are fitted to the front end of the board to show when data is being transmitted or received. For the RS-232 board, we added slots in the PCB between the two sides of the digital isolators and the DC-DC converter to reduce the risk of arcing between the isolated and non-isolated sides.
We built two RS-232 boards for our first USB MultiComms unit, the other two slots will be used for UART boards which will be covered in a later blog post. After building the boards we tested them by linking the two boards together with a null modem cable. Data was sent between the boards at a variety of data rates up to 1Mbs and the boards worked perfectly.
PCB design files for this project can be downloaded from https://github.com/briandorey/USB-MultiComms
liana
thanks for info