Sorry for the lack of new blog posts in the last couple of months but we have been very busy with the slate roof on our home being replaced and the work involved with refurbishing the roof and associated outside lead work, painting and the inside workshop/storage space updates plus several website redesigns for clients.
Our home has a slate roof which still had the original slates from when the house was built in 1904 and after 112 years we finally got around to having the slates replaced. Several of the slates had moved due to the nails rusting off and the old cast iron windows let in a lot of cold air in the winter so we felt it was a good time to have everything upgraded to keep us warm in winter and cool in summer. We had been putting off having the work done due to the cost involved but after saving for a few years we got quotes from local builders and went ahead with the work.
With the loft workshop expected to be out of action for around 4-6 weeks, we spent a lot of time building stock for our AB Electronics UK store, building several hundred of each of our boards to hopefully keep us in stock over the building work period.
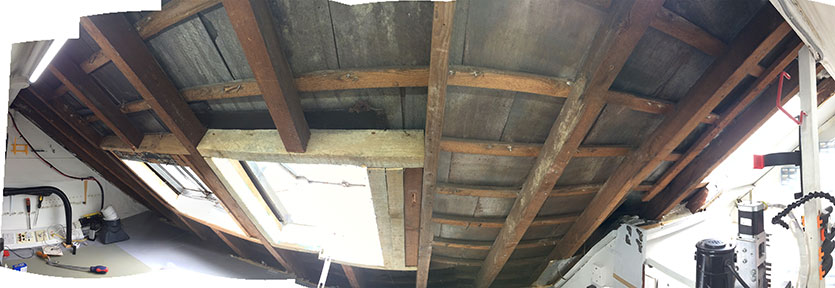
The inside of the loft had a layer of the fibre-based board which was very messy to remove and broke into a lot of small chunks. Once the fibre board had been removed we cleaned up the years of old slate dust from the original wooden roof rafters as you can see in the photo above.
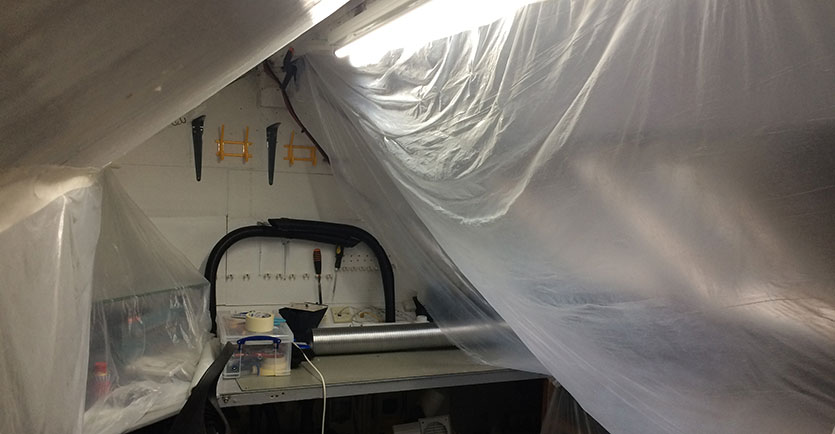
Most of the test equipment was stored in boxes in Andrew's and my bedrooms and in any spare space in the house. All the larger equipment which would not fit down through the loft's access hatch was covered in plastic dust sheet material and hopefully will keep the worst of the dusk and mess off the equipment.
The plastic dust sheets were installed before the old slates were removed from the roof.
The work was due to start in the first week of June 2016 but was initially delayed by a week due to delays in getting the scaffolding erected. The builders started working the following week but lost several days due to bad weather with most of the slates off the main roof we had a very bad rain storm overnight and the temporary plastic sheeting the builders had secured to the roof came to loose with the strong winds and we found water coming indoors! Myself and Andrew had to go onto the very wet and windy roof at 11 pm at night to try to secure the plastic sheeting down and stop the rain from coming in.
The original roof rafters did not have any insulation between them and we only had fibreglass-type loft insulation on the rafters below and so we decided to have foil-backed foam insulation installed between the roof rafters when the old slates had been removed.
The roof did not have any secondary waterproof protection which is standard on modern housing and so the builders installed a breathable membrane under the new slates which will also act as an extra insulation layer keeping an air gap between the new slates and the new insulation foam whilst still allowing a small amount of airflow to stop the roof space from getting damp.
A waterproof breathable membrane was installed with the old window frames on the left of the photo.
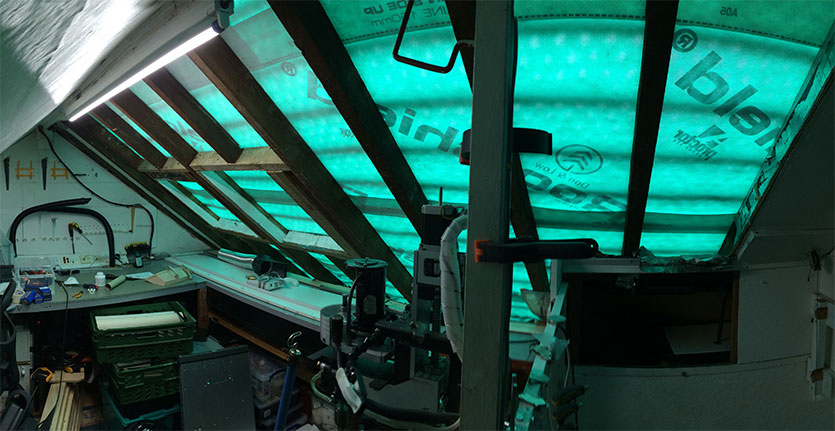
The new double-glazed windows are slightly smaller than the old cast iron framed windows and we felt that it would be better if the windows are more evenly spaced across the room as the old windows were installed next to each other and so we had to remove the old frames and add additional support to the wooden rafters to both support the new windows and also to fill in the gap where the middle window was located.
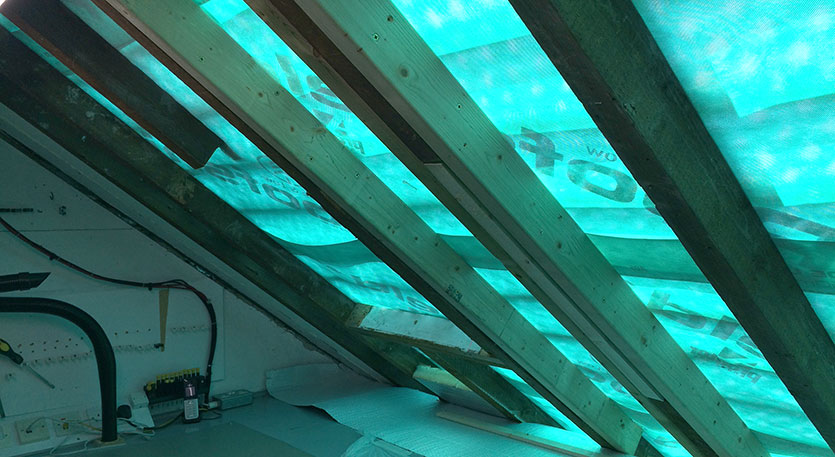
The original timber rafters which would have been 4” x 2” varied in width and depth by over 30mm from one side of the roof to the other and modern timber was available only in metric sizes and so we had to use 95mm x 45mm joists to repair and create the new frame spaces. The inside of the shorter rafters had to have additional wood strips added to make the installation of the final wood panels easier and straighter.
Old window frames were removed and new timber joists were installed to straighten the old rafters.
The photo below shows the slates installed across the bathroom roof space and halfway up across the bedroom and the space left at the top ready to create the holes again for the window installations.
Slates were installed on half the roof.
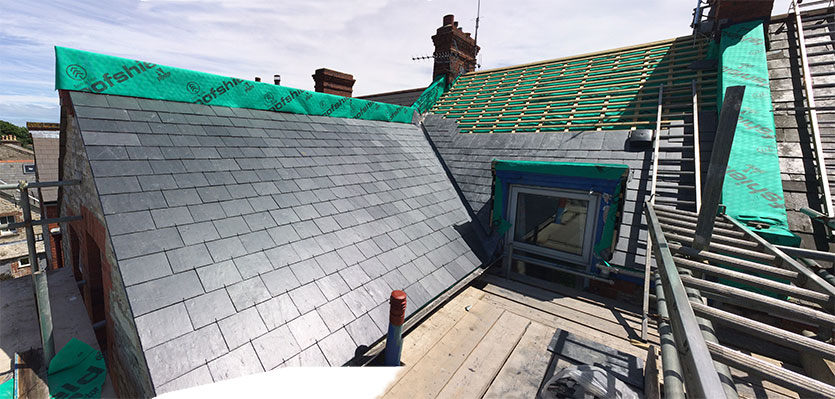
Lead work on the dormer window on the bedroom.
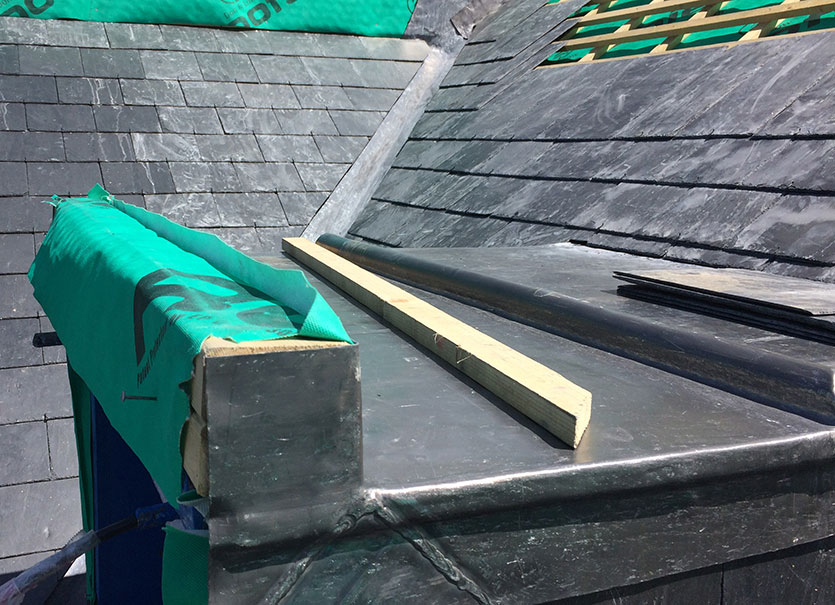
The builders created new frames inside the roof and the new windows were installed with extra timber bracing added to support the new frames.
The new windows weigh a lot less than the old ones which had been on the roof for over 40 years with only the single timber rafters to hold them and so the new installation with the double and triple rafters should be very strong and stable.
The new windows are installed and ready to start adding insulation.
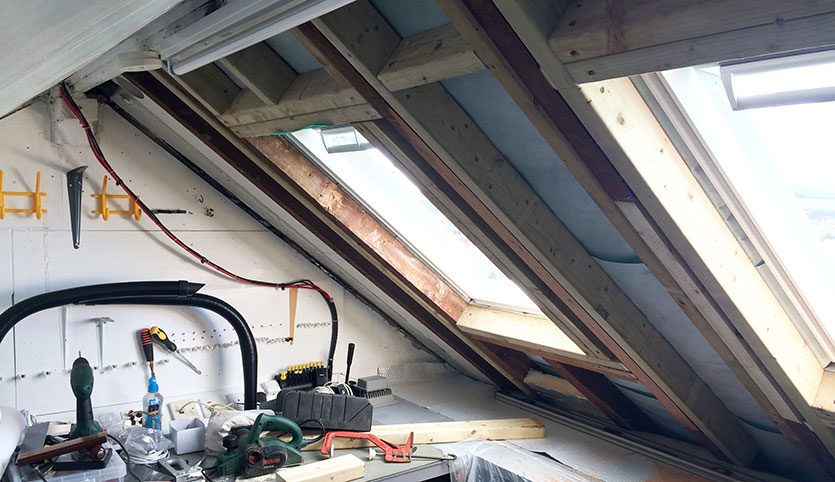
With the windows installed we could start work on the inside of the loft space we started by adding the 50mm foil-backed foam insulation between all the rafters and this was then covered with a layer of foil-backed bubble wrap style insulation.
Once this was installed we started to fit the tongue and groove panelling which came in 8x94x3000mm panels from Wickes and we used 30mm screws to secure this to the rafters and the new timbers.
Foam insulation is installed and ready for the inner layer of foil back bubble insulation to go behind the wood cladding.
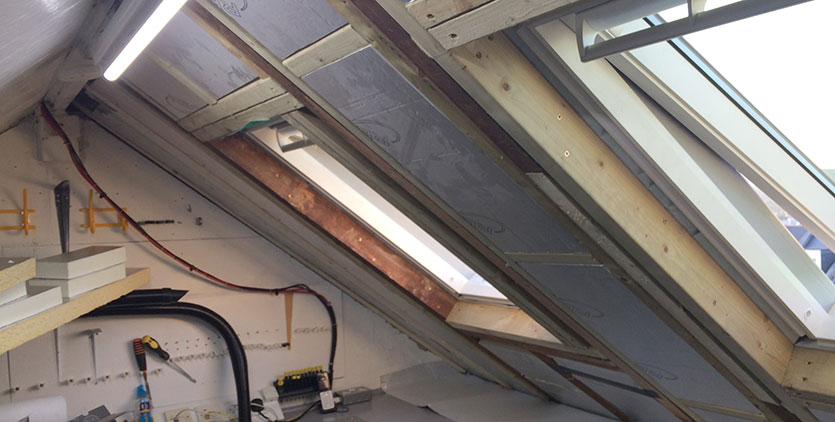
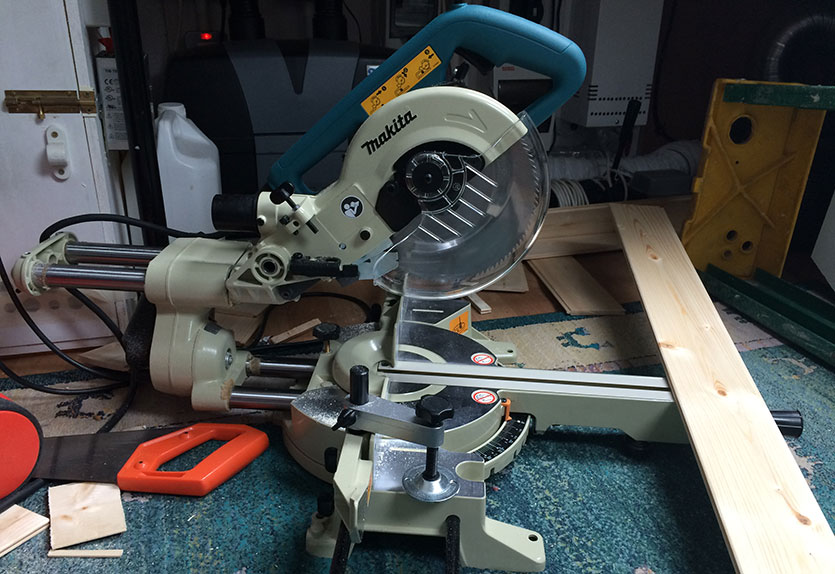
After cutting the first few rows by hand using a basic cutting block (which turned out to be useless as the saw made the slots wider with each cut) we decided to treat ourselves to a good quality mitre saw and after a lot of research and watching a lot of video reviews we ordered a Makita LS0714 slide compound saw from Amazon and some spare fine tooth blades.
We chose this model as it packs down to a small size when not in use and it got a lot of good reviews for its build quality and alignment. We had looked at much cheaper models in the local B&Q store but found that the quality of the bearings used was very poor with several degrees of side-to-side play on the cutting heads and a lot of the parts of the machines were made of plastic and flexed badly!
We purchased a new toy/tool to get the cuts straight!
With the new saw set up in the loft and connected to our Henry vacuum cleaner for dust extraction, we soon had most of the wall covered in the wood cladding as shown below.
Tongue and groove panelling were installed on the roof with the window frames still to do.
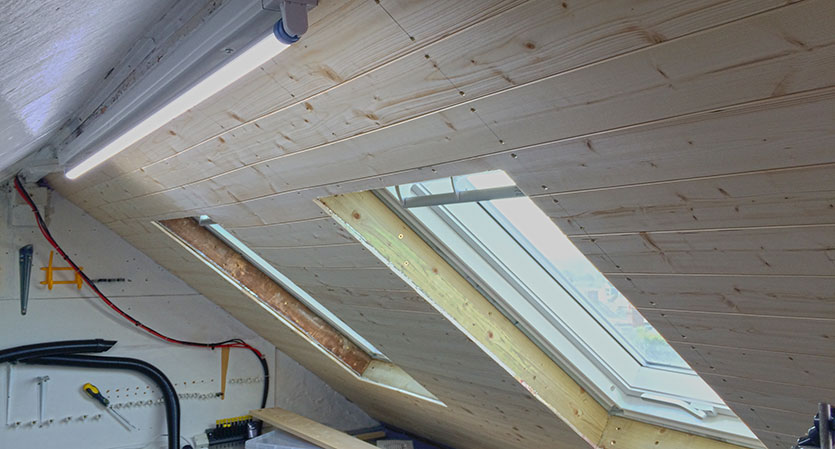
The wood trim for the windows was created using 100x25mm timber and the edges which go against the window frames was made using spare strips of the wood cladding.
This was fitted at an angle into the window frames and sealant was used to stop any air leaks between the window frames and the rest of the room.
Once all the cladding and frames were completed we painted the wood with white emulsion paint and then made a new shelf to go across the back of the room above the main workbench.
The old shelf was made from a plastic-covered chipboard material but we made the new shelf from some of the spare wood we had from the project joining three pieces together using biscuits and glue. This was installed onto a new metal bracket which is screwed into the rafters on each side and also along the back wall.
A new wider shelf was installed and the main bench and new shelf were painted on the top with a grey undercoat.
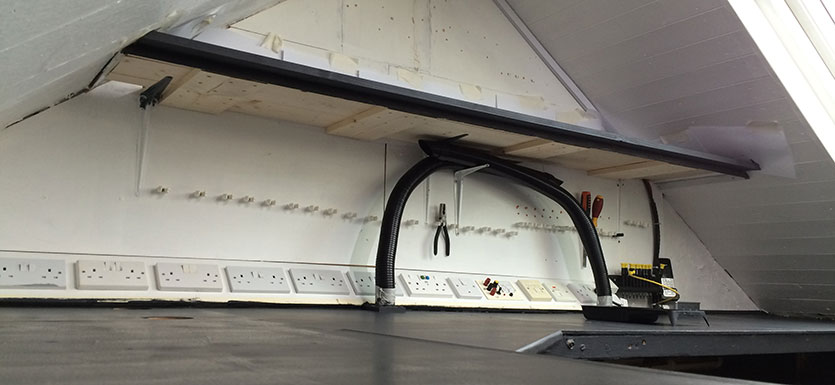
The main bench and new shelf were then painted with two coats of gloss paint and after waiting a day for the paint to try we started to move everything back into the workshop.
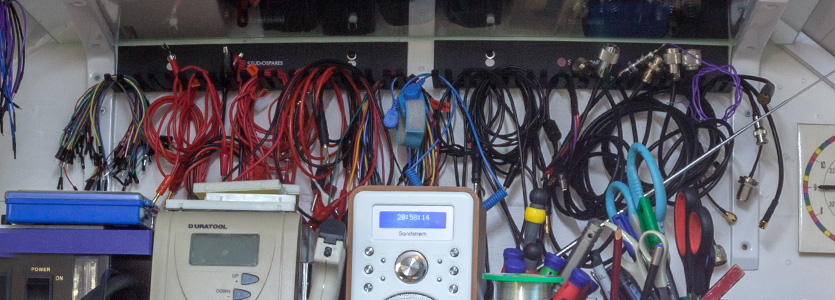
We also replaced our old cable hanging hooks with a pair of audio lead racks from Studio Spares as shown below:
New cable rack with all the test and power supply leads.
With the workshop now ready to use we have several new electronics projects planned for the year including some new Raspberry Pi boards and a rubidium time standard and distribution amplifier for our test equipment and SDR radios.

Comments