The next stage of the solar hot water installation, fitting a new dual coil hot water cylinder.
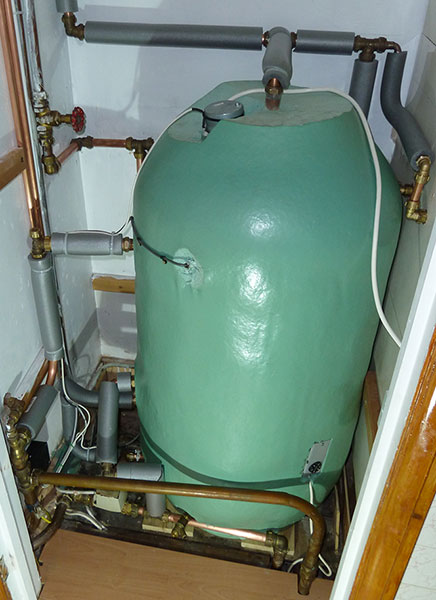
The new cylinder was 150mm taller and 70mm wider than the old hot water cylinder which was installed before and required all the existing pipes to be moved to fit with the new dual coil setup.
The image below shows the left side of the cylinder with the older central heating pipes and valve below and the new plumbing added for the new solar coil and all new pipes for the central heating coil as these were on the opposite side to the old water cylinder.
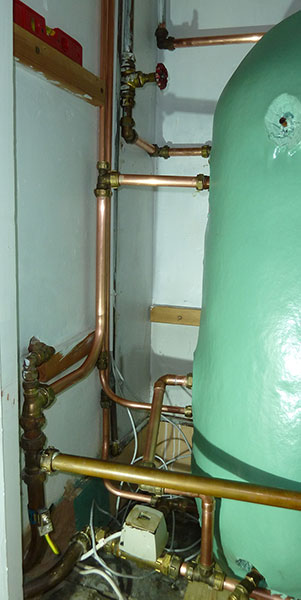
The pipes were fitted and the initial insulation was installed. The wire across the left side of the cylinder is for the solar controller.
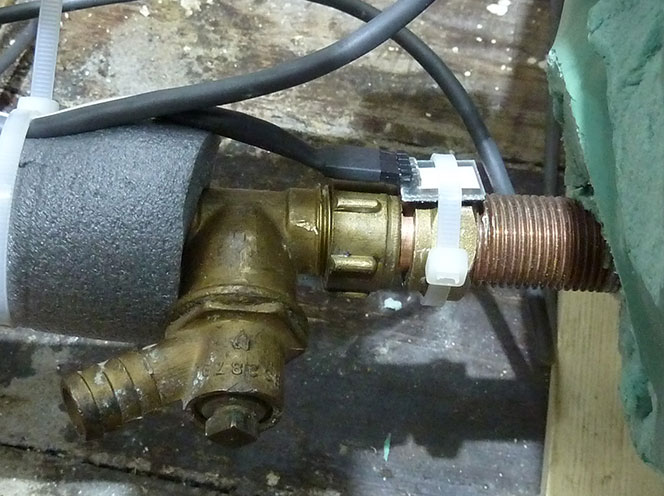
The solar return sensor for the new Arduino board was installed with a cable tie and some heat transfer paste to the solar return pipe at the base.
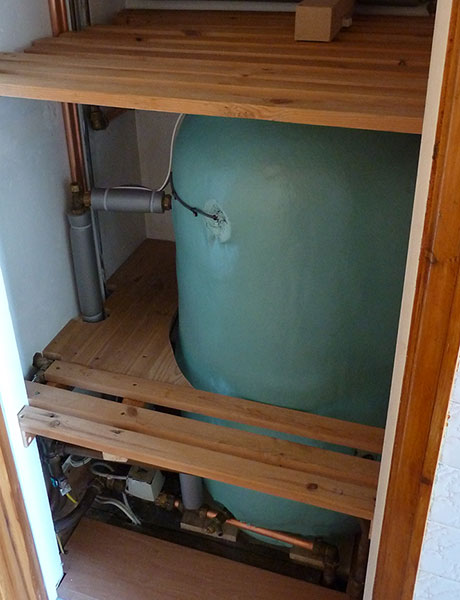
Complete install with shelves moved and fitted back around the new cylinder.
Once all the new sensors were installed and the wires connected, the sensors were checked on the Arduino board and the readings from the DIY sensors closely matched the readings from the solar controller sensors.

The next stage will be to make the PV and mains electric monitoring boards and a sensor to log when the solar water pump is running.
Comments