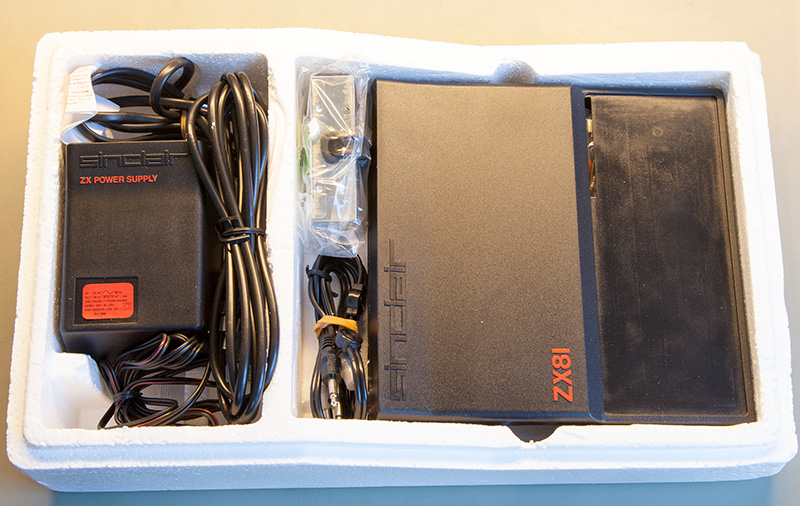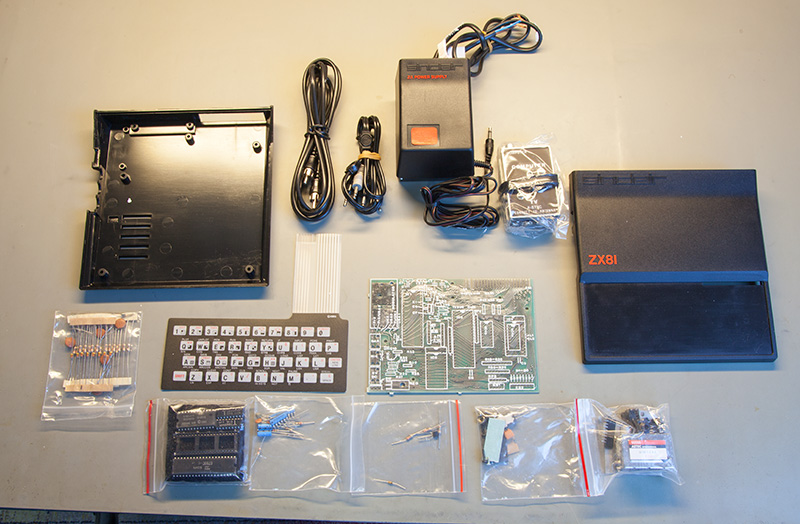
Several years ago we purchased a mint-conditioned unopened Sinclair ZX81 Computer Kit from eBay with the intention of building it some time and having another classic ZX81 computer which was the first computer I had when I was 7 years old.
After over 35 years in the box, the circuit board had some oxidation on the bare tracks and pads which was easily removed with some alcohol wipes.


The supplied instructions were very easy to follow and recommend allowing up to three hours to build the kit but we completed it in around 70 minutes.
The instructions showed the recommended order to add each component and the resistors all had the colour codes for the values next to each resistor.
After completing the build of the ZX81 computer we added a UK mains plug to the supplied power supply and checked the output voltage. We forgot to check the input voltage for the power supply and after plugging the power supply into the UK mains (240V) the transformer made a bad buzzing noise and the magic smoke escaped! We then checked the voltage sticker on the power supply and found that it was a US model with a 110V input!
We removed the cover and found that the capacitor had blown. We then powered the ZX81 from our adjustable power supply which needed a 9V supply.
When the ZX81 is running it consumes approx. 350mA
As the video output from the computer is an Analogue UHF TV signal we had to use an old PCI TV tuner card on a spare PC to view and capture the video of the output from the ZX81.
There are more details about the ZX81 computers on Wikipedia at https://en.wikipedia.org/wiki/ZX81


I have scanned the supplied build manual and uploaded it as a PDF file called zx81-kit-manual.pdf.
The video below shows a timelapse of the build and first boot where we ran the Basic program of:
10 PRINT "IT WORKS"
20 GOTO 10
RUN
PARIDE
Amazing! :) Thanks for this. I have a kit but the instructions were missing in mine.
Hal
Totally random question but what make is your fume extraction hose and where did you purchase it?
Brian
Hal, the extractor is a https://uk.farnell.com/metcal/bvx-201-kit/fume-extractor-250m3-h-85w-240v/dp/8026181
Patrick
I bought one Kit Form in 1981....what a souvenir...and so many evenings/nights to use it !!
Stevan
I built my kit ZX81 in 1981 aged just 13