Several months ago we purchased a Rigol DHO804 oscilloscope to use with our electronics projects. Overall it is a good, easy to use oscilloscope but it does have one issue.
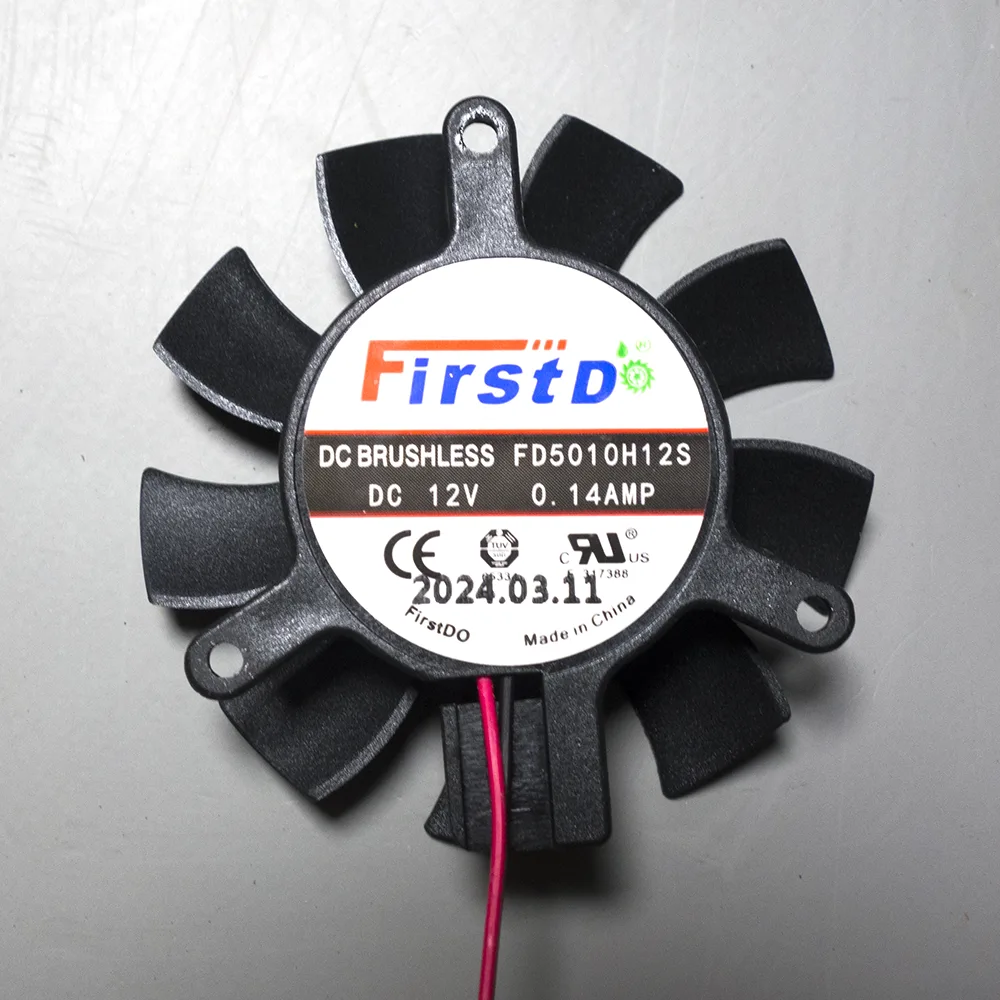
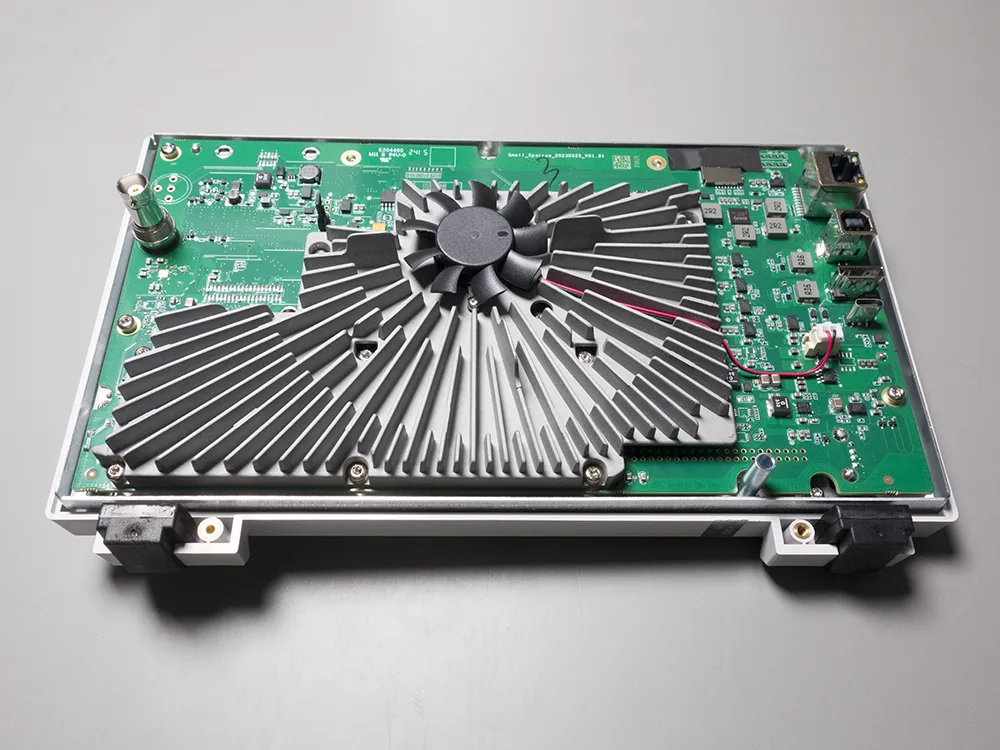
Rigol used a small 41mm fan attached directly to the heatsink for cooling. The small size of the fan and the design of the heatsink has basically made an air raid siren sound with a constant high pitch noise that quickly becomes annoying.
After living with the noise for a while we decided that a redesign of the cooling was needed with a larger fan that would produce less noise at a lower pitch and reduce the CPU temperature at the same time.
Design
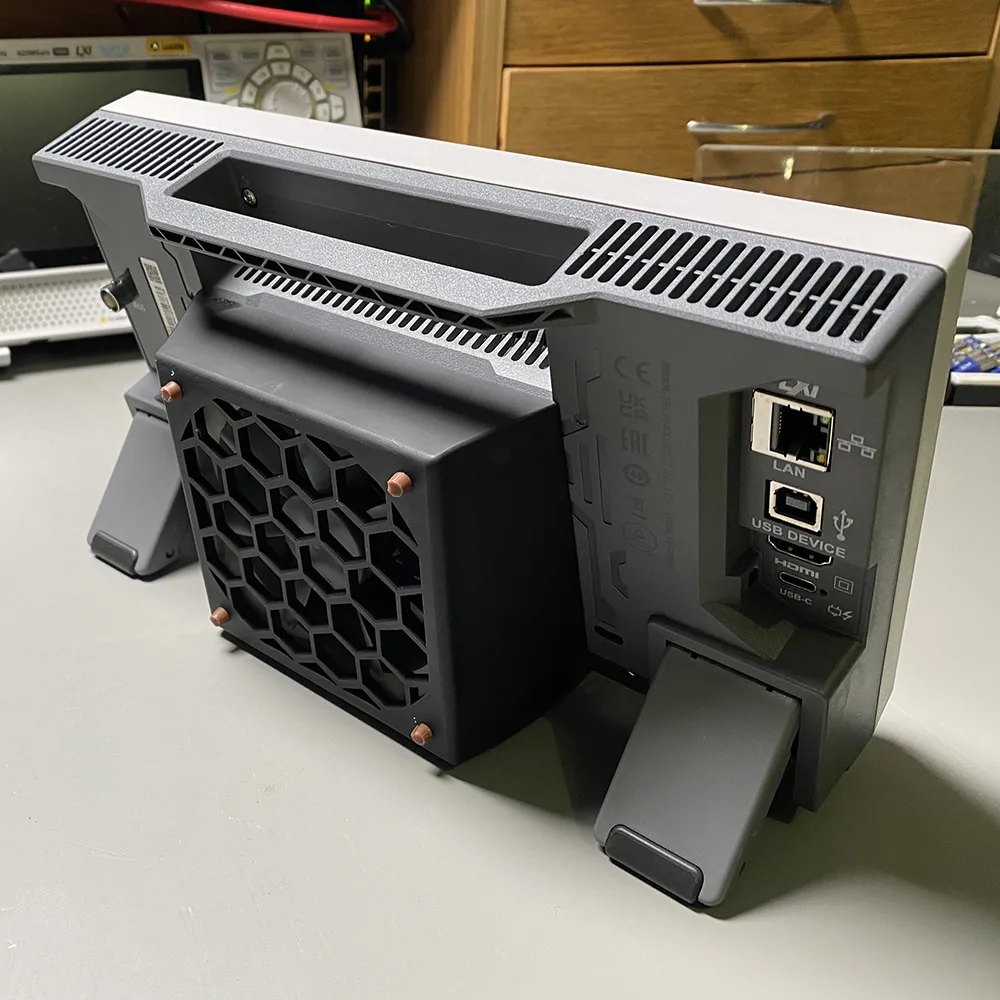
The back of the oscilloscope has holes for a 100mm VESA mount surrounding a grid of holes where the air is sucked into the chassis. Fitting a larger fan on the inside was not an option so we decided to fit a fan to the back using the VESA mount.
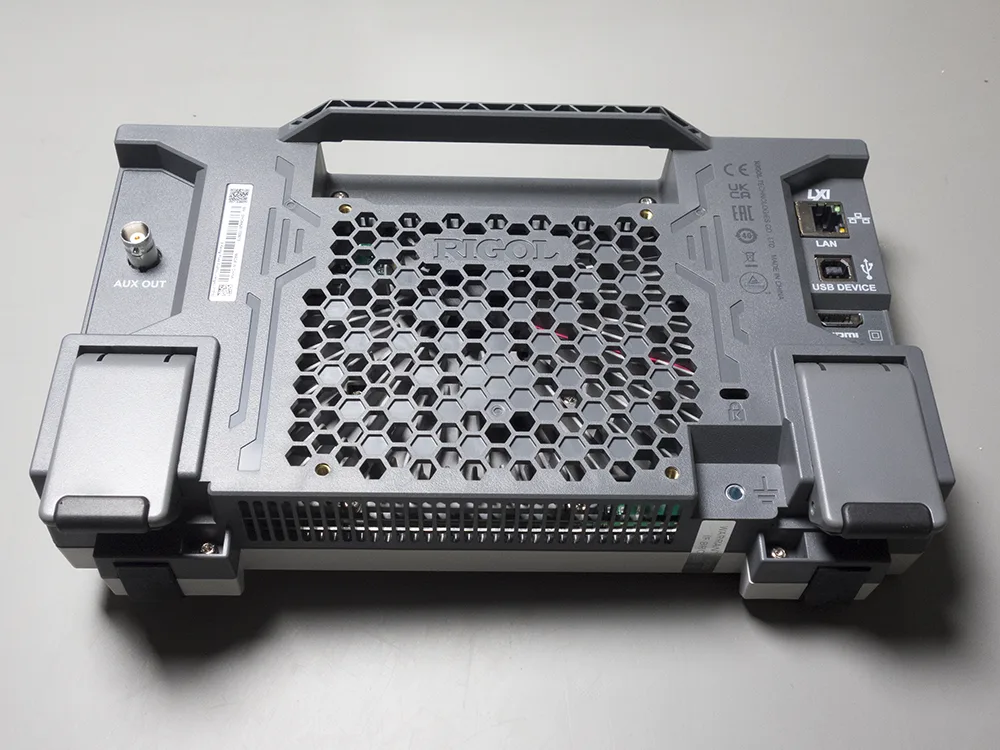
The largest fan size that would fit over the hole while leaving access to the mounting holes was 92mm. A Noctua NF-B9 redux-1600 fan was chosen as we have used Noctua fans on our computers in the past and they have always been quiet and reliable.
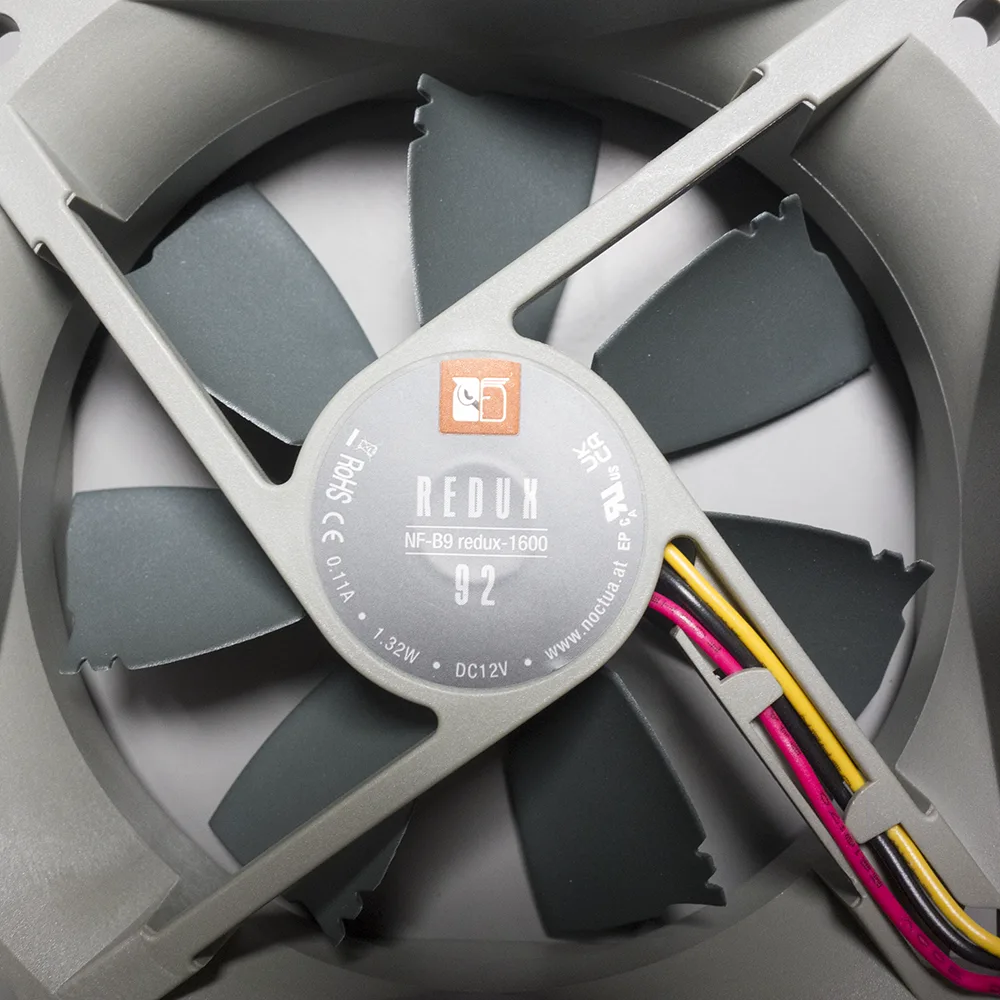
The first step was to find a 3d model of the fan. This was imported into Fusion 360 and used as a reference to design the case around. In order to keep the size of the case within the limits of the oscilloscope chassis and allow it to lean back on its feet the fan had to be tilted and moved upwards slightly relative to the VESA mounting holes. This meant that only the bottom two mounting holes would be accessible from the outside.
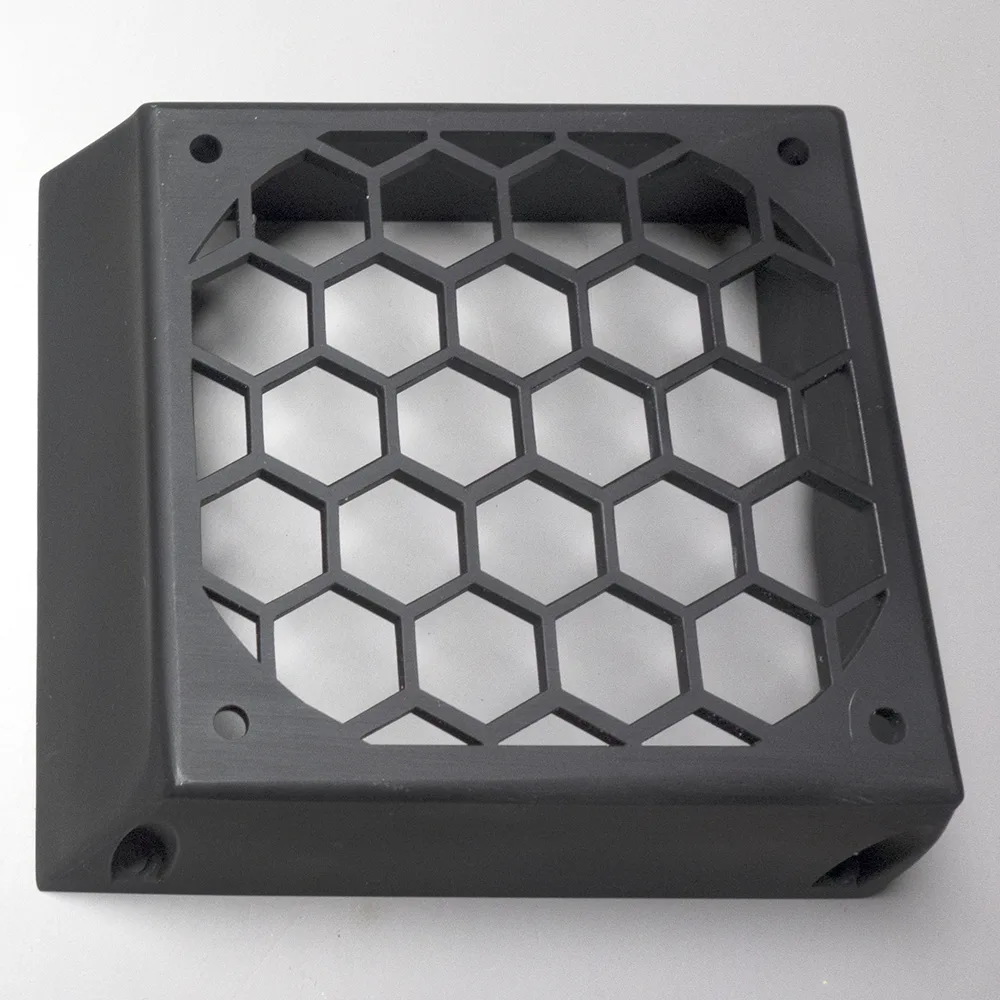
The case was designed to cover up all of the vent holes on the back of the oscilloscope so the air would be forced past the heatsink and out through the vents in the top and bottom of the oscilloscope. The deepest part of the case comes out the same distance as the feet on the oscilloscope so it will not take up any more bench space.
All of the internal and external corners were filleted to reduce the noise of air moving through the case.
We decided to use two M4 bolts at the bottom of the case to bolt into the threaded inserts on the VESA mount and two M3 bolts that go from the inside of the oscilloscope into tapped holes in the plastic fan case.
With the fan case designed we used JLC3DP to print the model in SLA black resin.
Assembly
To hold the fan inside of the plastic case we used four anti-vibration rubber mounts that came with another Noctua fan from a previous project. The mounts were fitted to the fan backwards and pulled through the back of the case before being trimmed off to length.
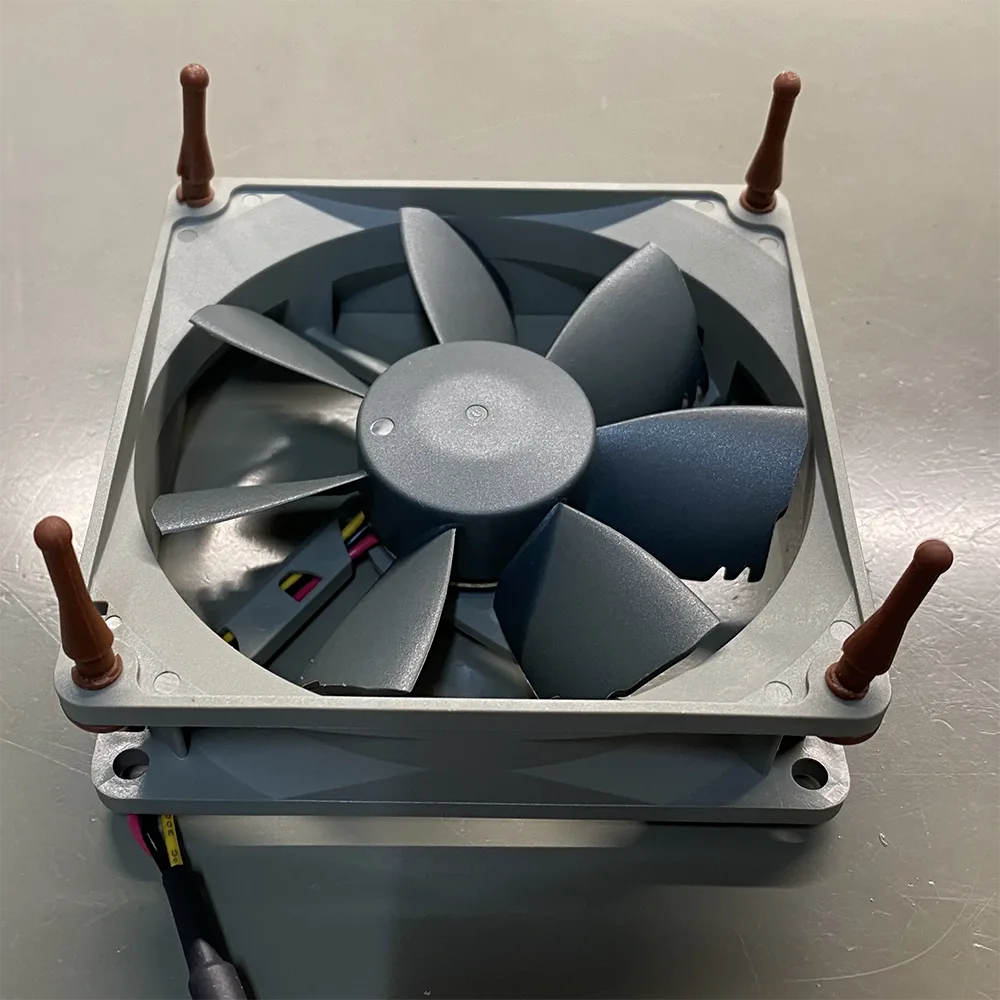
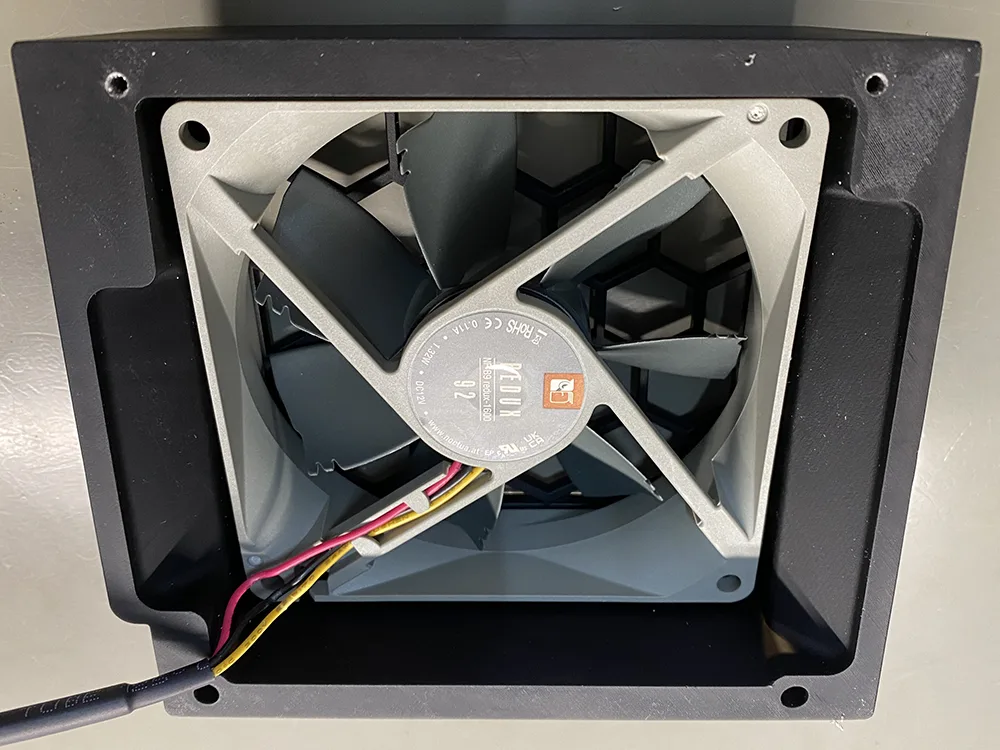
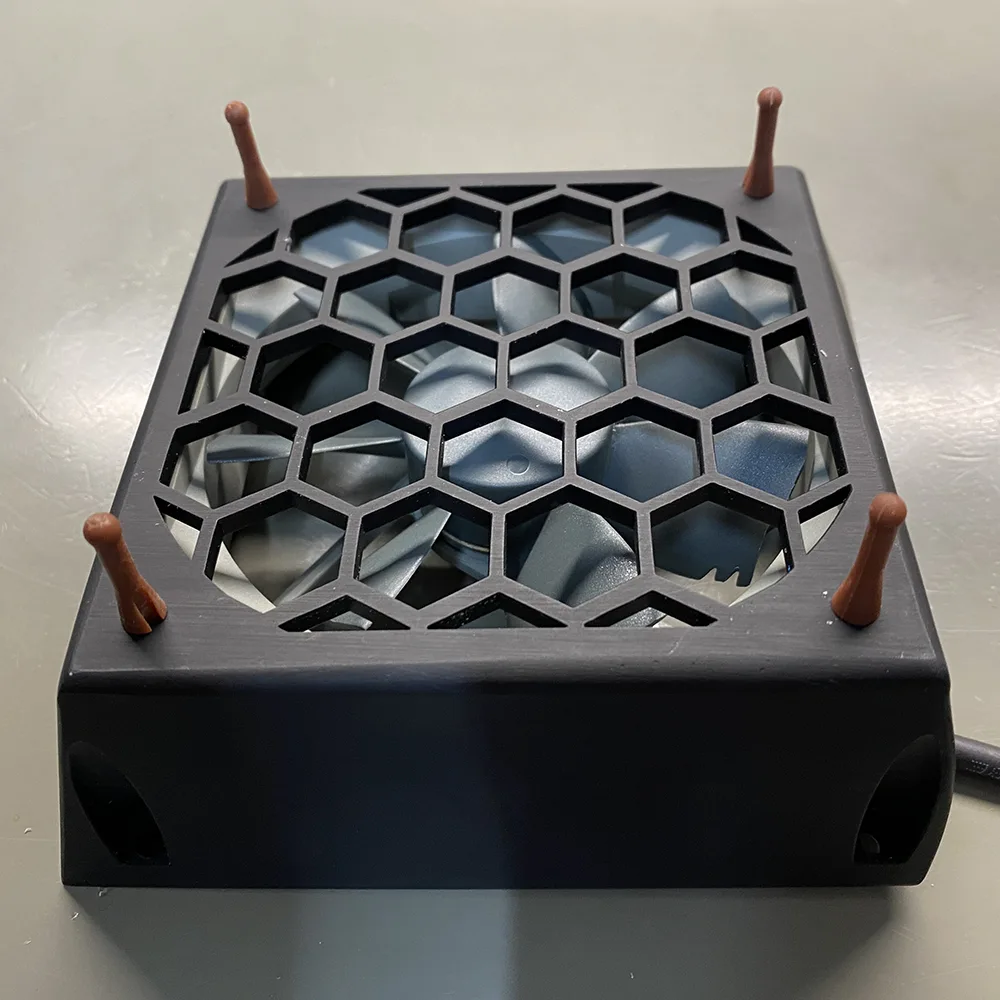
To fit the new fan we first unscrewed four bolts on the back of the oscilloscope and removed the back of the case. The existing fan was removed, leaving the bolts in the heatsink in case we ever want to put the fan back.
The connector was cut off of the old fan to be used on the new fan and we had to cut the 3 pin connector off the new fan to fit the cable through the holes on the oscilloscope case. The new fan case was bolted on, the cable was cut to length and the connector from the old fan was soldered onto the new one.
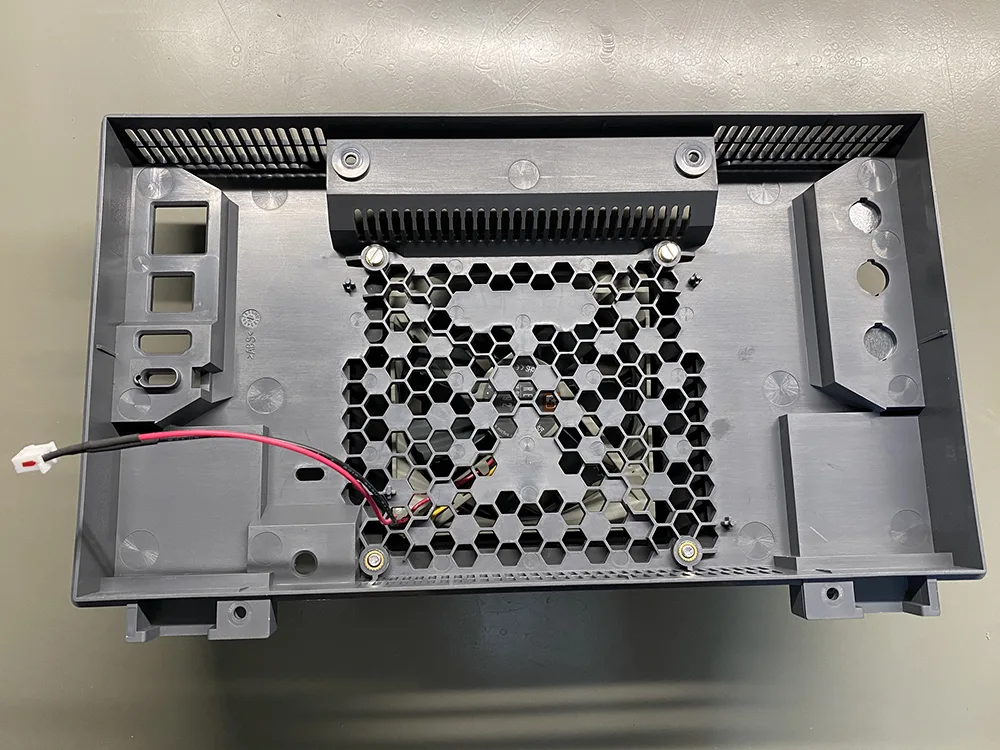
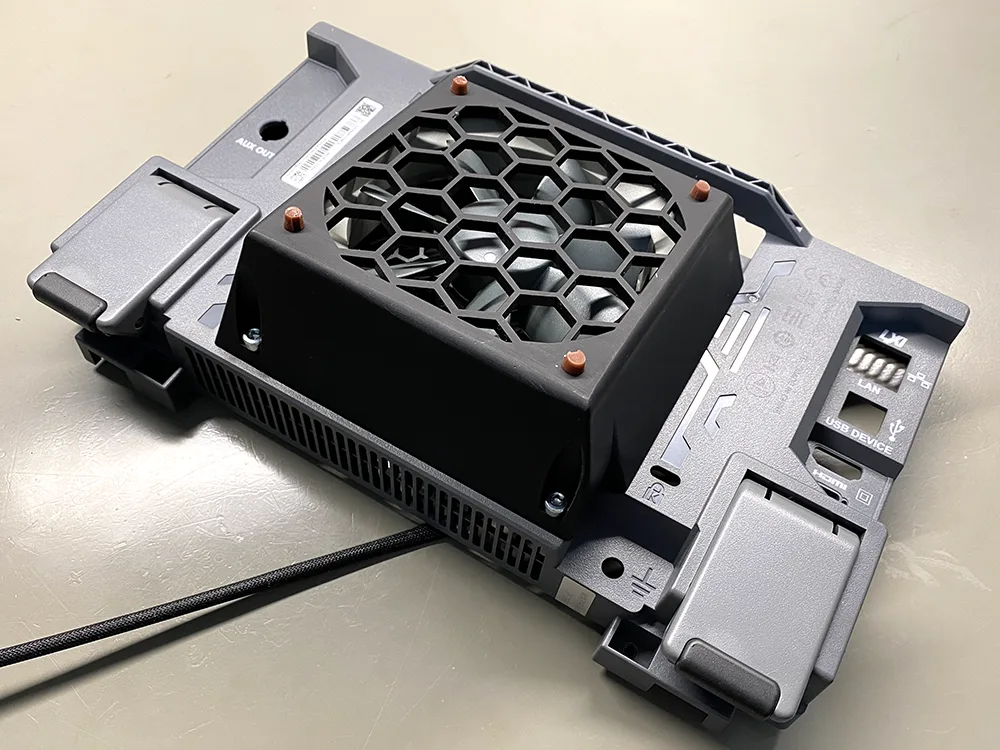
The oscilloscope was reassembled and powered on for testing.
Performance Testing
Before disassembling the oscilloscope we left the scope running for 30 minutes and measured the temperature of the CPU and the noise levels of the existing fan.
The CPU temperature can be accessed through the Utilities / Self Test / Board Test menu.
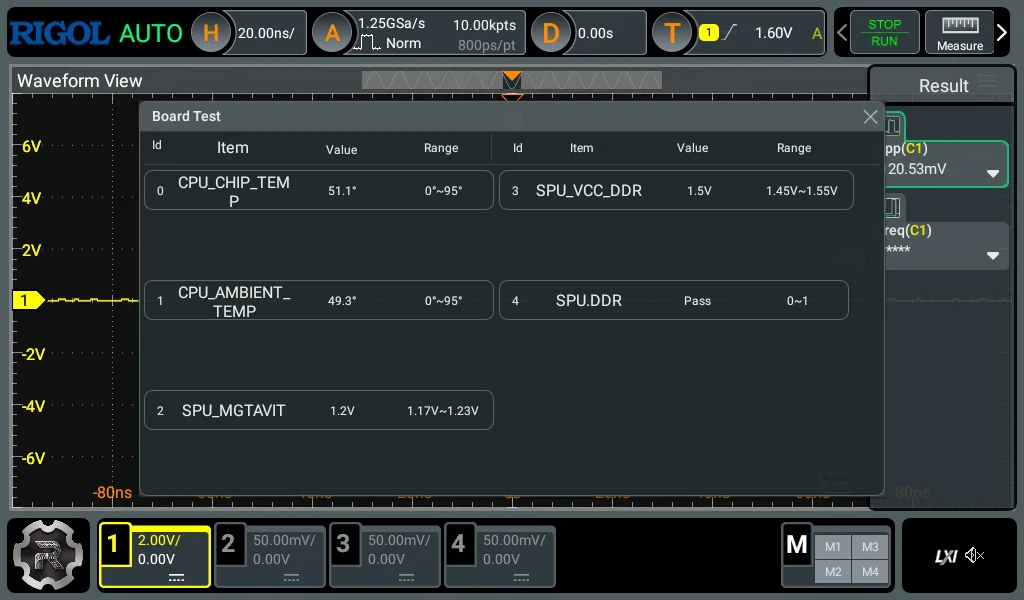
With the original fan the following temperatures were recorded.
CPU Chip Temperature: 51.1°C
CPU Ambient Temperature: 49.3°C
Room Temperature: 19.25°C
To measure the noise level we used our Precision Gold NO5CC Sound Level Meter. The oscilloscope was placed on a table with the sound level meter placed 1 metre away. Measurements were taken with the oscilloscope display facing towards the sound level meter and facing away so the fan was facing the meter. The following sound levels were recorded.
Audio Level:
36.8dbA facing backwards
34.0dbA facing forward
After new fan was installed
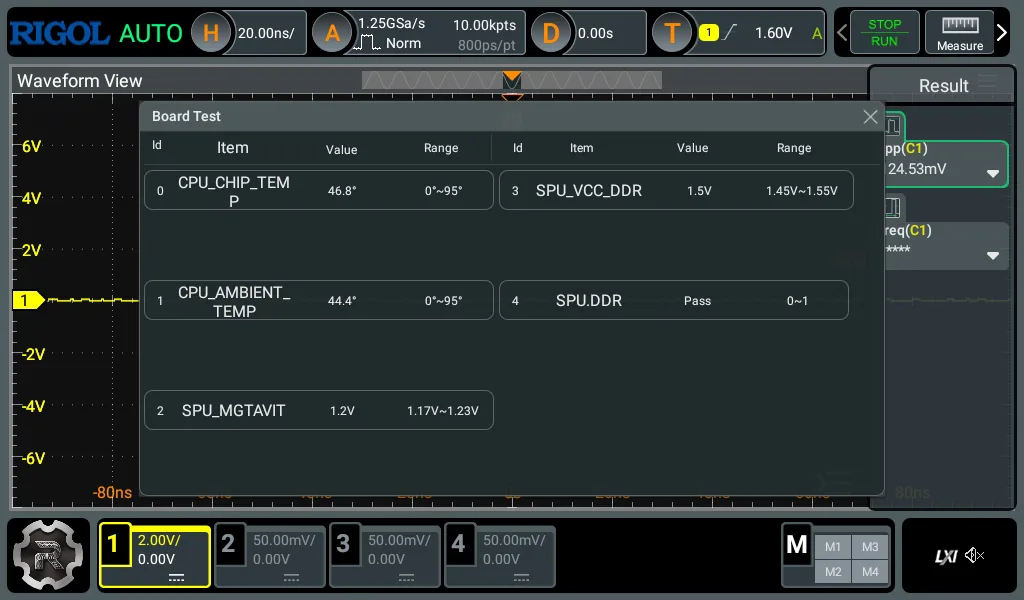
With the new fan fitted we again ran the oscilloscope for 30 minutes before measuring the temperature and sound levels. This was the result.
Temperature after 30 minutes:
CPU Chip Temperature: 46.8°C
CPU Ambient Temperature: 44.4°C
Room Temp: 19.41°C
Audio Level:
32.8dbA facing backwards
32.5dbA facing forward
As you can see the oscilloscope now runs approximately 5°C cooler with the sound level reduced by 1.5 to 3dbA depending on the direction the scope is facing. While the reduction in sound level does not look like much the frequency of the sound is now far lower so the noise is less distracting. When we took the sound measurements the ambient noise level in the room was 32.2dbA so the scope is only 0.3dbA above ambient levels.
As the oscilloscope is now running cooler the sound level could be reduced even more by adding a resistor in series with the fan to reduce its speed but we will leave doing this for now.
Components and Parts
Download the 3d model for the fan case in STL format.
Noctua NF-B9 redux-1600, High Performance Cooling Fan. (Amazon Affiliate link)
3D printing by JLC3DP.

Marcel
Hi, thank you for posting this mod. I liked it immediately when I saw it. I have a DHO804 and found the little fan quite annoying. I printed the shroud myself and it came great out.
Ordered the exact same fan (after some comparison with other Noctua's) but noticed you chose the exact right model. With the 8V supplied and even a little less power consumption this turned out to be the perfect choice.
After finishing the sound was so much more bearable. I modified my previous Uni-T scope before as well with a real fan control. That sound was also barely noticeable after modding.
The temperatures on the DHO804 are (before/after):
CHIP_TEMP: 59.4 / 47.1
AMBIENT_TEMP: 53.8 / 46.2
So I am very happy now, even better cooling with a lot less noise!
Jonny
Great hack!
I used MeshLab to scale the Y height by 50%, hopefully it will fit my low profile Noctua https://www.amazon.com/gp/product/B009NQM7V2/ref=ox_sc_act_title_1?smid=A1Z5H6ZGWCMTNX&psc=1
I
Hi,
Great mod, thanks!
Hi @Jonny,
If the solution for the low profile fan works, then could you share the updated STL file?
I am interested as well :)
Thanks!