In March 2020 I released an open-source component inventory manager called PartFinder which ran on a Windows IIS server and used a Microsoft SQL Server database.
PartFinder was written to keep track of the thousands of components we have in our workshop and make it easier to find parts for new projects.
The previous version of PartFinder needed a Windows server running IIS and with a Microsoft SQL Server database and this seemed to cause a lot of issues for others trying to use the software.
We have a small Linux server running in our home and I decided to rewrite PartFinder using ASP.Net Core so it would run on Windows, Mac and Linux using an SQLite database
Installation
To install and set up PartFinder, download the files from GitHub github.com/briandorey/PartFinderCore and extract them to a folder.
The PartFinderCore folder contains the project files.
The PartFinderCorePublish contains a compiled version of the project and can be run on Windows, Mac or Linux.
The wwwroot/docs folder and database file need read and write permissions.
Configuration
The settings for the web URL, database and security are contained in the appsettings.json file at the root of the project. This file is composed of the following sections:
{
  "Kestrel": {
    "EndPoints": {
      "Http": {
        "Url": "http://localhost:80"
      }
    }
  },
  "Logging": {
    "LogLevel": {
      "Default": "Information",
      "Microsoft.AspNetCore": "Warning"
    }
  },
  "AllowedHosts": "*",
  "SiteData": {
    "RequireLogin": false,
    "DataBasePath": "../PFData.db"
  }
}
The Kestrel section contains the Url which the application will run on.
The SiteData section contains:
RequireLogin – This is a Boolean and if set to true the website will require a login to access PartFinder.
DataBasePath – This contains the path for the SQLite database file.
For Linux hosting an alternative linuxsslappsettings.json file is included which includes extra settings to use a local signed certificate to use SSL.
To run the published app on Windows
To run the published app locally, run the following command from the publish folder.
dotnet PartFinderCore.dll
You can now open your web browser and go to http://localhost:80 or the address from the appsettings to access PartFinder.
To run the published app on Linux
Before you can run PartFinder on Linux you will need to install the aspnetcore runtime.
sudo apt-get update && sudo apt-get install -y aspnetcore-runtime-8.0
To run the published app locally, run the following command from the publish folder.
sudo dotnet PartFinderCore.dll
You can now open your web browser and go to http://localhost:80 or the address from the appsettings to access PartFinder.
Installing PartFinder on Linux
To run PartFinder on Linux as a service you will want to use Apache or Nginx as a proxy server. Many linux distros including Ubuntu do not allow applications to access ports below 1024 without root privilages and as it is not a good idea to run the website as root you will need to run the website on a port higher than 1024 and use Apache as a proxy between the dotnet website and port 80 or 443.
The following instructions will allow you to install and run PartFinder on Linux as a service using a self-signed certificate to allow SSL access.
First install Apache
sudo apt-get update && sudo apt-get install apache2
Copy PartFinderCorePublish to the folder where you want to install PartFinder, for example:
/var/www/PartFinderCorePublish
Navigate to the folder.
cd /var/www/PartFinderCorePublish
To create a self-signed certificate first generate a private key.
openssl genpkey -algorithm RSA -out certificate.key
Generate a self-signed certificate
openssl req -new -x509 -key certificate.key -out certificate.crt -days 365
Convert the certificate and key to a PFX file.
openssl pkcs12 -export -out certificate.pfx -inkey certificate.key -in certificate.crt
Set permissions to read write and execute for the PartFinderCorePublish folder.
sudo chmod 755 /var/www/PartFinderCorePublish
If the database is in a different folder you will also need to set the same permissions for that folder.
Set the owner of the website. This user should exist on the server.
sudo chown -Rv www-data /var/www/PartFinderCorePublish
Update the PartFinderCorePublish/appsettings.json file to set the name of the certificate you just created and set the folder where you want to store the database.
To run PartFinder when Linux starts you can create a service that will start Part Finder automatically.
Configuring Apache
Create a config file for PartFinder using your preferred text editor.
/etc/apache2/sites-available/partfinder.conf
Insert the following:
    ServerName partfinder.mydomain.com
    ProxyRequests off
    ProxyPreserveHost On
    ProxyPass / http://127.0.0.1:6002/
    ProxyPassReverse / http://127.0.0.1:6002/

    ErrorLog ${APACHE_LOG_DIR}/partfinder_error.log
    CustomLog ${APACHE_LOG_DIR}/partfinder_access.log combined


    ServerName partfinder.mydomain.com

    SSLEngine on
    SSLCertificateFile /var/www/PartFinderCorePublish/certificate.crt
    SSLCertificateKeyFile /var/www/PartFinderCorePublish/certificate.key

    SSLProxyEngine On
    ProxyPreserveHost On
    ProxyRequests off
    ProxyPass / https://127.0.0.1:6003/
    ProxyPassReverse / https://127.0.0.1:6003/

    ErrorLog ${APACHE_LOG_DIR}/partfinder_error.log
    CustomLog ${APACHE_LOG_DIR}/partfinder_access.log combined
Enable the configuration.
sudo a2ensite partfinder.conf
Enable Required Modules.
Ensure that the mod_ssl and mod_proxy modules are enabled:
sudo a2enmod ssl
sudo a2enmod proxy
sudo a2enmod proxy_http
sudo a2enmod proxy_https
Restart Apache.
After making these changes, restart Apache to apply the new configuration:
sudo systemctl restart apache2
Run PartFinder as a service
Create a systemd service file for PartFinder.
sudo nano /etc/systemd/system/partfinder.service
Paste in the following, change the WorkingDirectory, ExecStart and User to match your setup.
[Unit]
Description=ASP.NET Core PartFinder
[Service]
WorkingDirectory=/var/www/PartFinderCorePublish
ExecStart=/usr/bin/dotnet /var/www/PartFinderCorePublish/PartFinderCore.dll
Restart=always
# Restart service after 10 seconds if the dotnet service crashes:
RestartSec=10
KillSignal=SIGINT
SyslogIdentifier=dotnet-web-api
# This user should exist on the server and have ownership of the deployment directory and the database directory
User=www-data
Environment=ASPNETCORE_ENVIRONMENT=Production
[Install]
WantedBy=multi-user.target
To Start PartFinder run:
sudo systemctl enable partfinder.service
sudo systemctl start partfinder.service
sudo systemctl status partfinder.service
You should now be able to access the website on https://localhost
Your Raspberry Pi Projects Start Here
Please support the blog and our projects by buying your Raspberry Pi development boards and accessories from our online store at AB Electronics UK.
First Run Setup
When you first access PartFinder using your web browser you will be prompted to create a user account if you have enabled RequireLogin in the appconfig.json file.
If the database does not exist it will automatically be created and populated with default values for Footprint Categories, Footprints, Manufacturers and Part Categories. These values are set in the Classes/DataBaseInit.cs file.
Using PartFinder

Dashboard Screen

Admin Screen
Edit Part Screen

File Manager
Footprints Screen
Manufacturers Screen

Parts Overview Screen
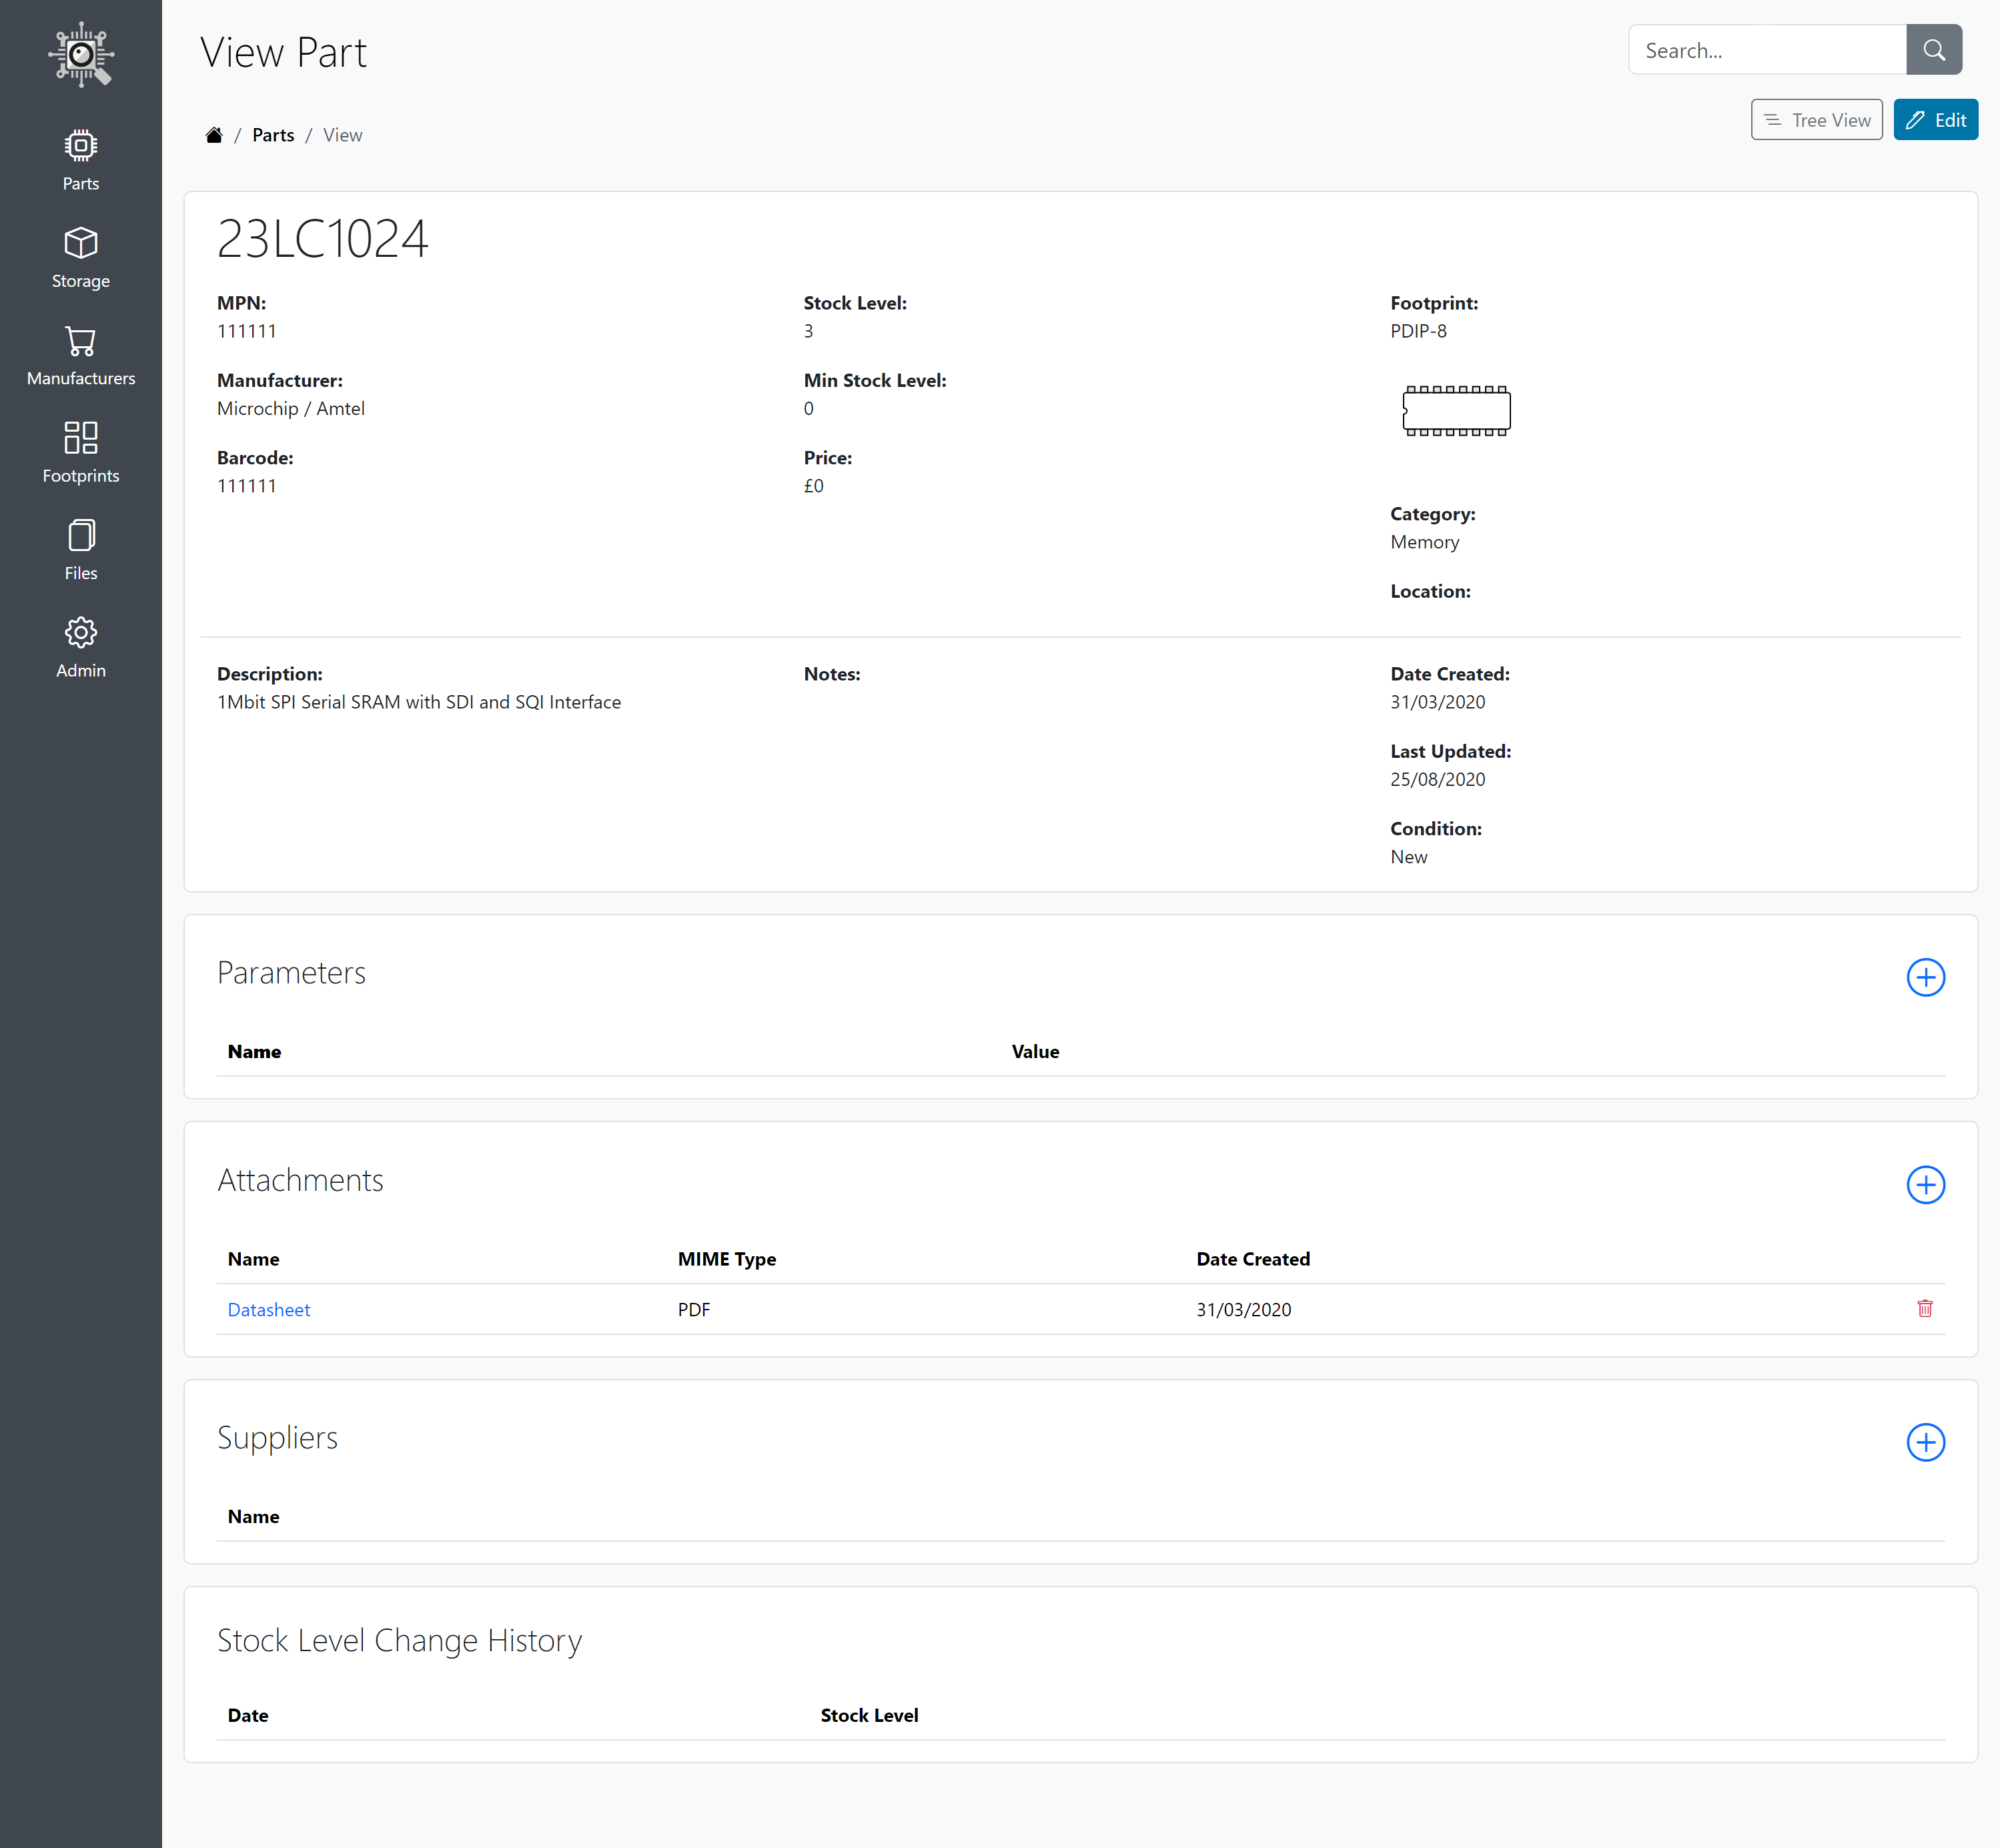
Part View Screen

Storage Screen
Dashboard
The Dashboard gives you an overview of the system with totals for Parts, Manufacturers, Attachments and Storage Locations. It also lists any parts which have less than your low stock level available.
Parts
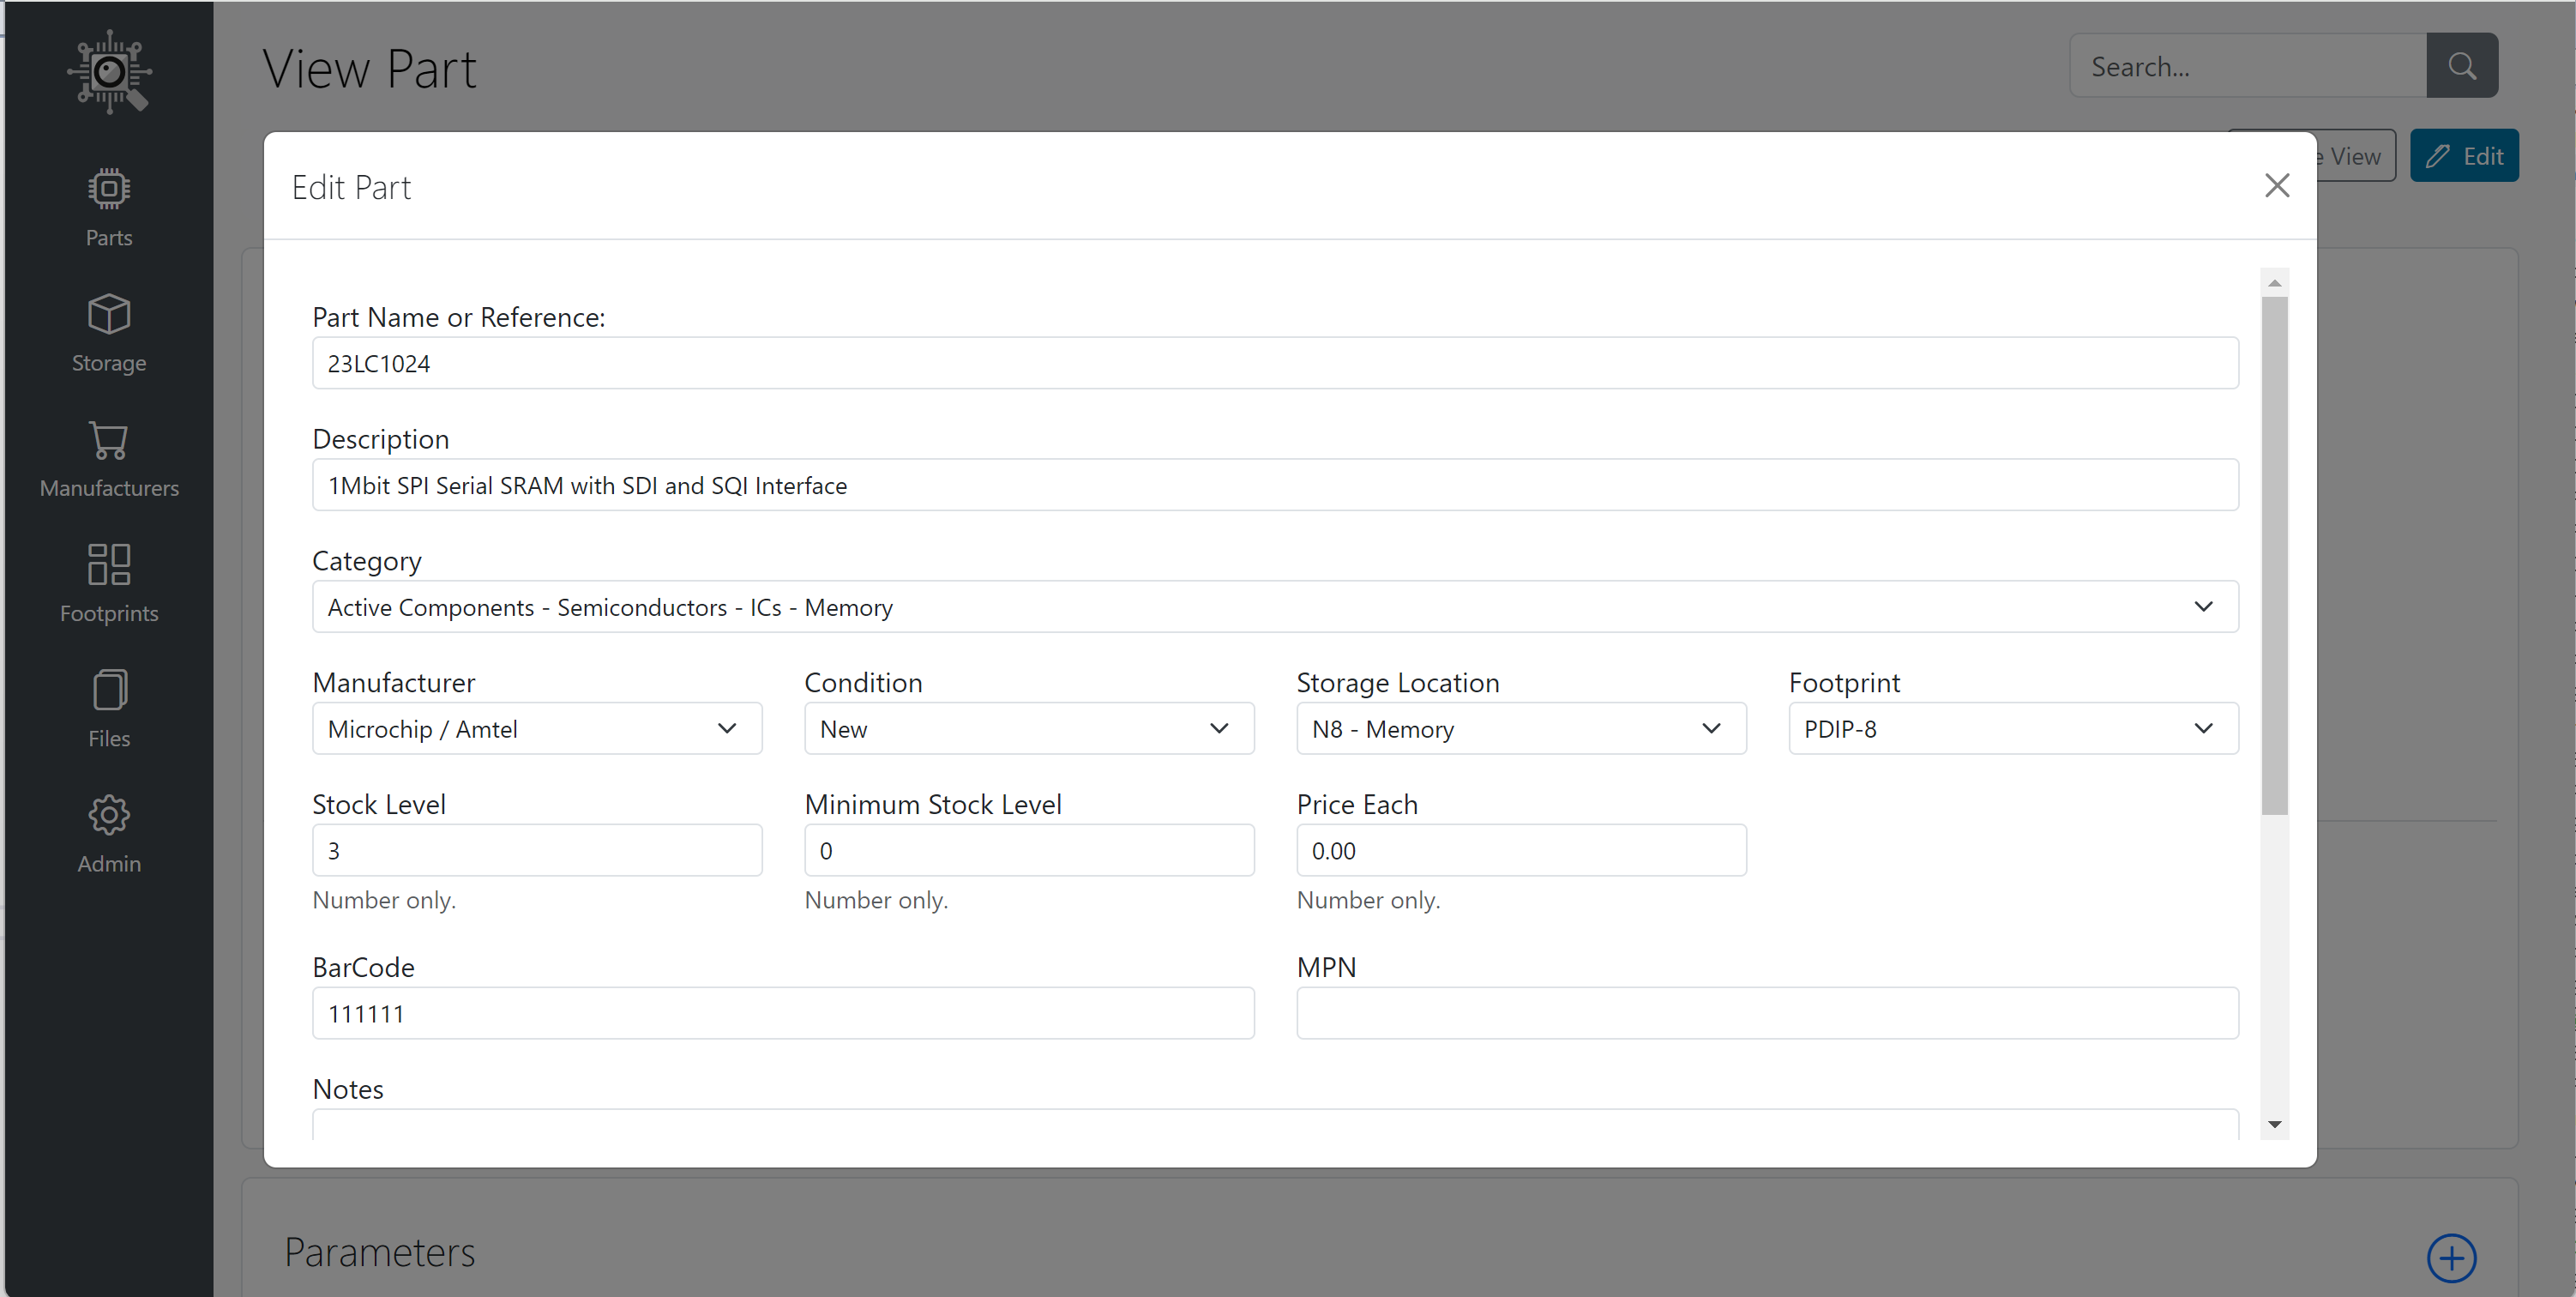
The Parts section is where you manage all your components/parts with a tree-view or list view to find your parts and a parts details page with your item’s main details, attachments, suppliers and parameters.
Storage
In the Storage section, you can add and edit your storage locations before adding new parts for each location.
Manufacturers
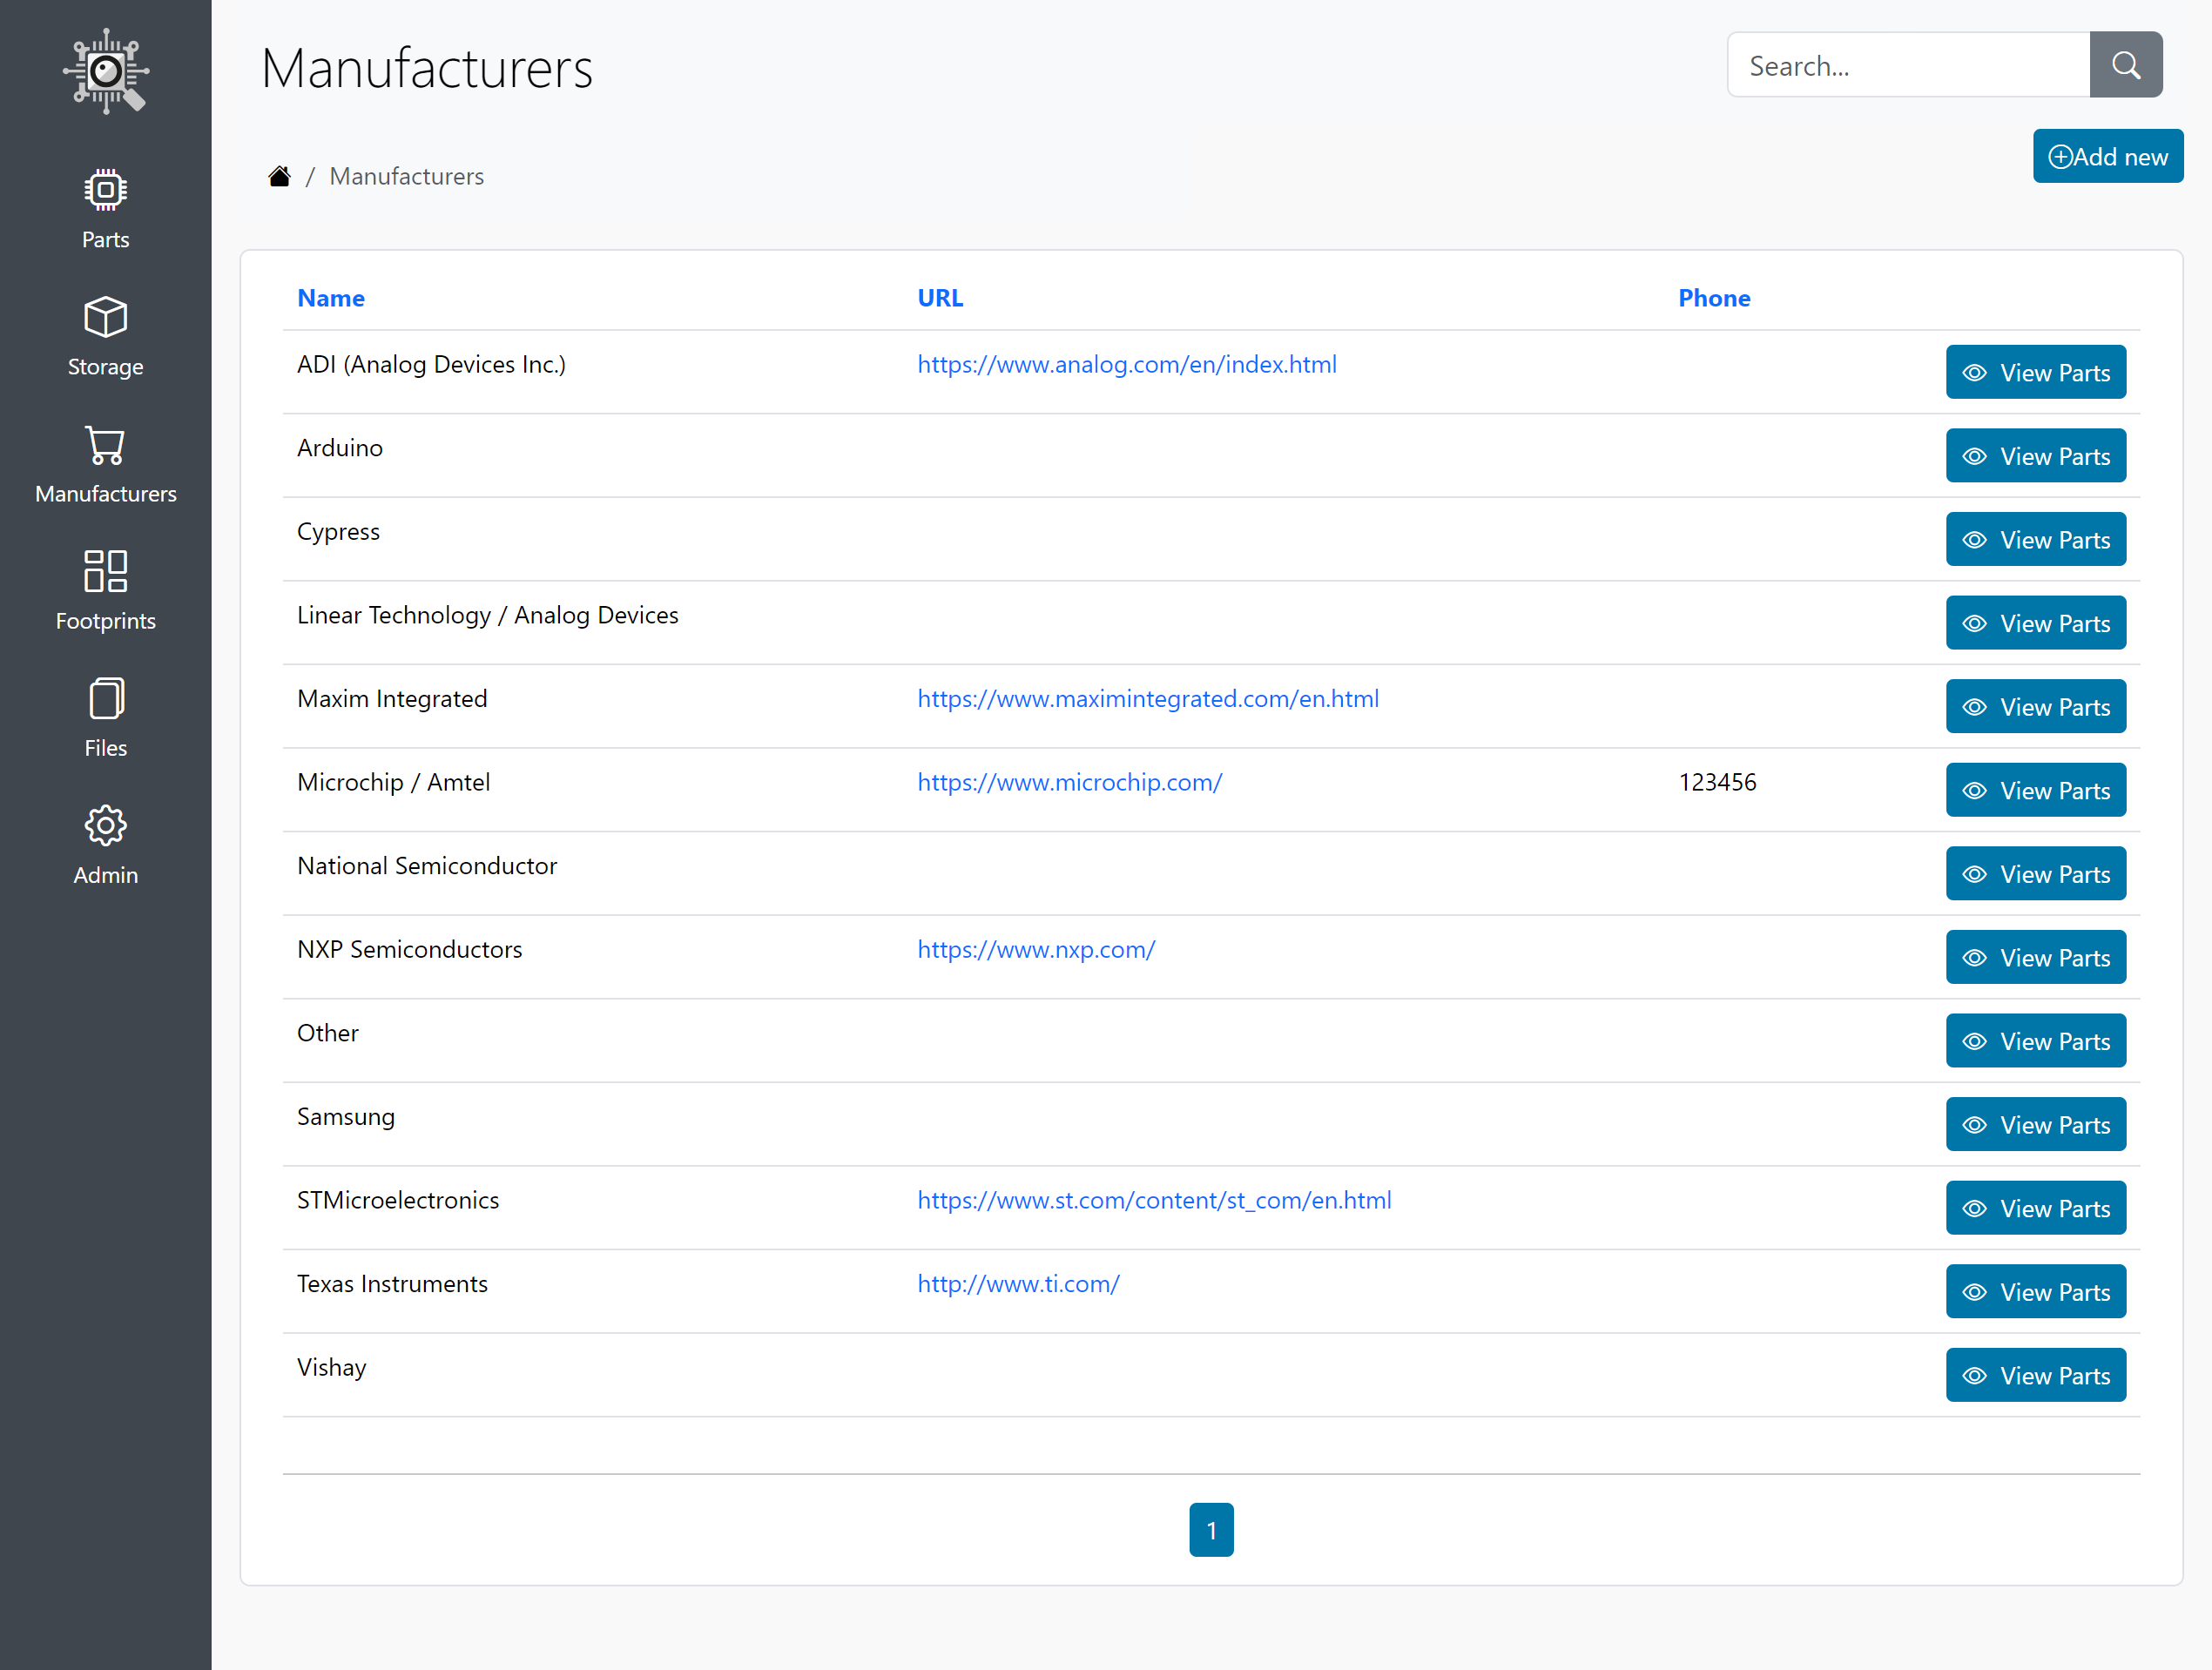
In the Manufacturers section, you can add and edit component manufacturers before adding new parts. These can be edited in the admin section (cog icon).
Footprints
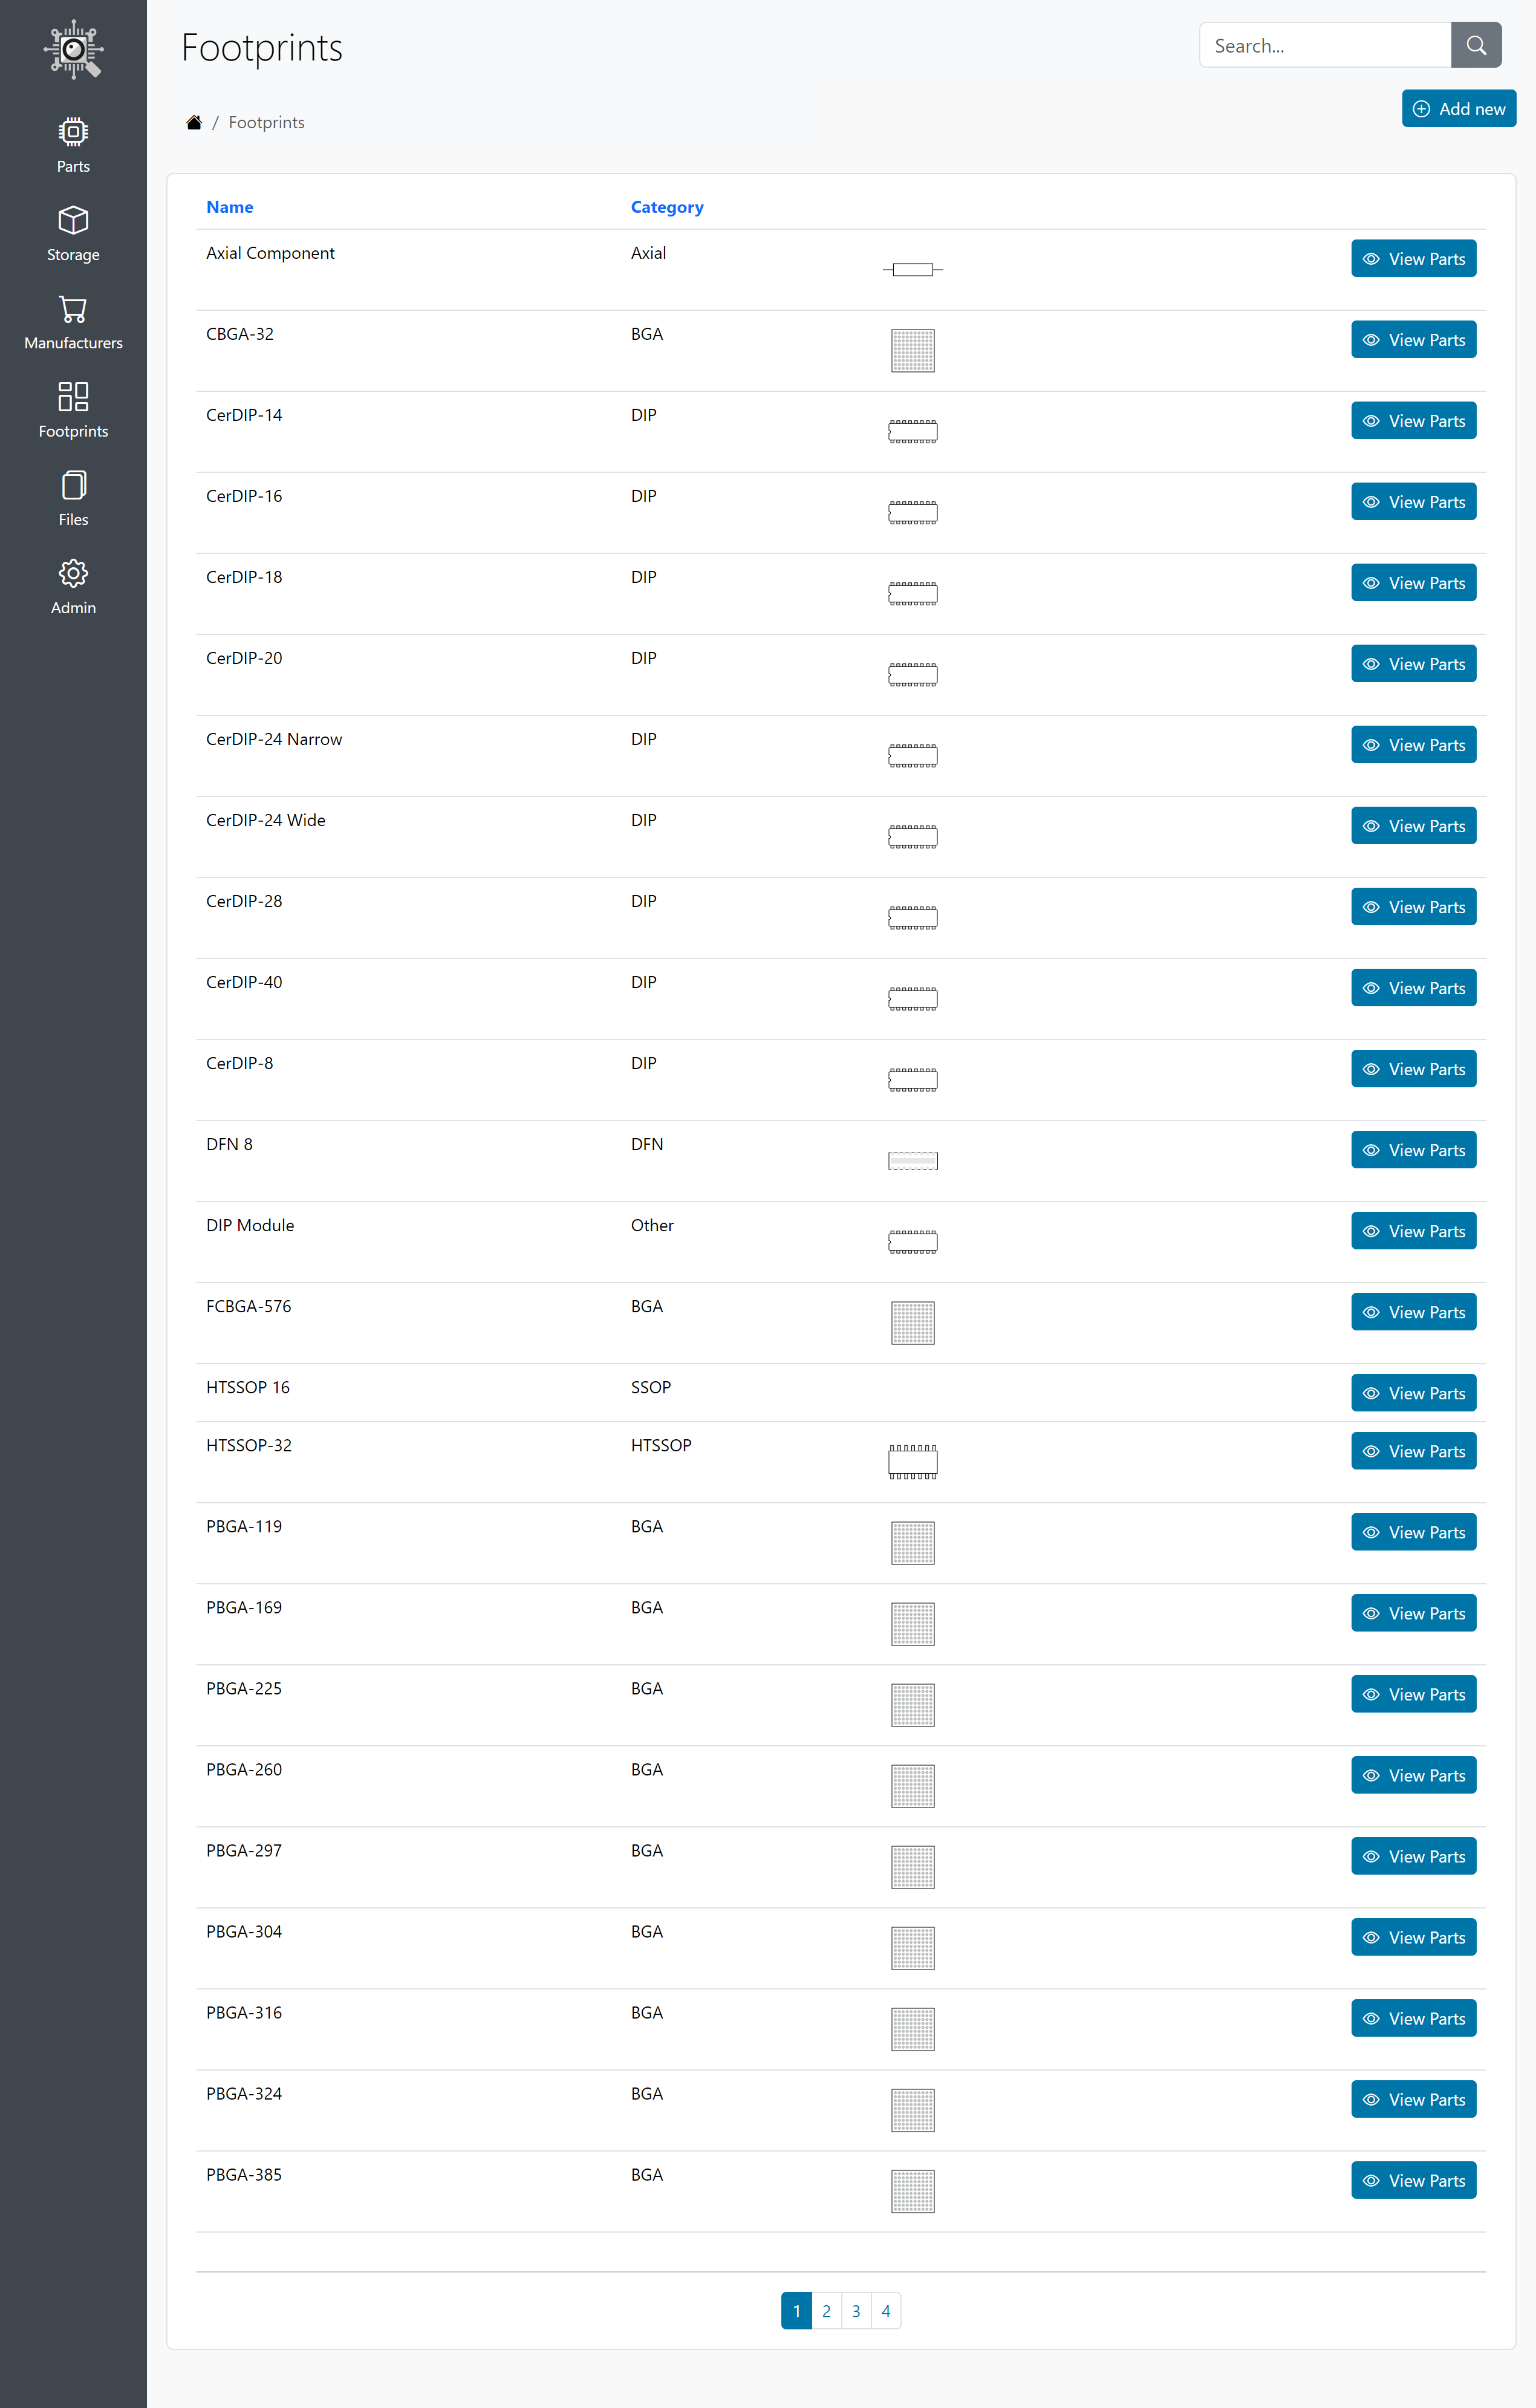
In the Footprints section, you can add and edit your component footprints before adding new parts. These can be edited in the admin section (cog icon).
Files
The file manager allows you to view the /docs folder on your PartFinder website. You can add upload new files and create folders, view and delete files.
Please note if you delete a folder with files which are linked to an existing part, it will not remove the database record for the files.
Admin
The admin section has Add, Edit and List pages for Users, Categories, Footprint Categories, Footprints, Storage Locations, Manufacturers and the file manager.
Installation Files
To install and set up PartFinder, download the files from GitHub github.com/briandorey/PartFinderCore and extract them to a folder and follow the instructions above.
License
Copyright 2024 Brian Dorey
This software has been released under the MIT license https://opensource.org/licenses/MIT
Permission is hereby granted, free of charge, to any person obtaining a copy of this software and associated documentation files (the "Software"), to deal in the Software without restriction, including without limitation the rights to use, copy, modify, merge, publish, distribute, sublicense, and/or sell copies of the Software, and to permit persons to whom the Software is furnished to do so, subject to the following conditions:
The above copyright notice and this permission notice shall be included in all copies or substantial portions of the Software.
THE SOFTWARE IS PROVIDED "AS IS", WITHOUT WARRANTY OF ANY KIND, EXPRESS OR IMPLIED, INCLUDING BUT NOT LIMITED TO THE WARRANTIES OF MERCHANTABILITY, FITNESS FOR A PARTICULAR PURPOSE AND NON-INFRINGEMENT. IN NO EVENT SHALL THE AUTHORS OR COPYRIGHT HOLDERS BE LIABLE FOR ANY CLAIM, DAMAGES OR OTHER LIABILITY, WHETHER IN AN ACTION OF CONTRACT, TORT OR OTHERWISE, ARISING FROM, OUT OF OR IN CONNECTION WITH THE SOFTWARE OR THE USE OR OTHER DEALINGS IN THE SOFTWARE.

Comments