
In a previous blog post, we made a pair of LED panel lights for our workshop to use with photography and video recording.
After recording a few videos, I found that the PWM dimmable power supplies I had purchased for the LED lights are switching at a low frequency at 1.4Khz and were causing a strobing effect on the video recordings. Ideally for video recording, the LED dimming needs to be at a much higher frequency of over 20Khz to avoid flickering issues.
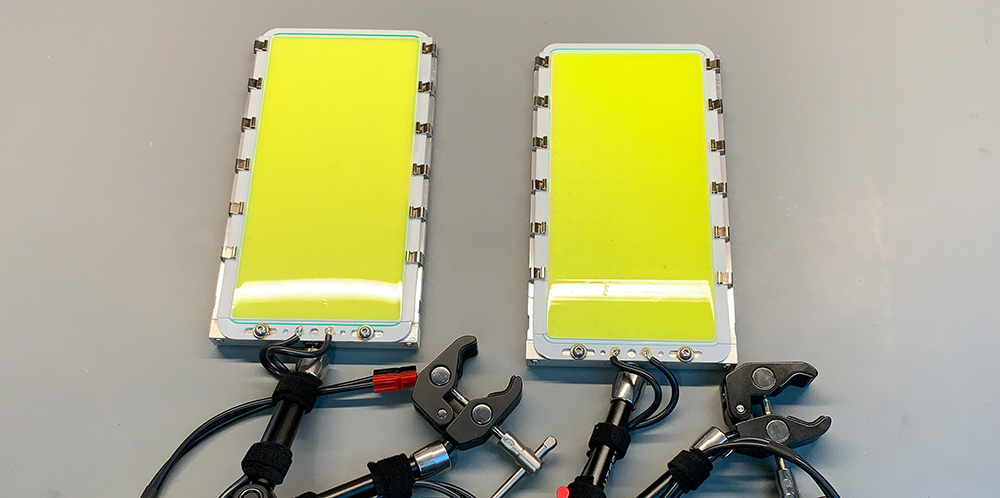
To resolve this, we will be making new high-frequency PWW switching dimmers for the new DIY lights and once the new PCBs arrive, I will add the project as a new blog post.
New Elgato Key Light
In addition to the two DIY lights, I have also purchased an Elgato Key Light which is marketed as a Professional Studio LED Panel with 2800 lumens and is controlled via a Wi-Fi connection to the PC or mobile app. I would have preferred to also have manual controls on the light but the Elgato lights do not have this option and manual switching LED panels are much more expensive.
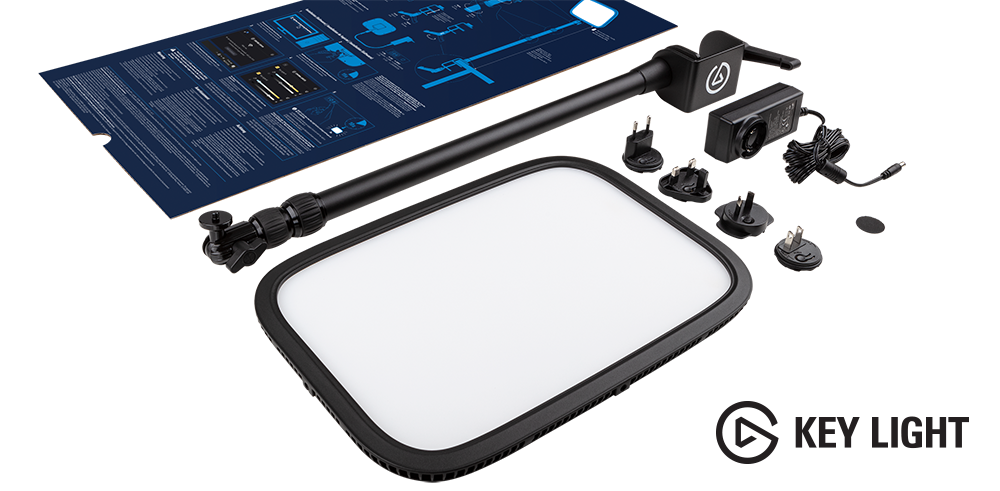
Setting up the Elgato Key Light involved installing an app on my phone which then connects to the light via Wi-Fi, once it was connected, I needed to find the MAC address of the Elgato light to add it to my network's MAC list.
Elgato does not provide the MAC address of the light either on the physical unit, the box or within their software and so I had to check all 30+ devices on the network to find the correct MAC address.
It appears that the MAC address for the Elgato lights starts with 3C:6A which when checked online is the address space assigned to a company called Dexatek Technology LTD which seems to be an OEM for a lot of smart home devices.
Video Capture
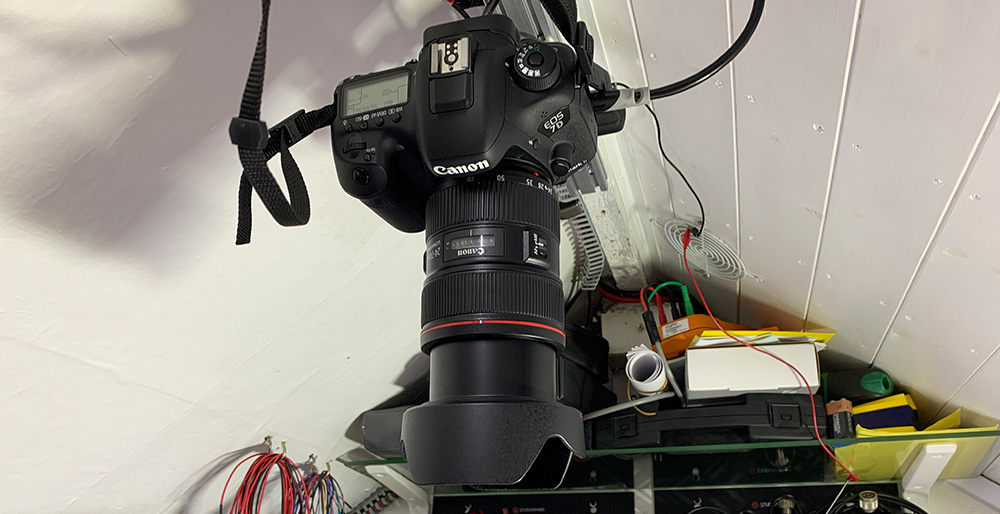
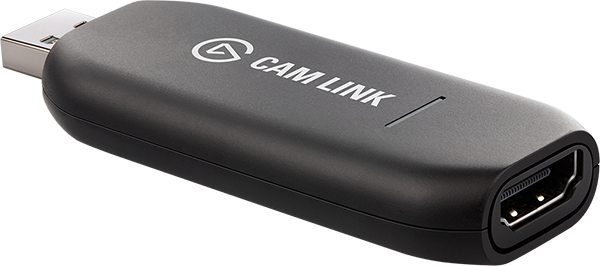
For capturing video and stills from the workbench, we created a new bracket which is screwed to the centre of the roof beam and uses a spare Manfrotto tripod head to hold my Canon 7D Mk2 above the workbench and is connected via HDMI to a new Elgato Cam Link 4K which is a USB to HDMI interface. The Canon 7D outputs at 1080P 50FPS resolution. The Cam Link can convert a 4K HDMI resolution, but I would need a 4K camera to do this.
On the microscope, I am using the Canon 5D Mk 4 via a mounting adapter and this is connected to the computer via USB and using Canon EOS Webcam Utility Software https://www.canon.co.uk/cameras/eos-webcam-utility/ which captures at 1080p.
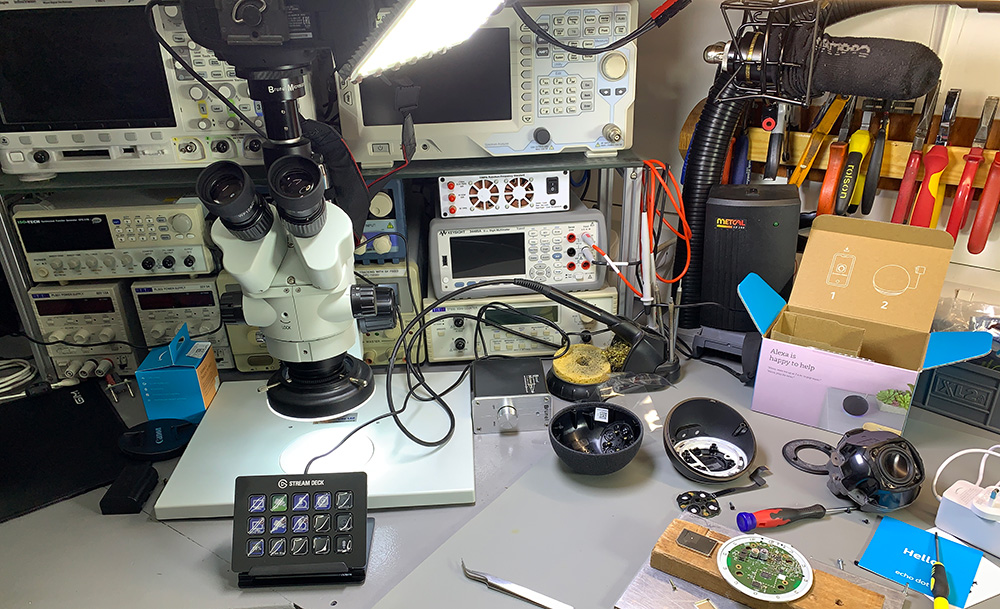
I also have an older Microsoft LiveCam webcam which is only 720p resolution but will work as a second camera for pointing across the workshop or at test equipment. I plan to get a 1080p Logitech webcam, but no one has any in stock now.
Audio Capture
To capture audio, I have a Focusrite Scarlett 4i4 USB interface which is connected to a microphone mounted under the workbench, so it is at the same height as my head. The microphone requires 48v phantom power and the Focusrite interface can provide this via the XLR cable to the Sontronics STC-20 Pack Condenser Microphone.

https://focusrite.com/en/usb-audio-interface/scarlett/scarlett-4i4
Streaming / Recording Computer
In the workshop, we have a Quiet PC Sentinel Mini system from www.quietpc.com with Intel 4th Gen Core i7 4790S 65W HD4600 8MB Quad Core CPU and 16Gb memory. The computer initially had a 512Gb SSD but as we dual boot the system with Linux and Windows 10 we decided to install a pair of 1Tb SSD drives and have a drive for each operating system.
Although this is an older computer with the 4th gen Core i7 processor, it seems to work ok and doesn’t drop any frames or cause any recording issues when using OBS Studio to capture from the cameras and audio devices.
Controlling OBS
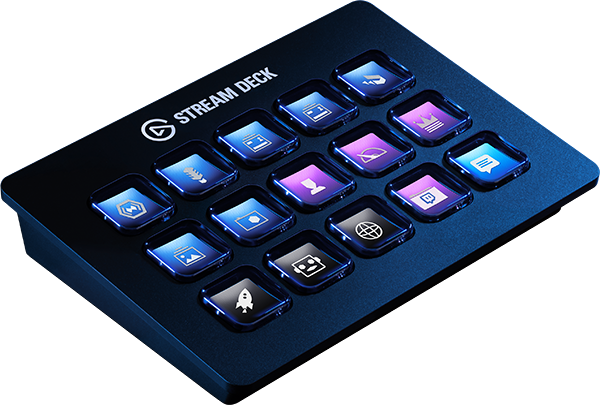
I also purchased an Elgato Streamdeck which is a customisable button controller which has 15 buttons and each can have multiple actions attached. Each button also has a small display so you can have different images on each one.

I will be adding new videos to my YouTube channel at https://www.youtube.com/c/BrianDorey/ so please subscribe to be notified of any new uploads.
Comments