The air we breathe plays a critical role in our overall health and well-being, and the air quality in our homes is just as important as the air outside. Unfortunately, many homes have poor air quality due to various factors such as mould, dust, pet dander, and chemicals from cleaning products. Poor air quality can lead to various health problems, including allergies, asthma, and respiratory infections.
One of the best ways to ensure good air quality in your home is to measure it regularly. This can be done using sensors that detect carbon monoxide, volatile organic compounds (VOCs), and particulate matter. These sensors can be connected to open-source software, such as Home Assistant, which can provide real-time data on the air quality in your home and alert you if it reaches harmful levels.
Using Home Assistant

Home Assistant is an open-source platform that allows you to automate your home and control various devices using a single interface. It's compatible with a wide range of sensors, including those that measure air quality. Once connected, you can use the software to monitor and track the levels of pollutants in your home over time and even set up notifications to alert you when the air quality drops below a certain level.
In addition to measuring air quality, Home Assistant allows you to control other devices in your home, such as lights, thermostats, and security cameras. This means that you can use the software to monitor the air quality in your home and take steps to improve it. For example, you can set up automation to turn on an air purifier when the levels of pollutants in the air rise above a certain level.
Overall, good air quality is essential for the health and well-being of you and your family. Using open-source software like Home Assistant, you can easily measure and monitor the air quality in your home and take steps to improve it. This will help protect your health and make your home a more comfortable and pleasant place to live.
Air Quality Sensors
To measure our home's air quality, we use a Netatmo Smart Home Weather Station, which measures temperature, humidity, air quality, CO2, and sound levels.
We also use a modified Ikea Vindriktning air quality sensor, which checks the air quality by detecting particles (PM2.5) in your home. Power is supplied via a USB-C connector which powers the sensor, and a light indicates 3 levels of air quality – green (good), yellow (ok), and red (poor).
Adding Wi-Fi to the Ikea Vindriktning
The Ikea Vindriktning sensor is modified using an ESP8266 ESP-12F Mini Module (amazon link), which is flashed with Tasmota and configured to send data to Home Assistant via the MQTT server.
The case of the Vindriktning is held together with four screws; removing these allows you to separate the case. One side of the case contains the control PCB, and the other contains the air sensor.
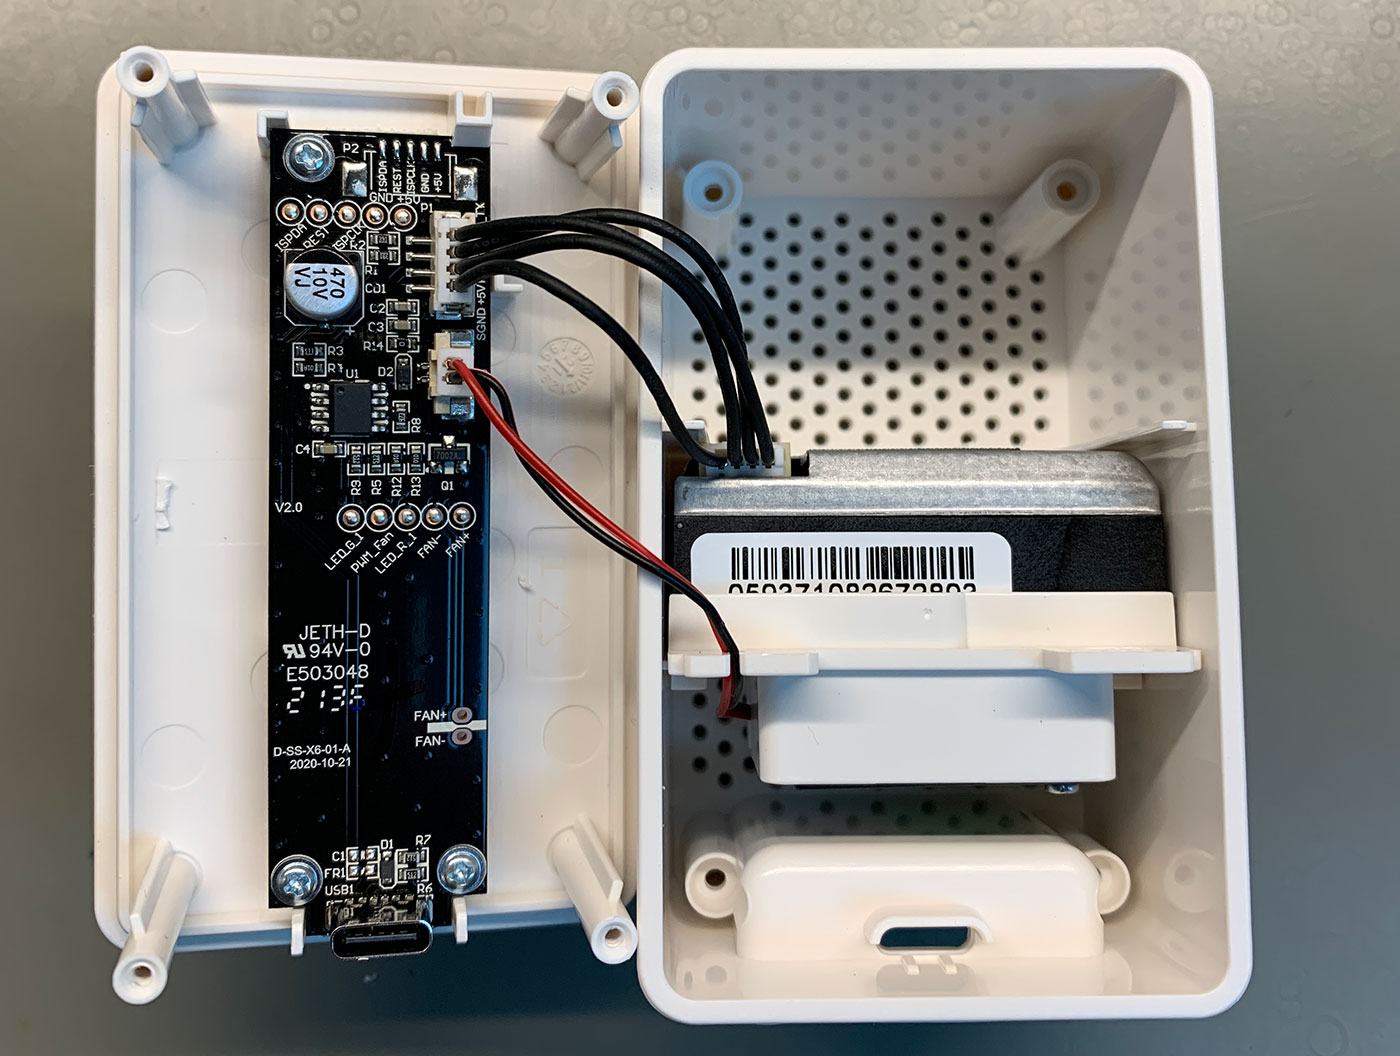
The PCB is held into the case with three small screws. With these removed, you can disconnect the two connectors which power the LEDs and air quality sensor.
At one end of the PCB are small solder pads marked:
- ISPDA
- REST
- ISPCLK
- GND
- +5V
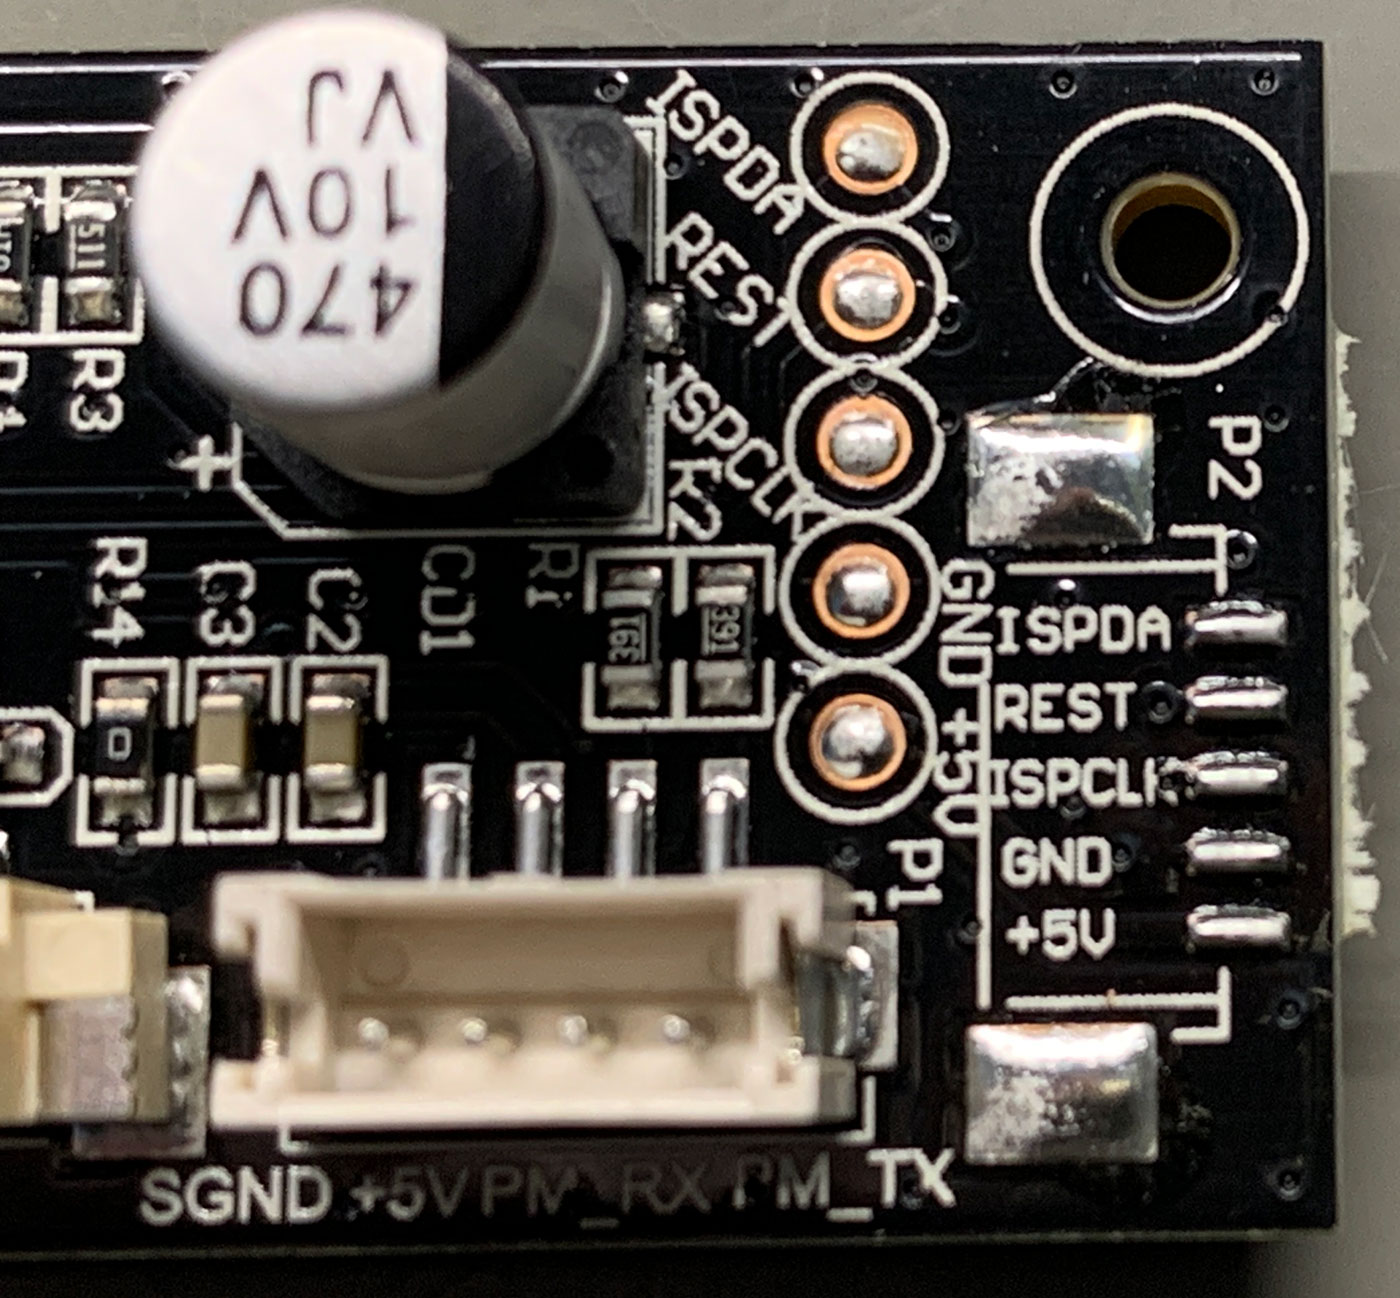
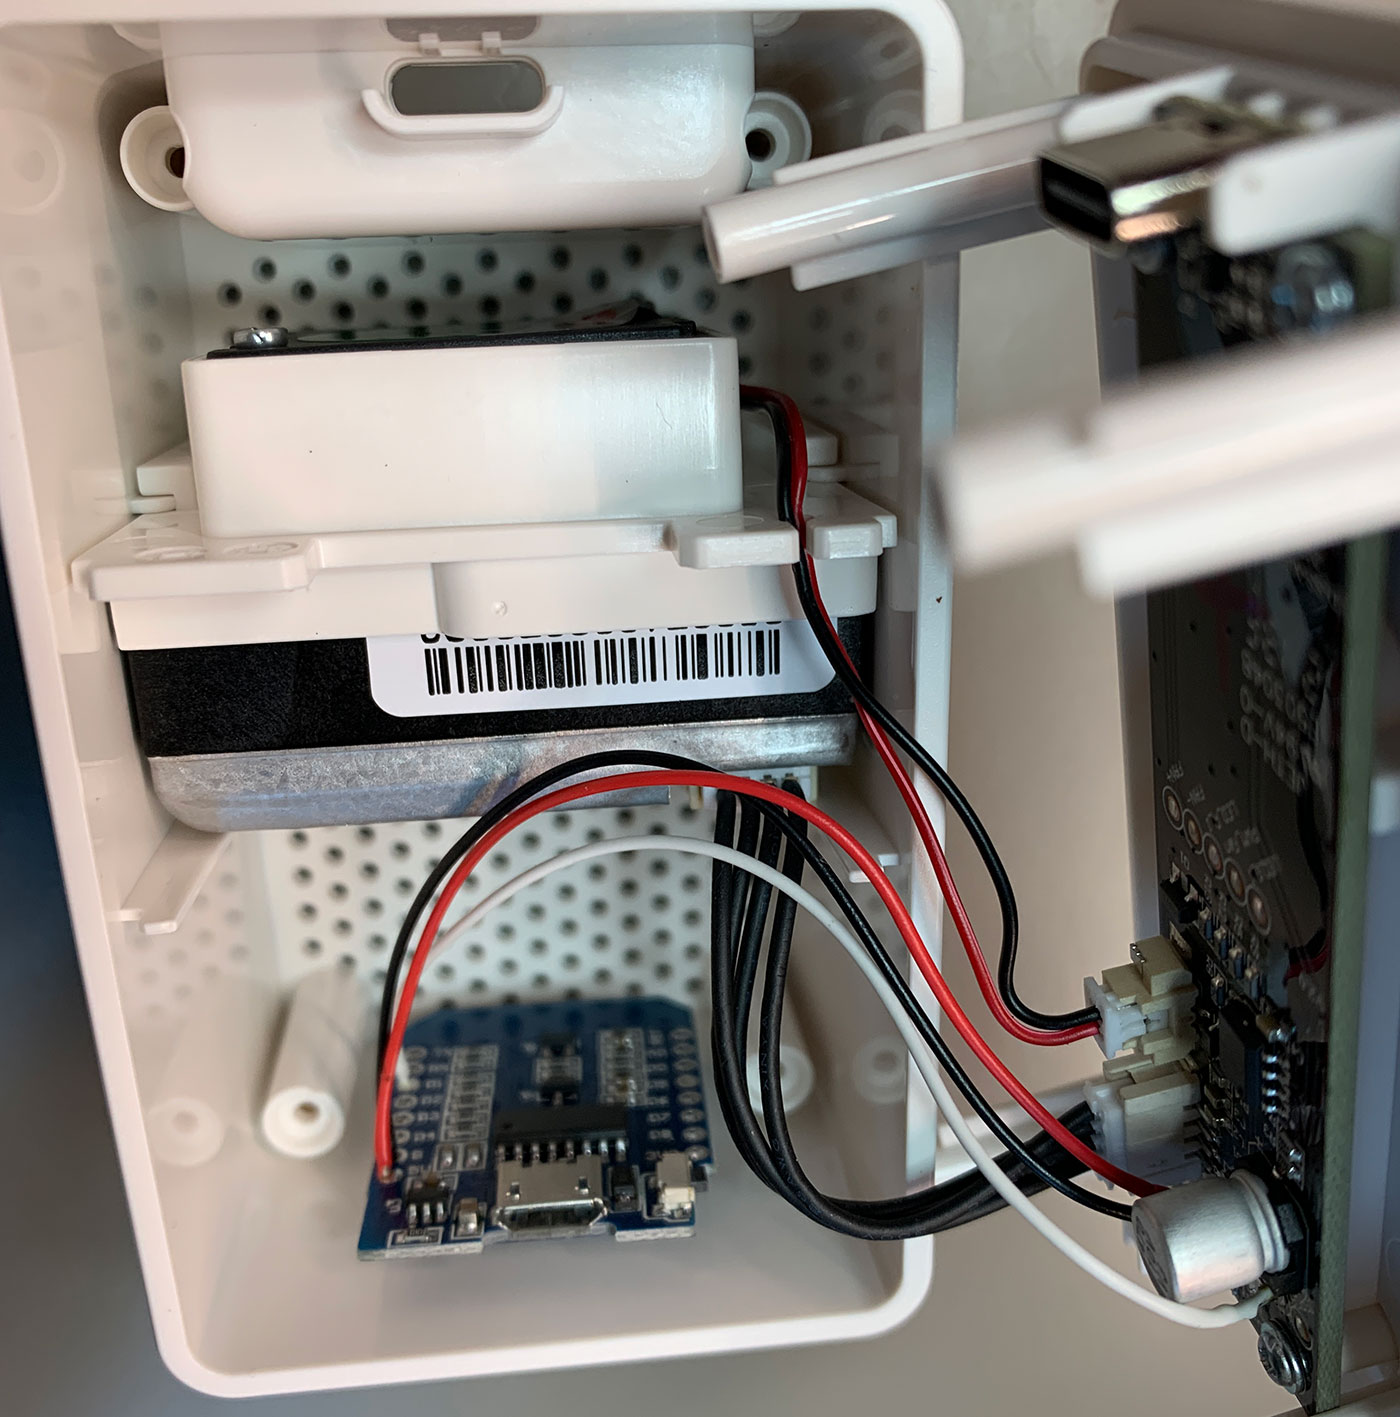
Wires need to be soldered to the +5V, GND and REST pins. These are connected to the ESP8266 ESP-12F Mini Module on the following Pins:
| Vindriktning PCB | ESP8266 ESP-12F Mini Module |
|---|---|
| +5V | 5V |
| GND | G |
| REST | D1 |
With the wires connected, the ESP8266 ESP-12F Mini Module can be fitted into the case allowing access to the USB socket and reset button.
Programming the ESP8266 ESP-12F Mini Module with Tasmota
1. Connect the device to your computer via a USB Mini cable, and the module should be detected as a USB-Serial device. Hold the reset button when connecting to your computer to put it into programming mode.
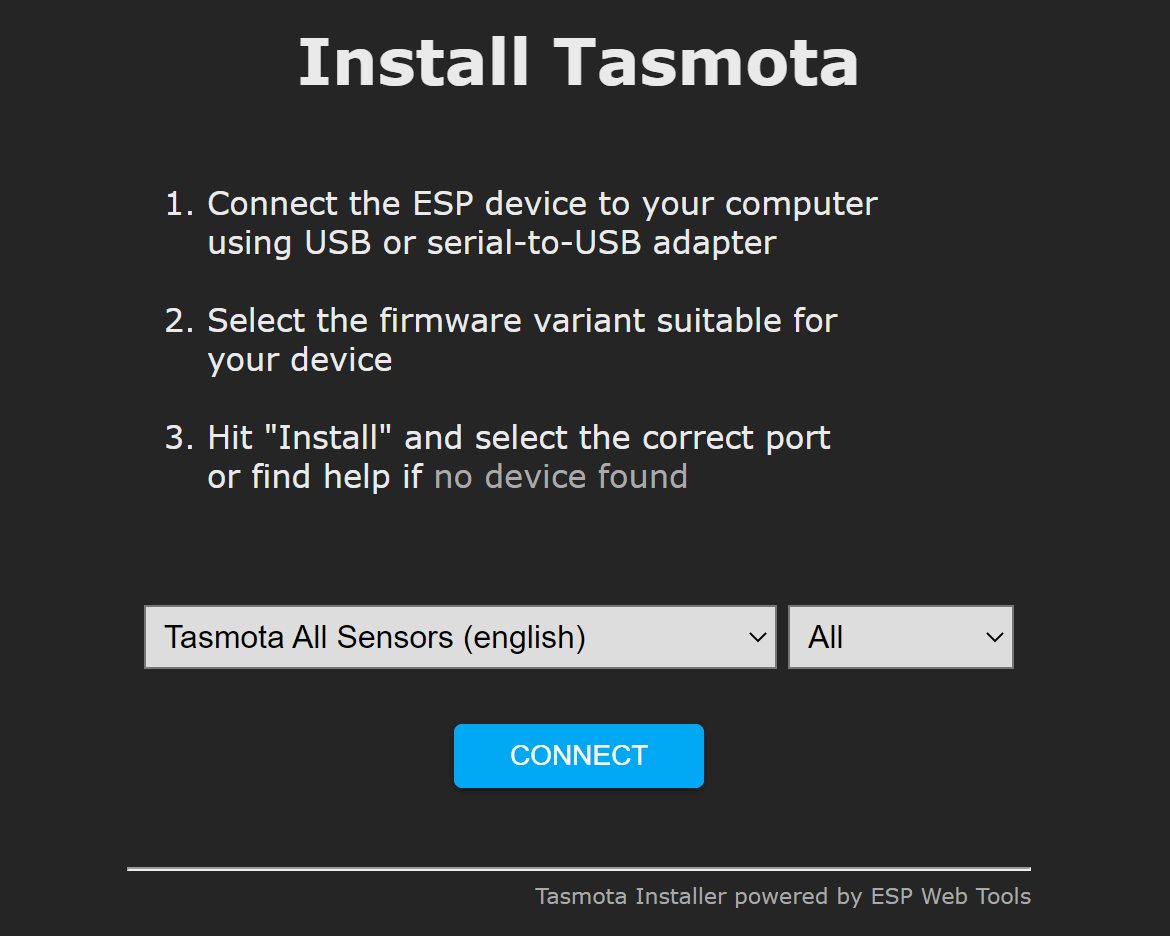
2. In your web browser, go to the web installer at https://tasmota.github.io/install/
3. Select "Tasmota All Sensors" in the dropdown menu under the unofficial section.
4. Select your language and click "Connect".
5. A popup window will appear with a list of available devices, select the COM port for your module and click connect.
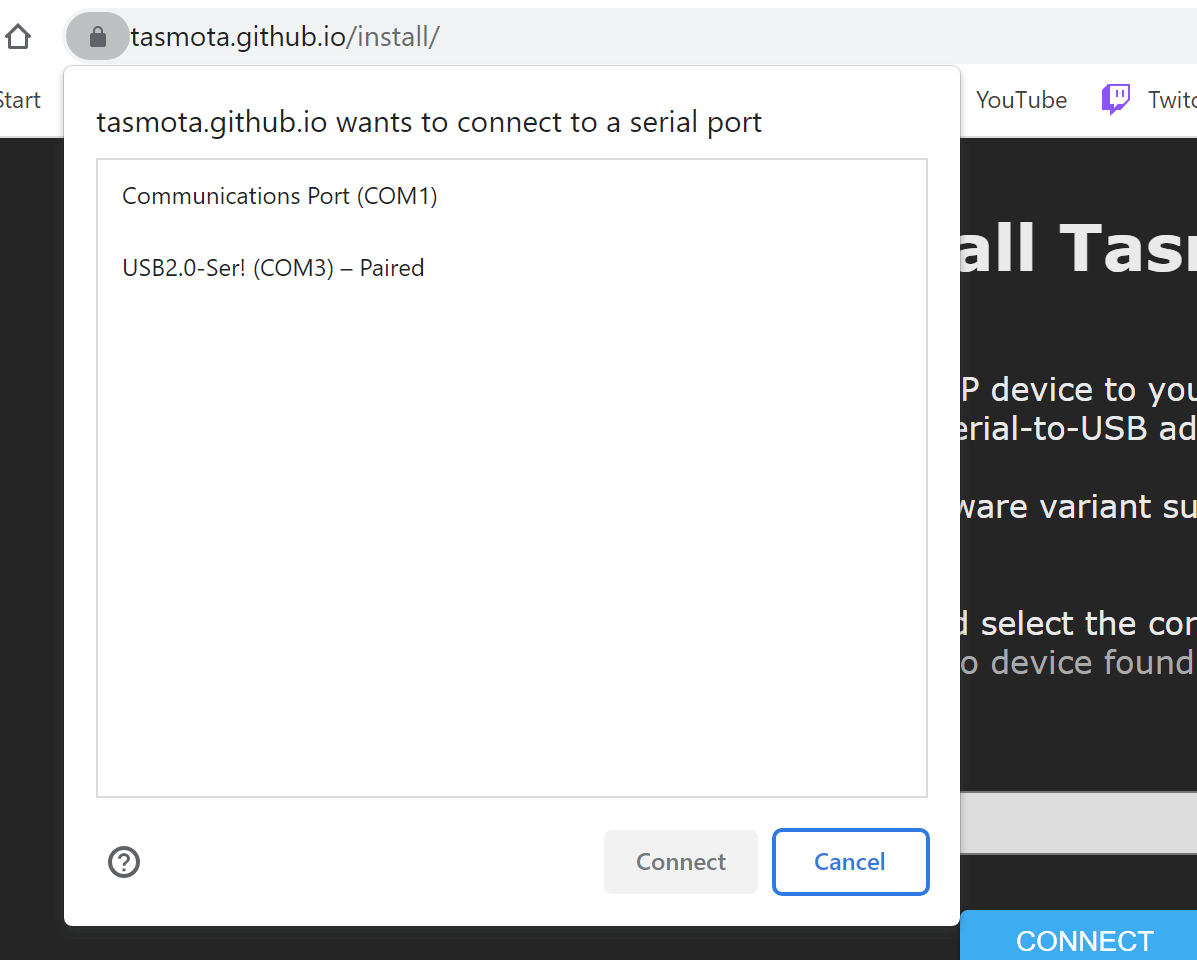
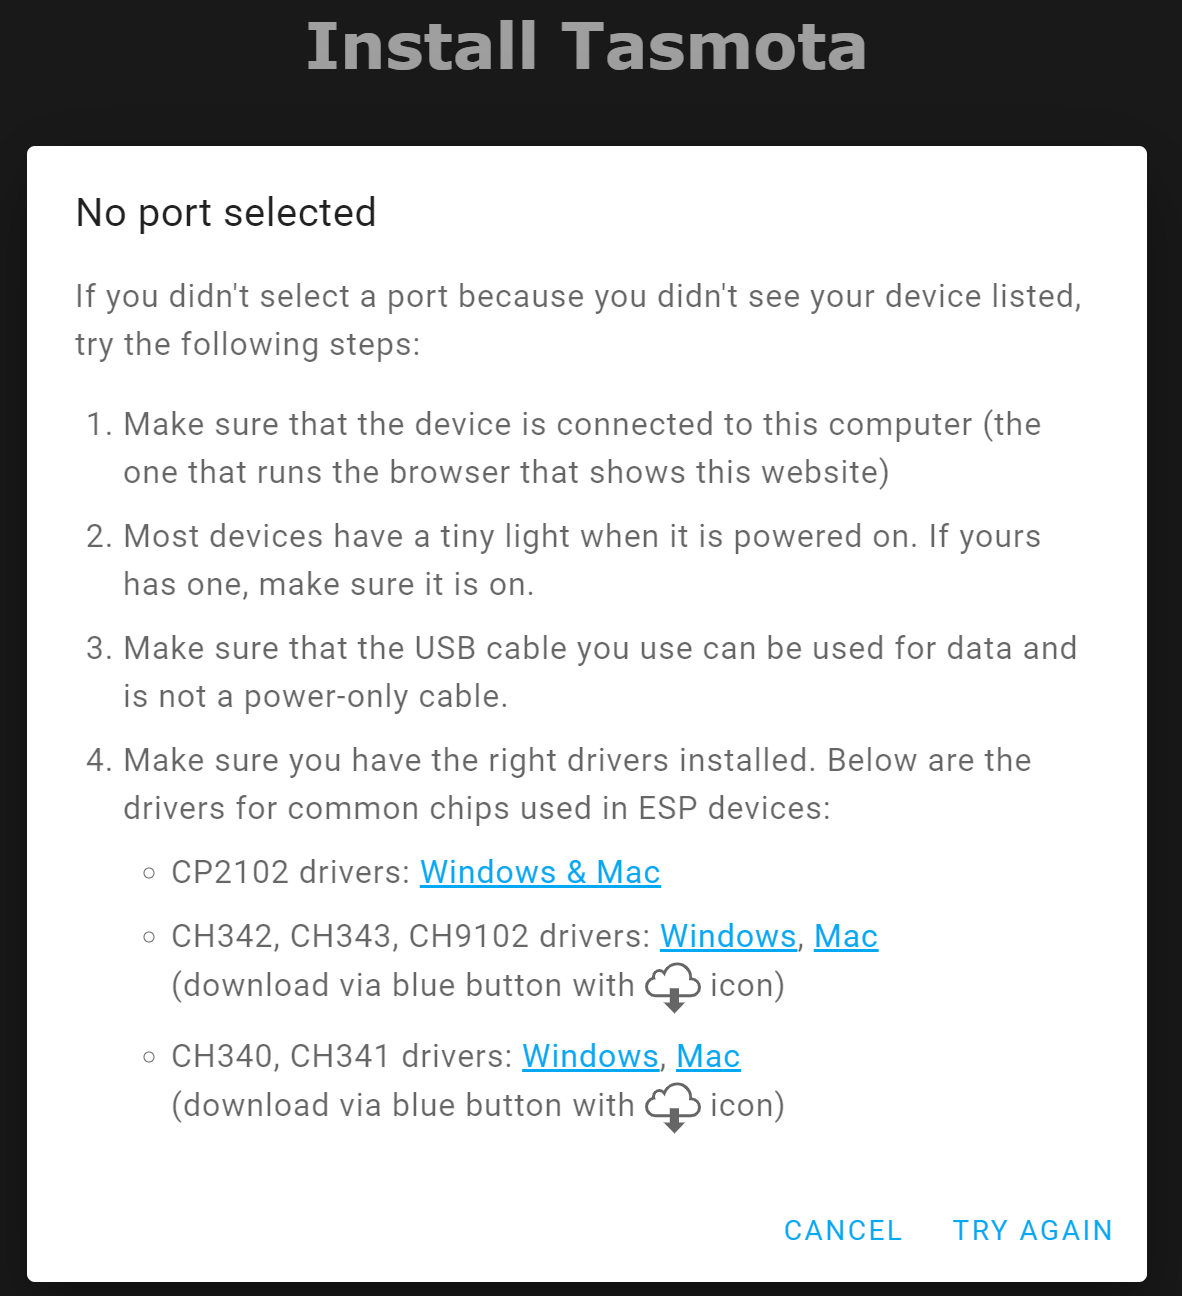
6. You may need to download and install a USB driver if your device is not connected. The links will be shown on the "No port selected" screen.
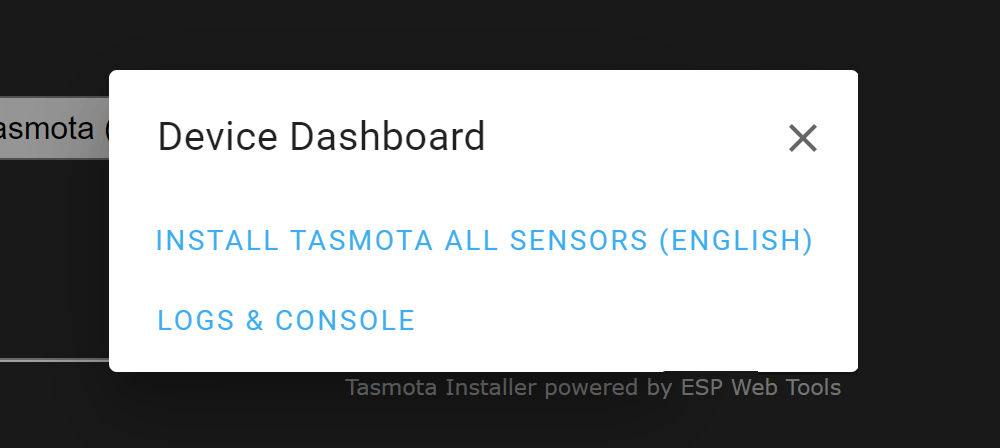
7. When the device is connected, you will be shown two options: Install Tasmota All Sensors or Logs & Console.
8. Select “Install Tasmota”.
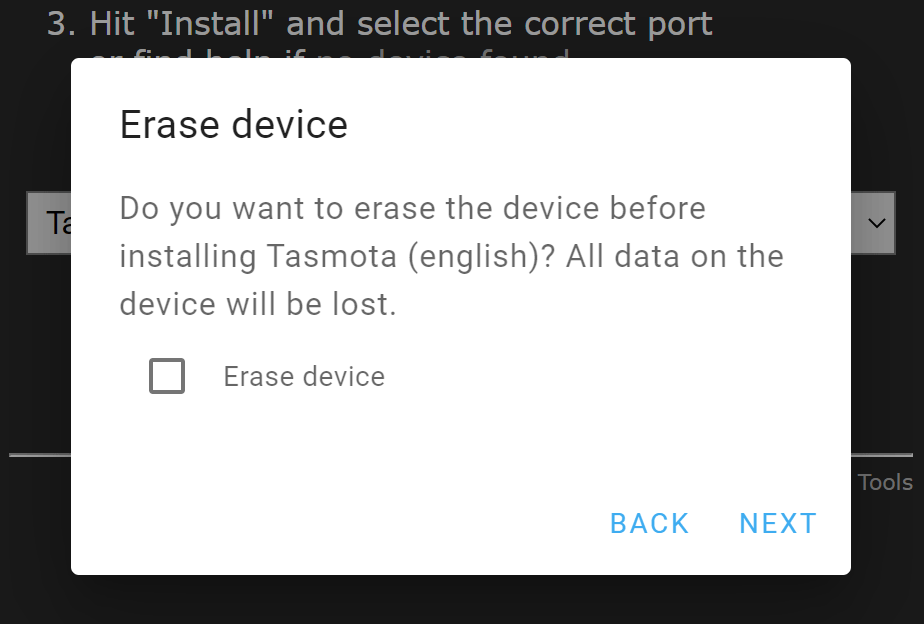
9. Tick the box for "Erase device" and then click "Next".
10. A confirmation dialog will show, and click "Install" to continue.
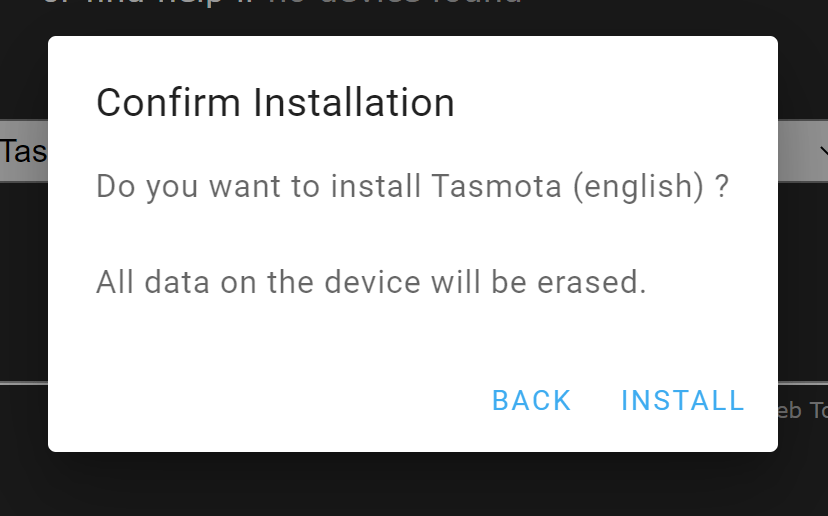
11. The installation will start, erasing the device and loading the new firmware.
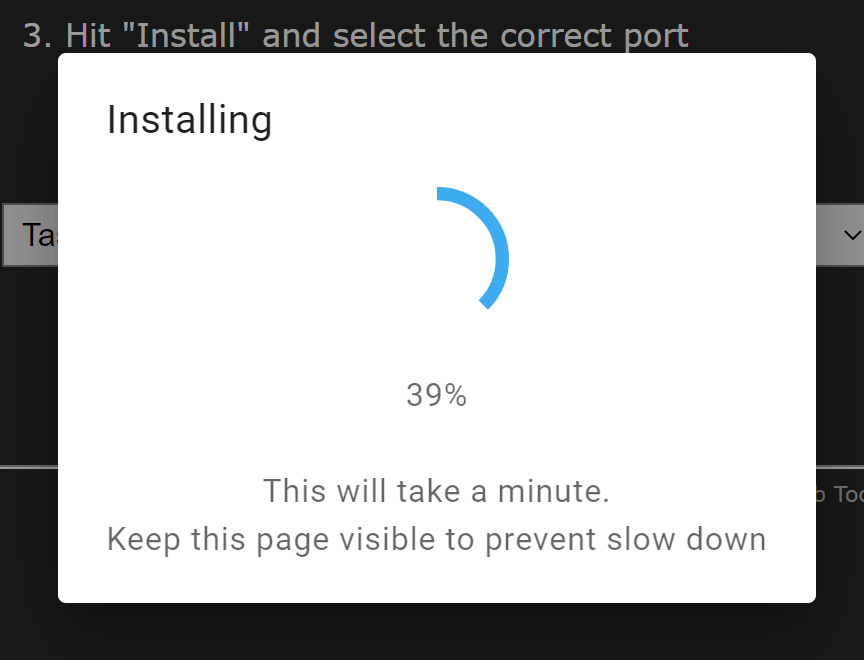
12. When the installation is complete, click "Next"
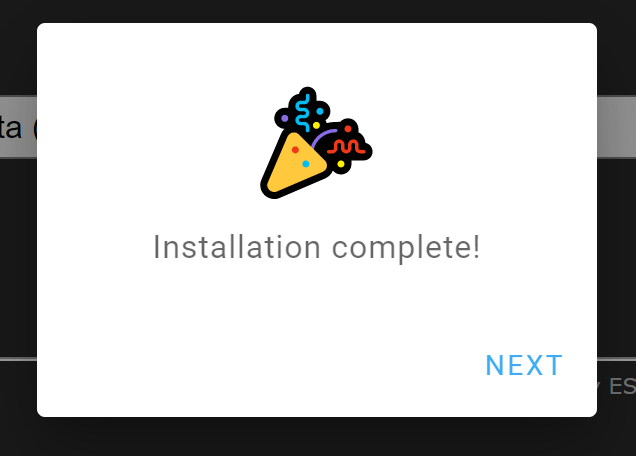
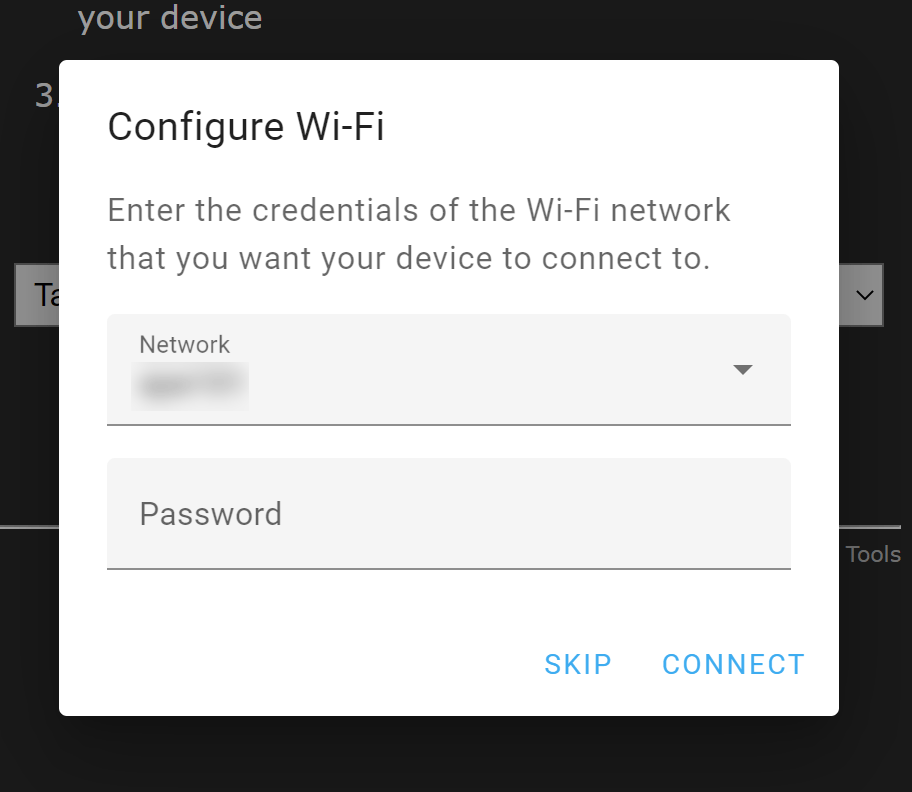
13. The device will scan for available Wi-Fi networks and show a dialog titled "Configure Wi-Fi" with a menu containing all available Wi-Fi networks and a password field.
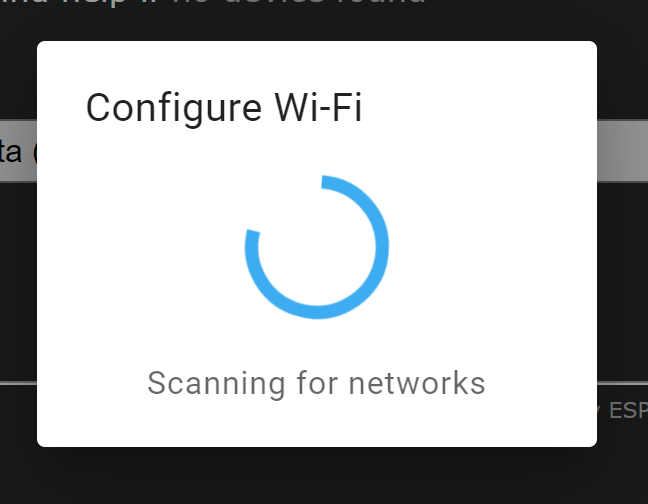
14. Select your Wi-Fi network and enter your password and click "Connect".
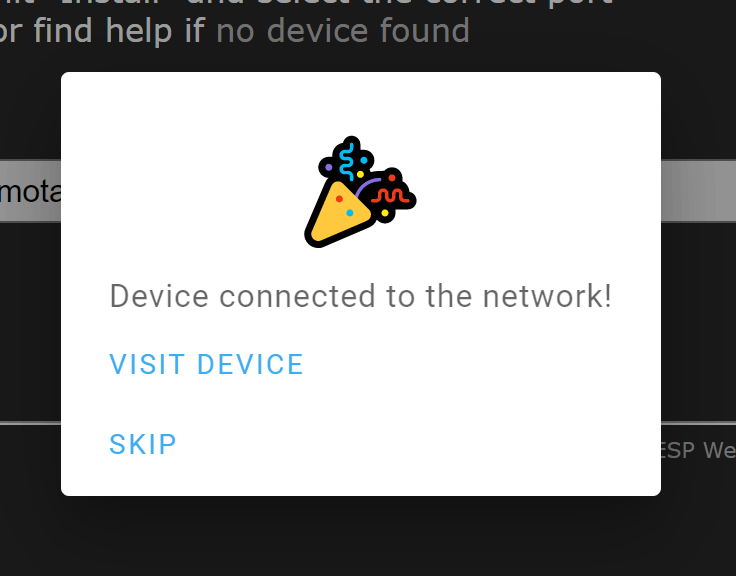
15. The device will connect to your Wi-Fi network and then show a dialog showing that it is connected. Click "Visit Device".
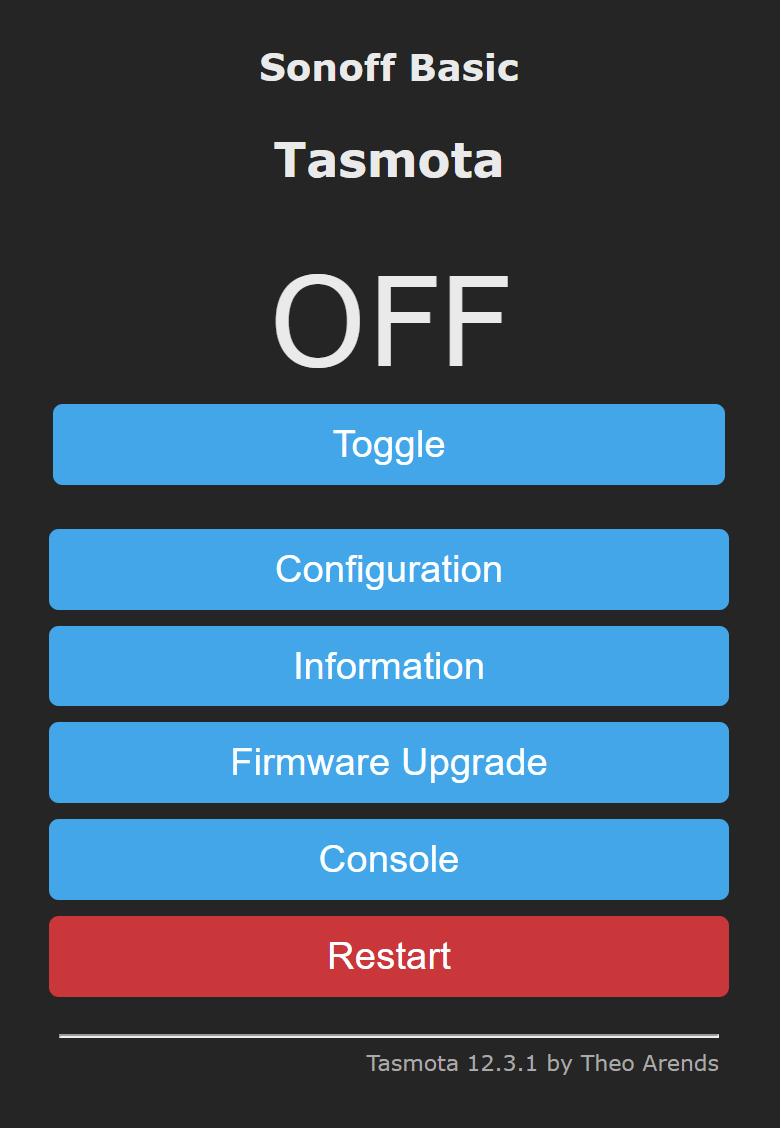
16. The browser will connect to the devices IP address, and the main Tasmota web page will load.
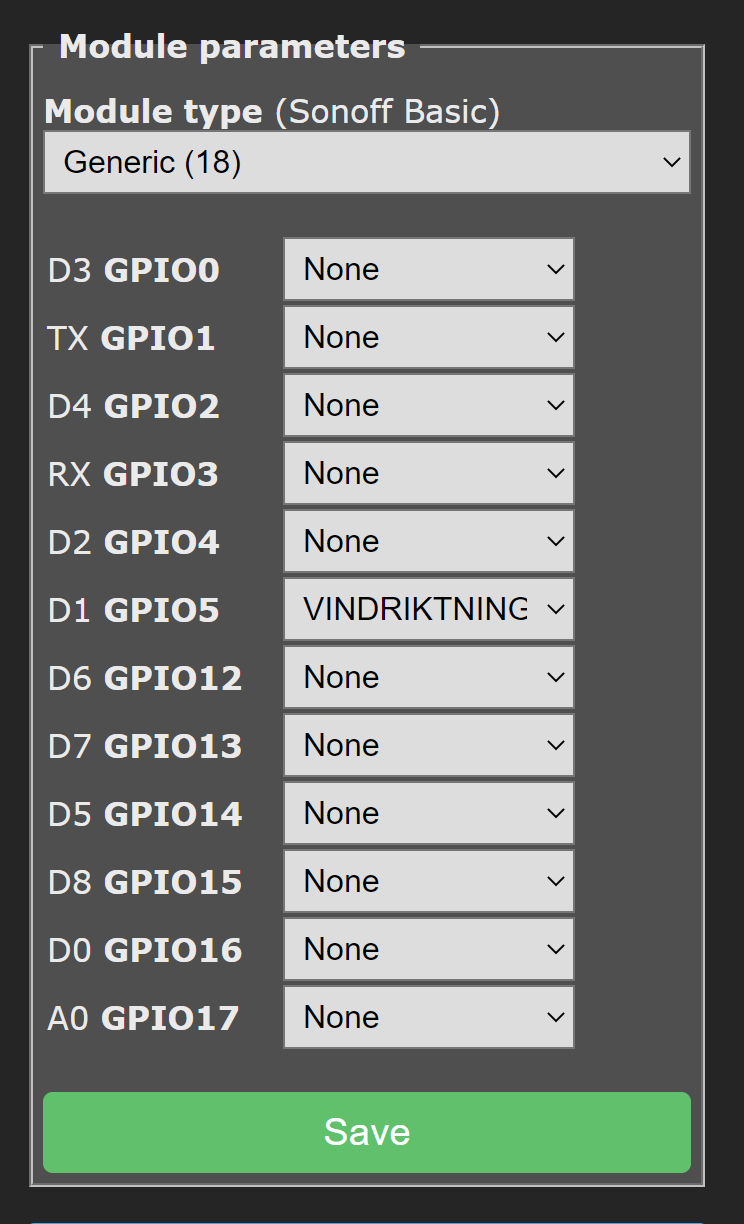
17. Click "Configuration" and select "Configure Module".
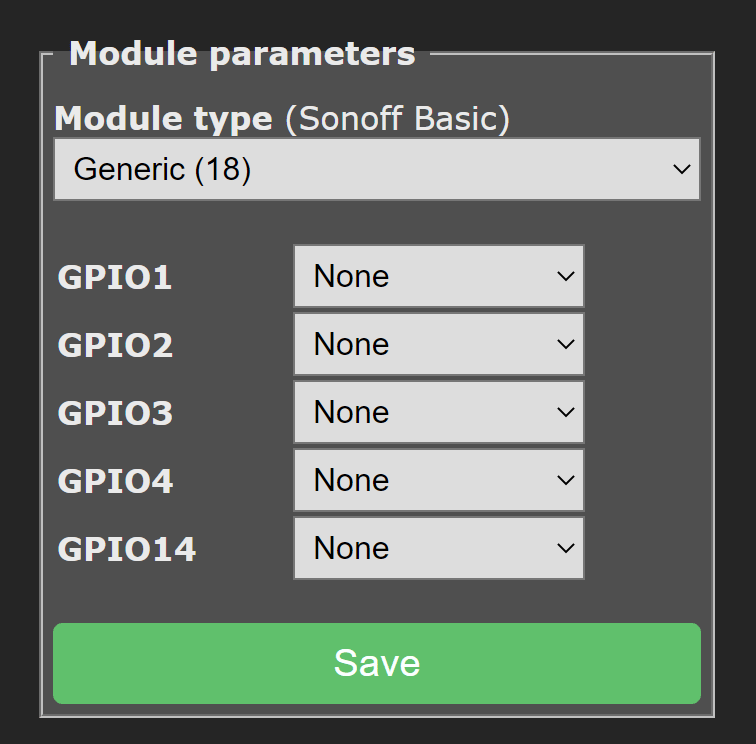
18. Select the Module Type "Generic (18) and click "Save".
19. The device will restart and return you to the main screen.
20. Click "Configuration" and select "Configure Module".
21. Select "Vindriktning" on the D1 GPIO5 menu and click "Save".
22. The device will restart and return you to the main screen.
23. Go to "Configure Other", enter a new Device Name and Friendly Name such as "AirQuality" and click "Save"

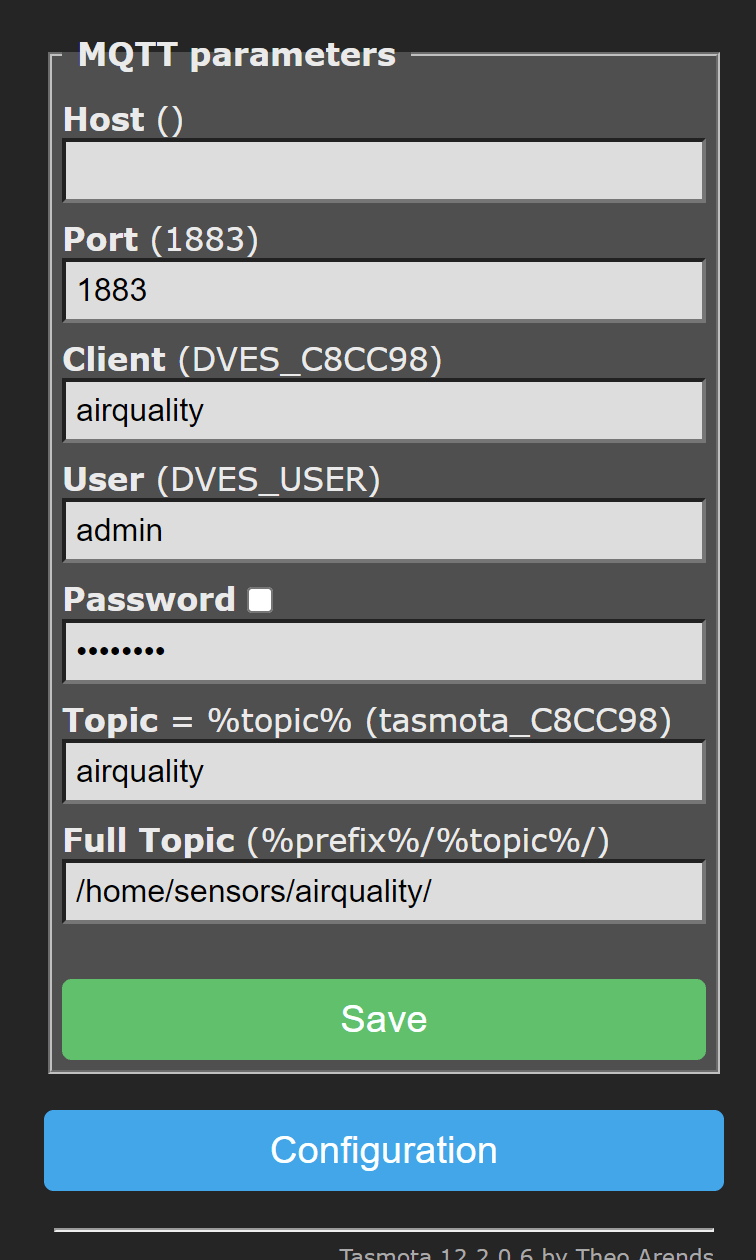
24. Next, we configure MQTT, go to "Configure MQTT".
25. Enter the Host, Port, Client, User, Password, Topic and Full Topic.
26. Click Save, and the data will now be sent to your MQTT Server.
Setting up Home Assistant for the Vindriktning Sensor
Open your home assistant configuration.yaml file or MQTT sensors file and add the following code to create the new sensor:
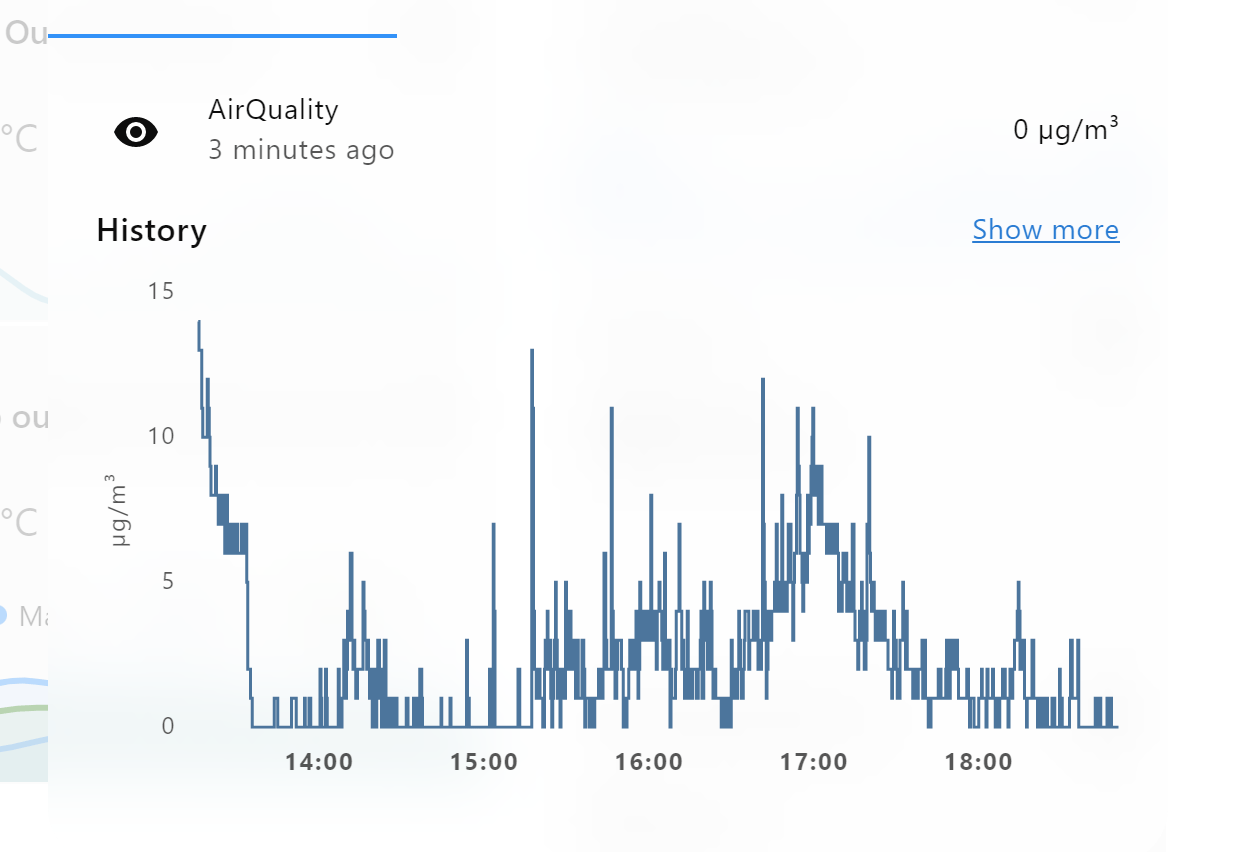
  - state_topic: "/home/sensors/airquality/SENSOR"
    value_template: "{{ value_json.VINDRIKTNING['PM2.5'] }}"
    name: "AirQuality"
    unit_of_measurement: "µg/m³"
Restart Home Assistant and add the new sensor to your dashboard.
Setting up Home Assistant for Netatmo Smart Home Weather Station
First, you must set up the Netatmo Smart Home Weather Station to connect to your network using the app. Instructions for this are provided with the device.
- In Home Assistant, go to "Settings"
- Go to "Devices & Services"
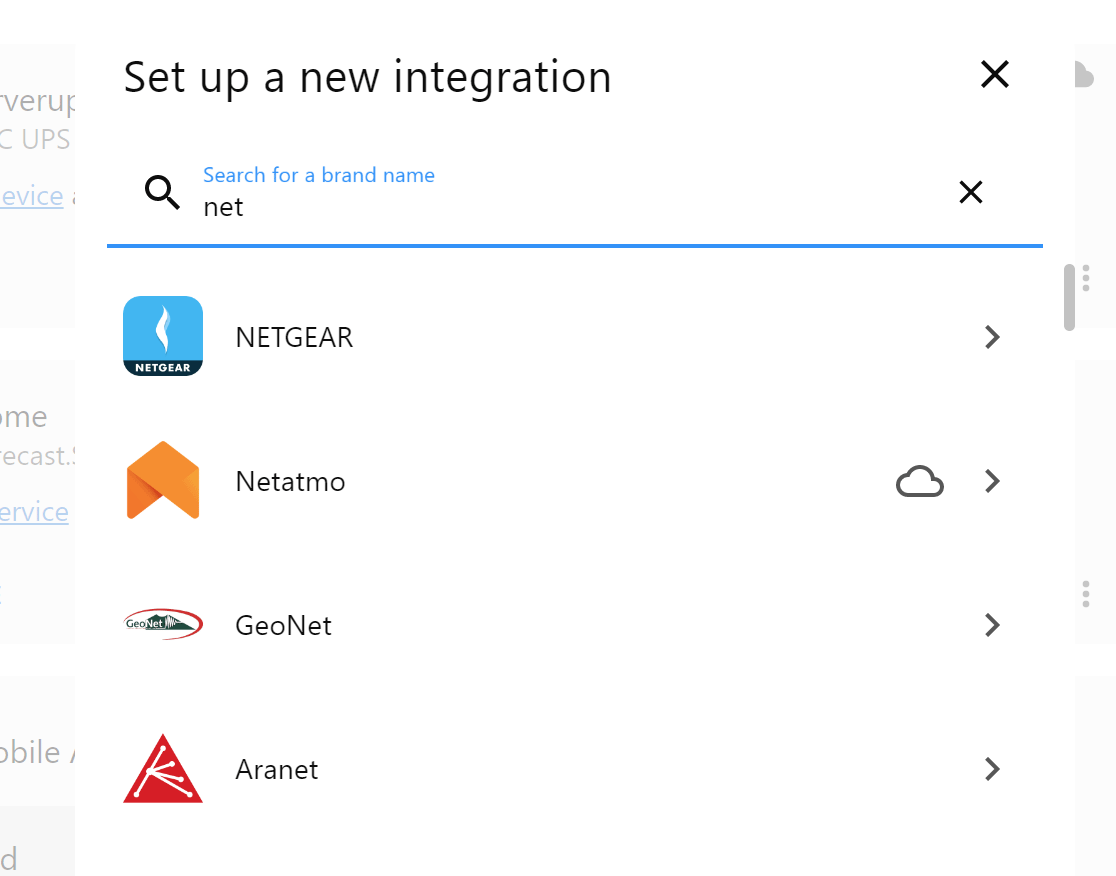
- Click "+ Add Integration"
- In the search box, type "net", and this will filter the list
- Select "Netatmo"
- The Netatmo website will load asking you to login to give permissions for Home Assistant.
- When the permissions have been accepted a new integration will be listed for the weather station.
- Add these entries to your dashboard to show the new sensor's data.
Adding alert notifications
I used a blueprint for Home Assistant from gist.github.com/tvwerkhoven to create a high and low CO2 alert from the Netatmo sensor.
This blueprint can also be used for the Vindriktning sensor to send you alerts or activate ventilation or fans if the air quality is poor.

Jan
Hi! I was following your blog posts with RSS reader (feed was available at www.briandorey.com/rss.aspx) but the feed was removed... do you plan to bring it back? Thanks!
Brian
Hi Jan, The RSS feed had to be removed in January because the file was hit by thousands of requests every minute for several days, which was crashing the blog.
The requests were coming from multiple IP addresses, so it wasn’t possible to block them at a server level.
I have added the feed back to the site at https://www.briandorey.com/rss.xml, and I hope the dos attack doesn’t happen again.
Aurel
@Jan, it's been there all along at https://www.briandorey.com/rss
Rick
Thanks for this guide. Deployed 5 esp8266 modified Vindriktning sensors in my home and integrated into Home Assistant.
Just something to note, the default `TelePeriod` is 300 seconds. If you want the sensor to update HA faster go into the Tasmota console and do something like `TelePeriod 60`. It can be anything between 10..3600/