After purchasing further solar cells from the USA via eBay, We are building four new weatherproof outdoor solar panels which should supply around 320w which should be enough energy to run the household lighting circuit and all the low-power appliances in the house including the computer networks, router and phone and small appliance chargers using.
The panel built last year using foamx plastic for the backing has twisted over the winter and didn't respond well to sunlight over the year so the new panels will be built from 12mm marine plywood with 2mm glass fronts and with 20mm aluminium corner edging. The new panels will be fixed to two 4.8m long aluminium bars which will be fixed between each side of the roof on the chimneys.
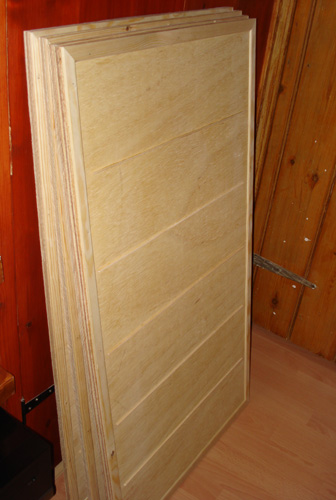
Started work today building the wooden backing boxes for the panels which are 575mm x 1020mm x 16mm. Along the edge of the 12mm plywood, we attached strips of 4mm thick pine to hold the glass above the panels and across the main panel area attached strips of 2mm wide by 4mm high wood to act as spacers between the cells and also to support the glass.
The photo below shows the finished board ready to be primed and painted.

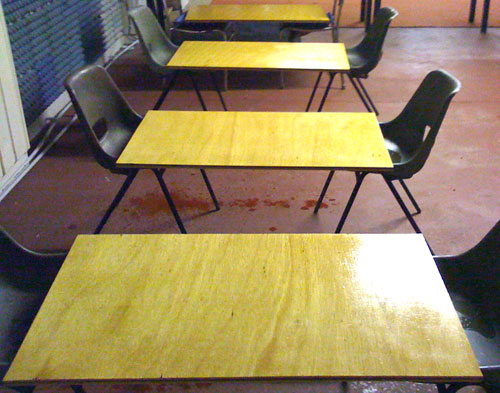
The photo below shows the four panels ready to be primed and painted.
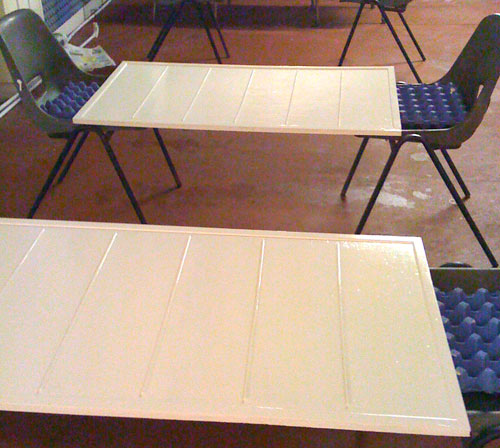
Two coats today of Dulux Trade Weathershield Preservative Basecoat to seal the wood, this needs 48 hours to dry and then the panels will be painted with exterior gloss and the glass ordered.
The photo below shows the panels after being primed with two coats of wood Dulux Trade Weathershield Preservative Basecoat. (poor quality as it was taken with my iPhone)
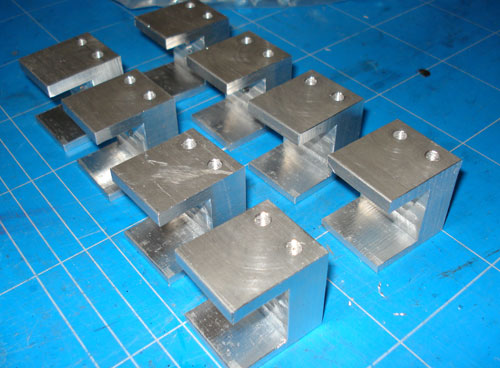
Using a 35mm square aluminium bar, we machined a slot into the bar and cut it into 30mm wide brackets which were drilled and tapped to take M5 bolts. Four of these brackets will be bolted to the panel baseboards and this will allow the easy fitting and removal of the panels to the 25mm square tube which will be fitted across the roof.
The flat aluminium brackets to bolt to the chimneys on both sides of the roof are also finished and have been painted. They will be fixed to the chimneys when the weather permits.
The photo below shows the aluminium mounting brackets after machining.
The wooden panels have now had 2 coats of exterior gloss paint on both sides and the base will have one final coat of paint before the brackets are fitted.
The photo below shows the finished boards being painted. (poor quality as it was taken with my phone)
Using a 6mm thick flat aluminium bar, we made four brackets which were attached to the chimneys on either side of the house and between these, two lengths of 25mm x 4.2m square aluminium bar were fitted to act as supports for the solar panels.
The photo below shows the brackets fitted to the western end of the house.
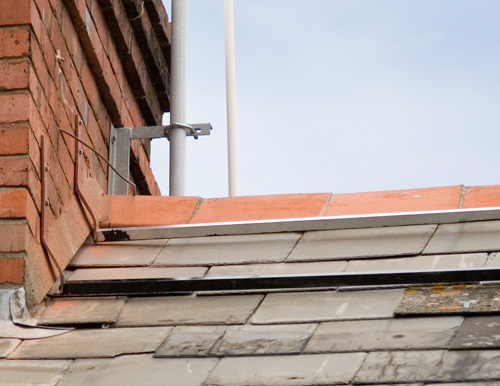
The photo below shows the brackets fitted to the eastern end of the house.

The photo below shows the pair of mounting bars fitted between the sides of the roof.
The bars are held approx 15mm off the slates to allow the solar panel brackets to slot into place and allow rainwater to flow under the panels.
Charging System Upgrades
The existing charging system used a single battery and this was connected via the charge converter to the inverter and a 12v relay which switched the mains supply between the solar inverter power and normal mains electricity.
The disadvantage which this system was a 1-2 second delay between the inverter shutting down and the 12v relay switching over to mains electricity which resulted in the lights going off for a short period when the battery was low as everything switched over.
The upgraded charging and inverter circuit use a delay timer which keeps the power to the inverter for an additional 2 seconds whilst the switch-over relay changes to mains electricity from the output of the inverter. This virtually eliminates the loss of power to the lighting whilst still keeping the inverter running during the switchover.
The delay system uses a 741 comparer chip setup as a Schmitt trigger with a simple power-off delay using a capacitor and the output for the inverter is switched to battery ground (0v) using a pair of 60Amp switching Mosfets.
Other Upgrades
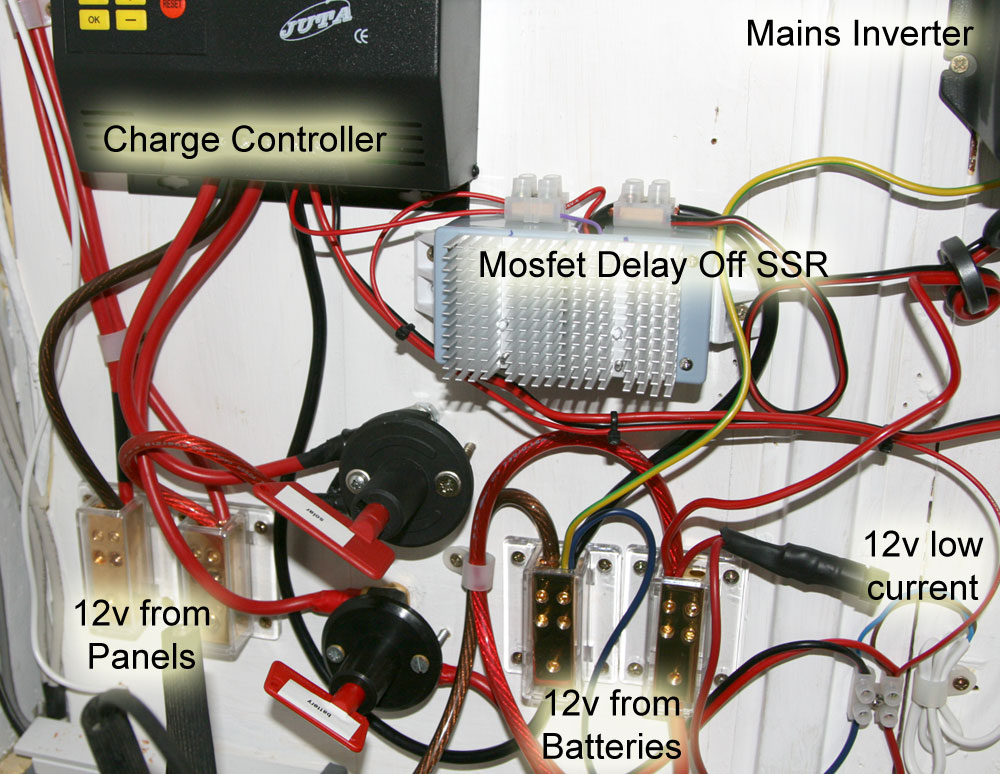
In order to allow the upgrade to 2 or more batteries we added two more large connection blocks (bottom centre in the image) and also a separately fused (5A) low current feed for supplying LED lighting and 12V appliances.
We also added two battery isolation switches which allow the charge controller to be isolated from the batteries and the solar cells. The instructions for the charge converter say that you must disconnect solar power before the batteries so this was the reason for adding two high-power switches.
The photo below shows the charging and inverter system, click for a larger image.
Soldering Cells
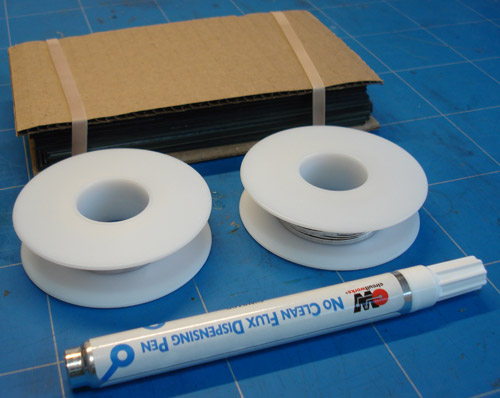
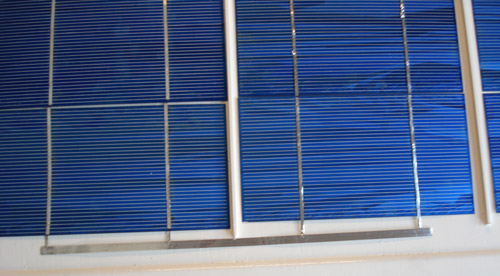
After purchasing a flux pen from Maplin, we started the long job of tinning all the cells, front and back and fitting the tabbing wire between the cells to join 36 together for each solar panel.
The photo below shows the rolls of tabbing wire, the flux pen and a pack of 50 cells
The tabbing wire was cut into short strips to join the cells.

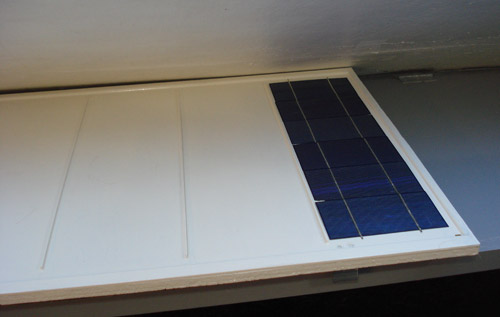
The photo below shows the first size cells joined.
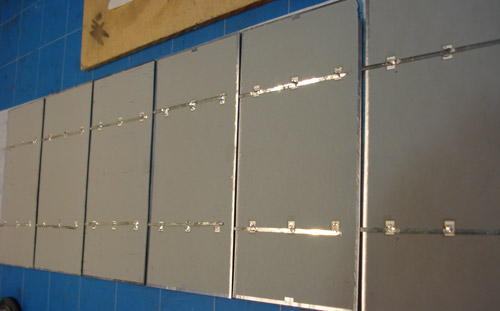
The photo below shows the first complete row in place in the panel.
One row complete of six cells complete, only 144 cells to do with 2 tab wires on each to go.
Putting it all together
Built the first of four panels today and got it installed on the roof. I am still waiting for the 12v 15amp cable roll for the other three panels, which I ordered over a week ago and the supplier isn't answering emails so it looks like I may have lost my money and will have to find it elsewhere.
The photo below shows the thicker tabbing wire used to join the rows of cells
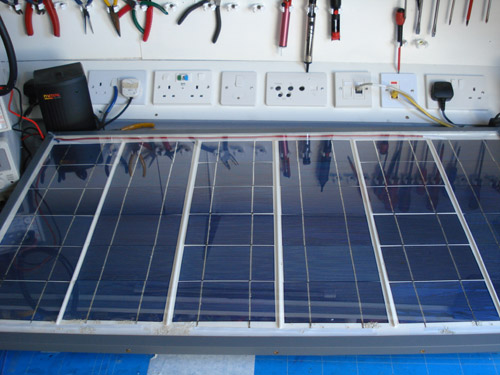
The glass was fitted to the panel using sealant and the alloy corners were fitted to each side.
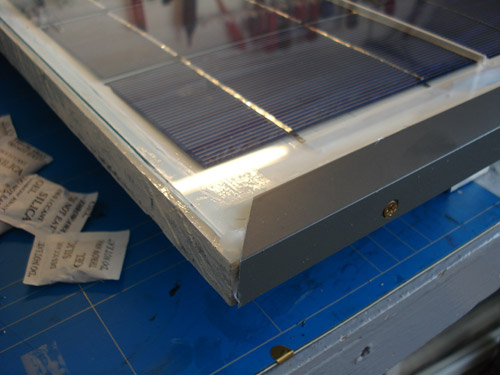
The first panel is completed and ready for fitting on the roof.
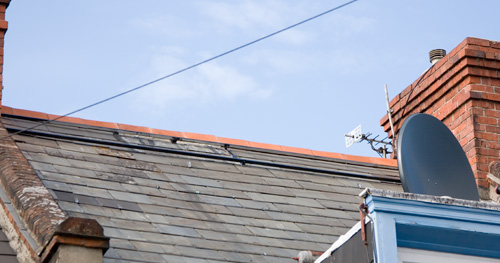
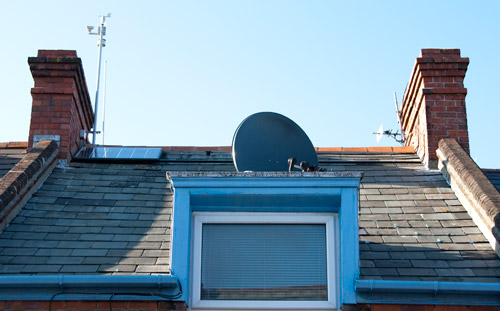
The photo below shows the front of the house with the first of four panels fitted on the left.

Comments