We have another new addition to our Home Assistant smart home setup with a Zigbee controlled thermostatic radiator valve (TRV) installed on the radiator in our loft workshop.
In the past, we have used a basic manual-controlled TRV on the loft radiator, which runs from our gas-fired central heating system with the TR set to turn off once the temperature reaches a set point.
The radiator is located next to the loft hatch, so hot air from the rest of the house would rise past the TRV and radiator, which resulted in the set temperature not working correctly. With a digitally controlled TRV, we can now add a temperature offset to prevent the valve and radiator and change its settings based on the other Zigbee temperature sensor in the loft.
The target temperature can also be changed depending on the loft hatch being opened or closed, and when it is closed, we can set a lower target temperature as the loft is not being used at that time.
Most smart thermostatic radiator valves use their own custom protocol and smart hub and use cloud-based services, which we wanted to avoid. Some use Wi-Fi, but this would reduce the battery life due to the extra current consumption of a Wi-Fi module compared to a Zigbee based system.
We found a Zigbee TRV on Amazon UK marketed as a "KETOTEK Zigbee Radiator Thermostat Valve Head Wi-Fi Compatible Alexa Google Home, Smart Radiator Valve Thermostatic Programmable Tuya Smart Life APP", which the comments showed it was compatible with Home Assistant via Zigbee2MQTT.
This model is also sold under the Tuya and Moes brands, but they all seem to be the same model but with different labels.
Specifications
- Power: 2* 1.5V alkaline batteries (NOT included)
- Display accuracy: 0.5?
- Sensor: NTC(10k)1%
- Range of temperature display: 1~70
- The default range of temperature adjustment: 5~35.
- Maximum current: 90mA
- Maximum route: 4.5mm
- Thread size: M30*1.5
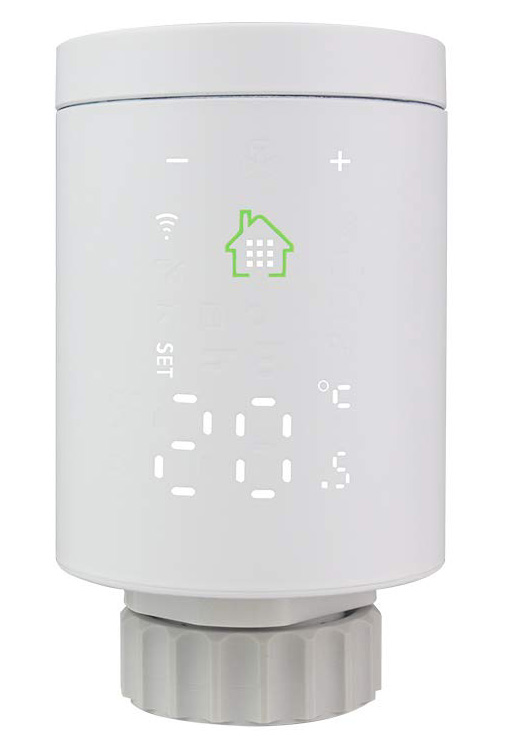
I ordered the TRV from Amazon but couldn't get it to set up, and the house icon on the front, which is supposed to be the main button to access the menus, wouldn't work reliably, so I was unable to use it.
I returned the unit to Amazon for a refund. After returning the TRV, I found this video, "Moes Zigbee Smart Valve TS0601 in Home Assistant" by BeardedTinker on YouTube, who was setting up the same valve for his Home Assistant setup.
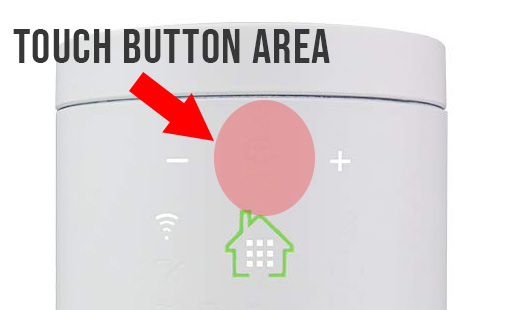
It appeared the button area was higher than the graphic showed, meaning the unit I had purchased may not have been faulty, so I ordered a second TRV to try it again.
The image shows the active touch area on the new unit compared to the green house icon, which the documentation showed was the button.
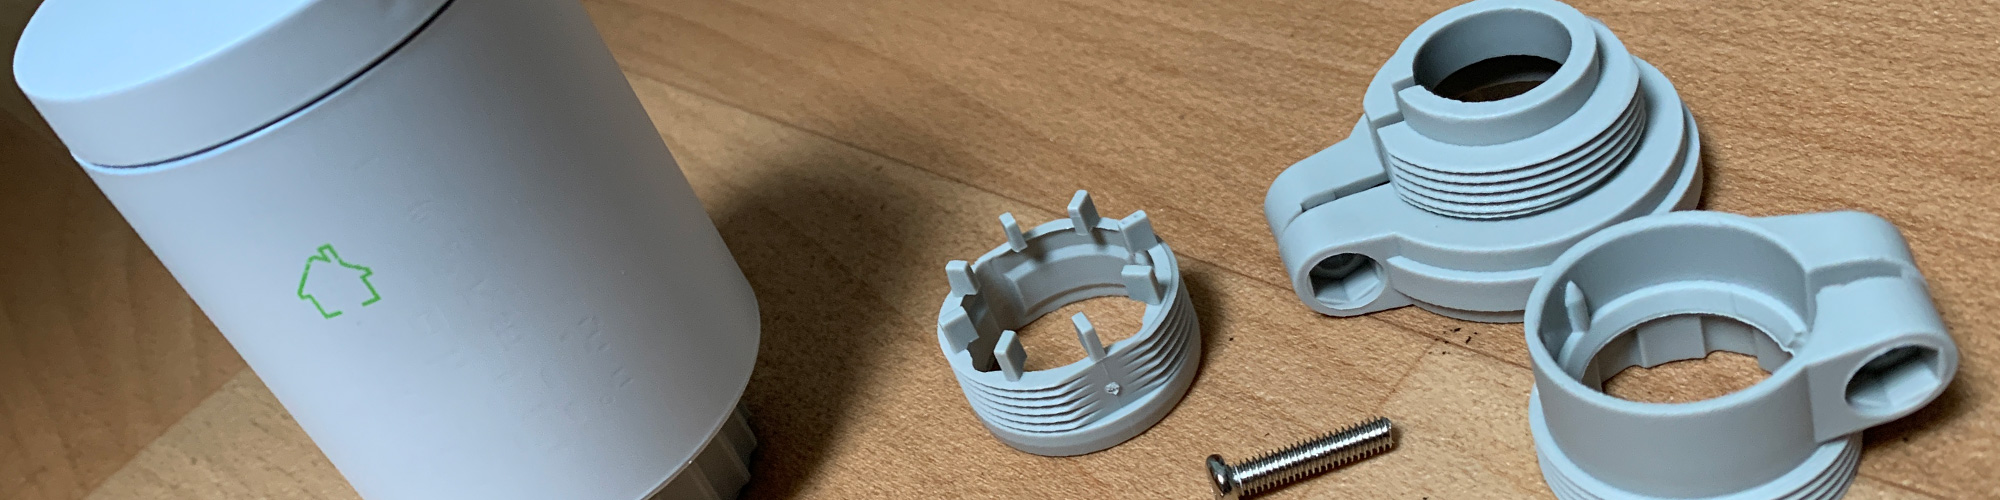
Installation
The new TRV is supplied with several mounting adapters for different radiator valves, but our radiators have older valves incompatible with the supplied fixing kit. Luckily, we have an older digital dumb TRV, which had a suitable adapter to use with the M30 * 1.5mm thread on the base of the unit.
With the TRV fitted to the radiator, we installed the batteries, and the unit went through a self-test which takes several minutes to complete. When the test is complete, the display shows the current target temperature.
Linking to Zigbee2MQTT
Hold down the central button on the TRV for several seconds to put it into setup mode, click the plus icon until you get to menu item 5 and then press and hold the central button again until the wireless icon starts to flash. This starts the pairing process.
In Zigbee2MQTT, click the top dropdown to Permit join (All), and the paring will start.
Once the TRV has been paired with Zigbee2MQTT, the new device will appear in the devices list.
Selecting the device will take you to the About page, where the friendly name can be edited along with other information about the device.
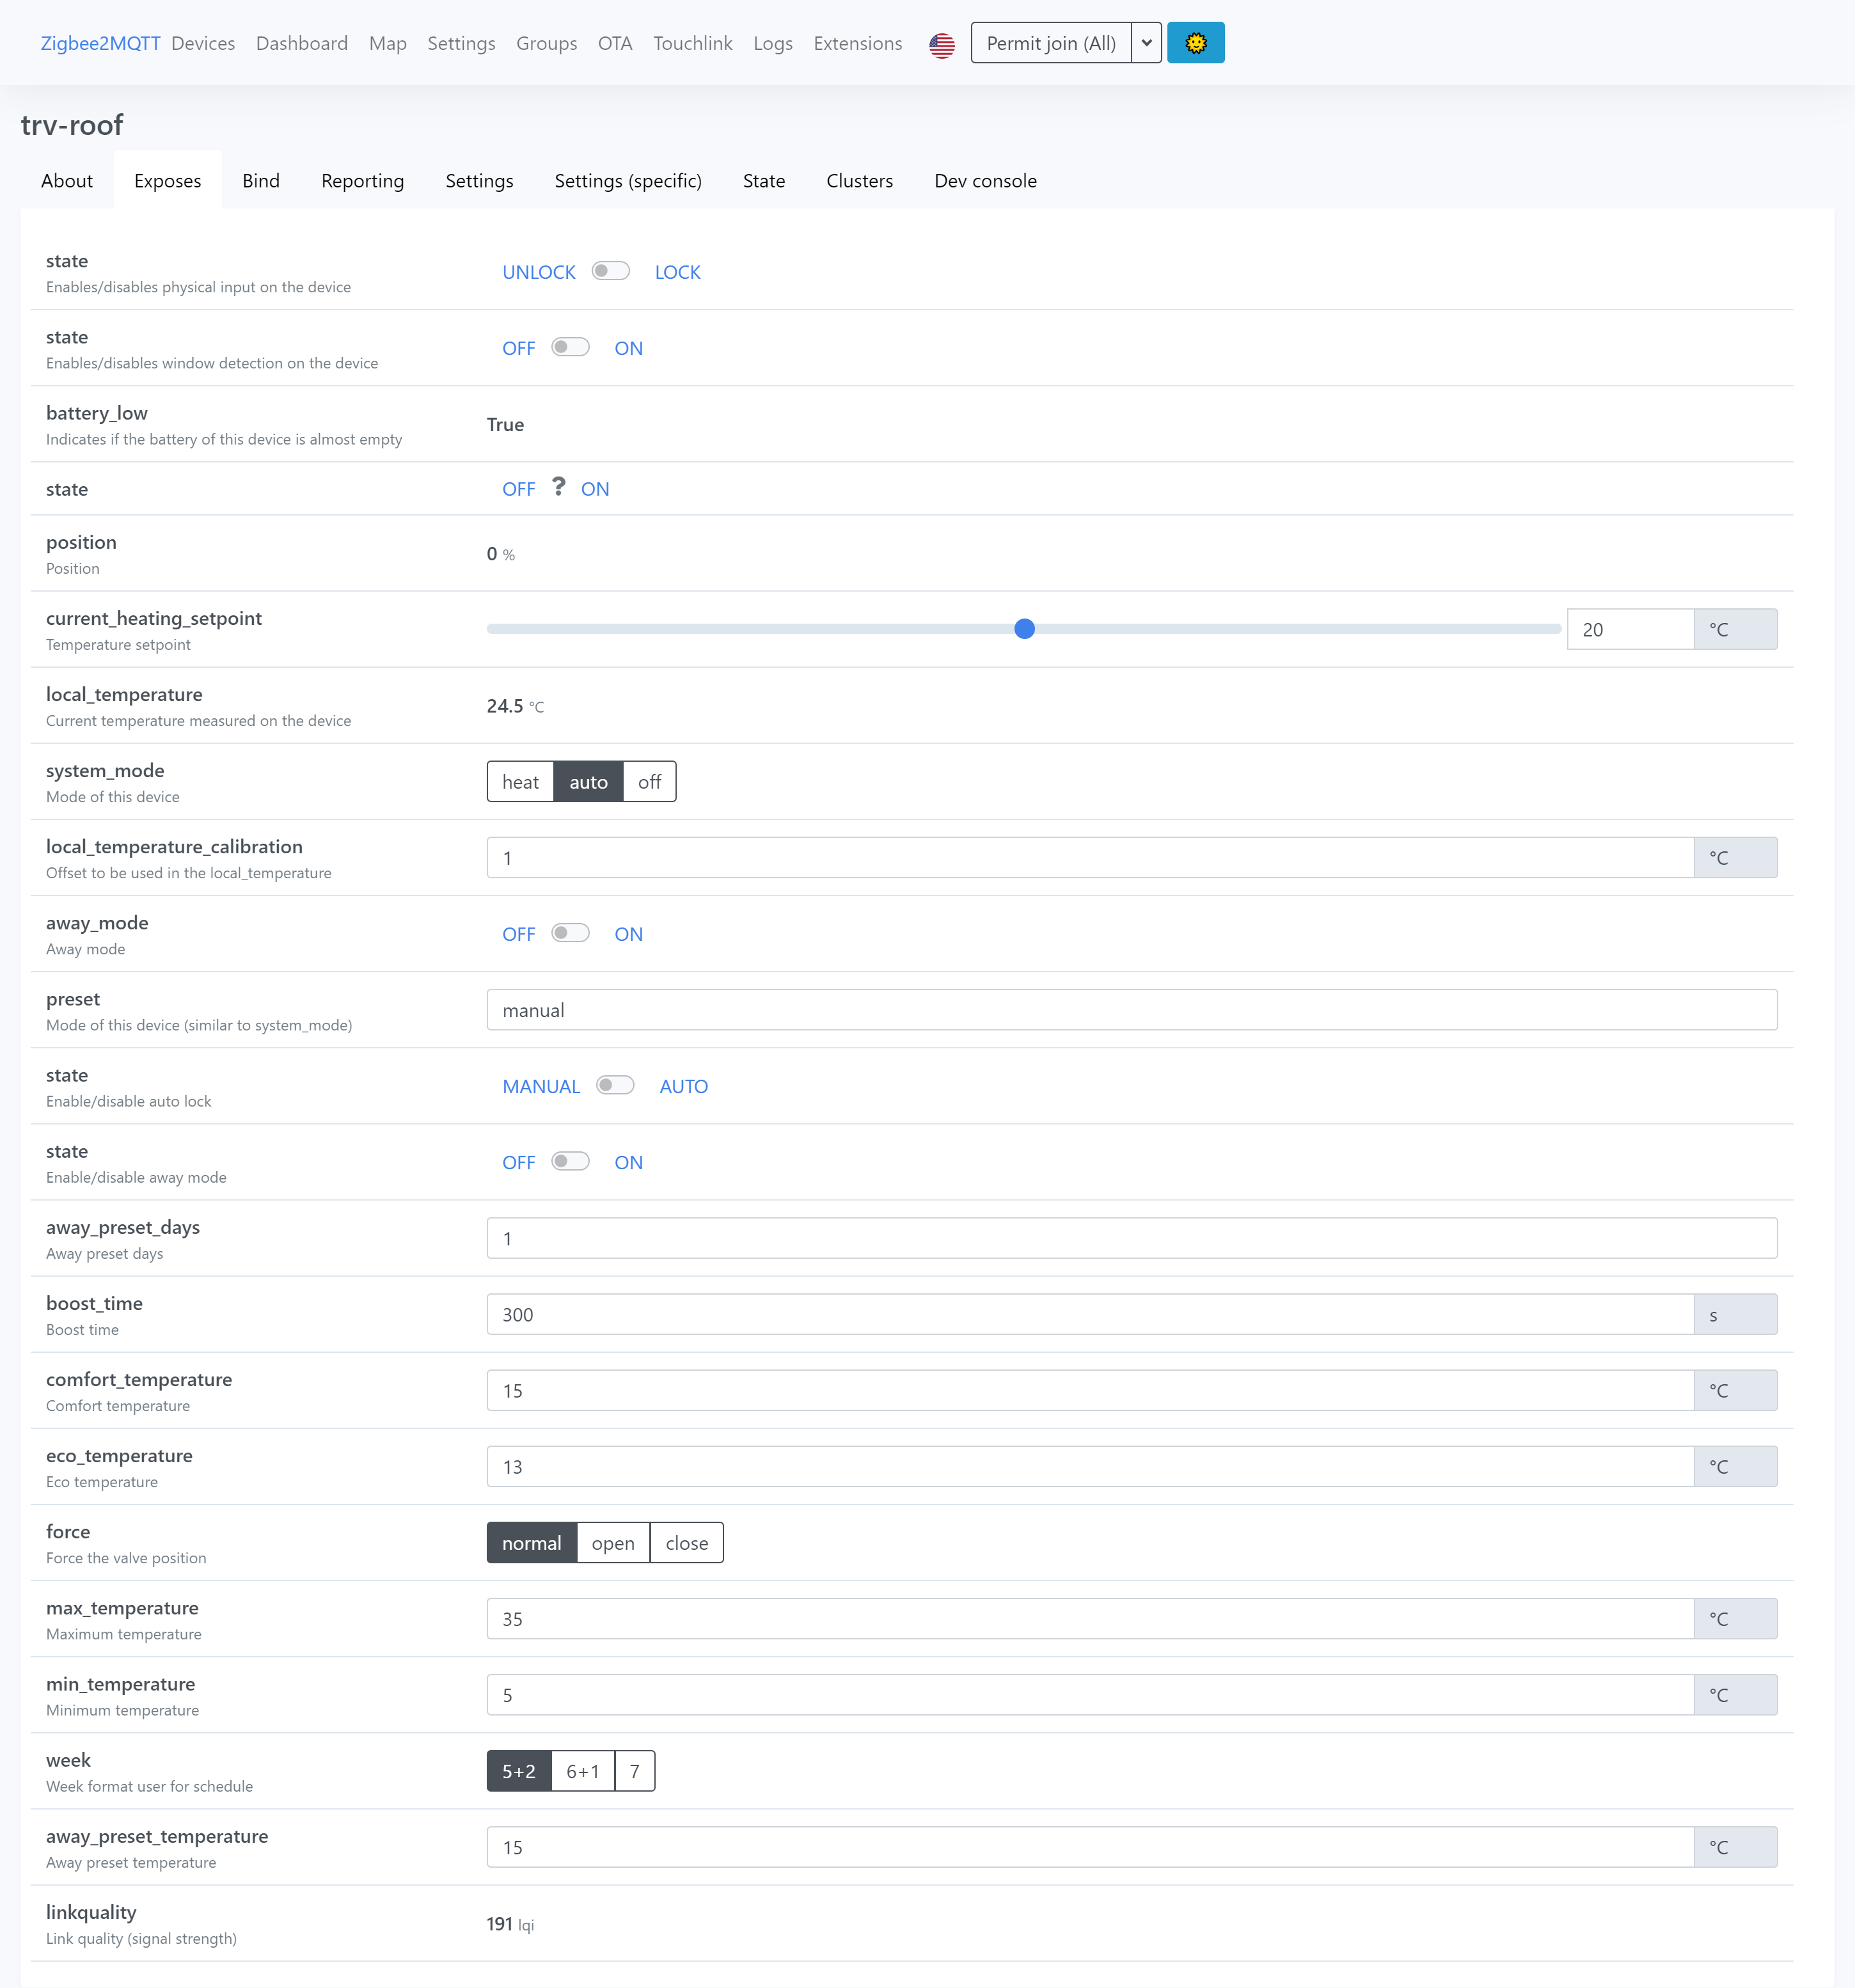
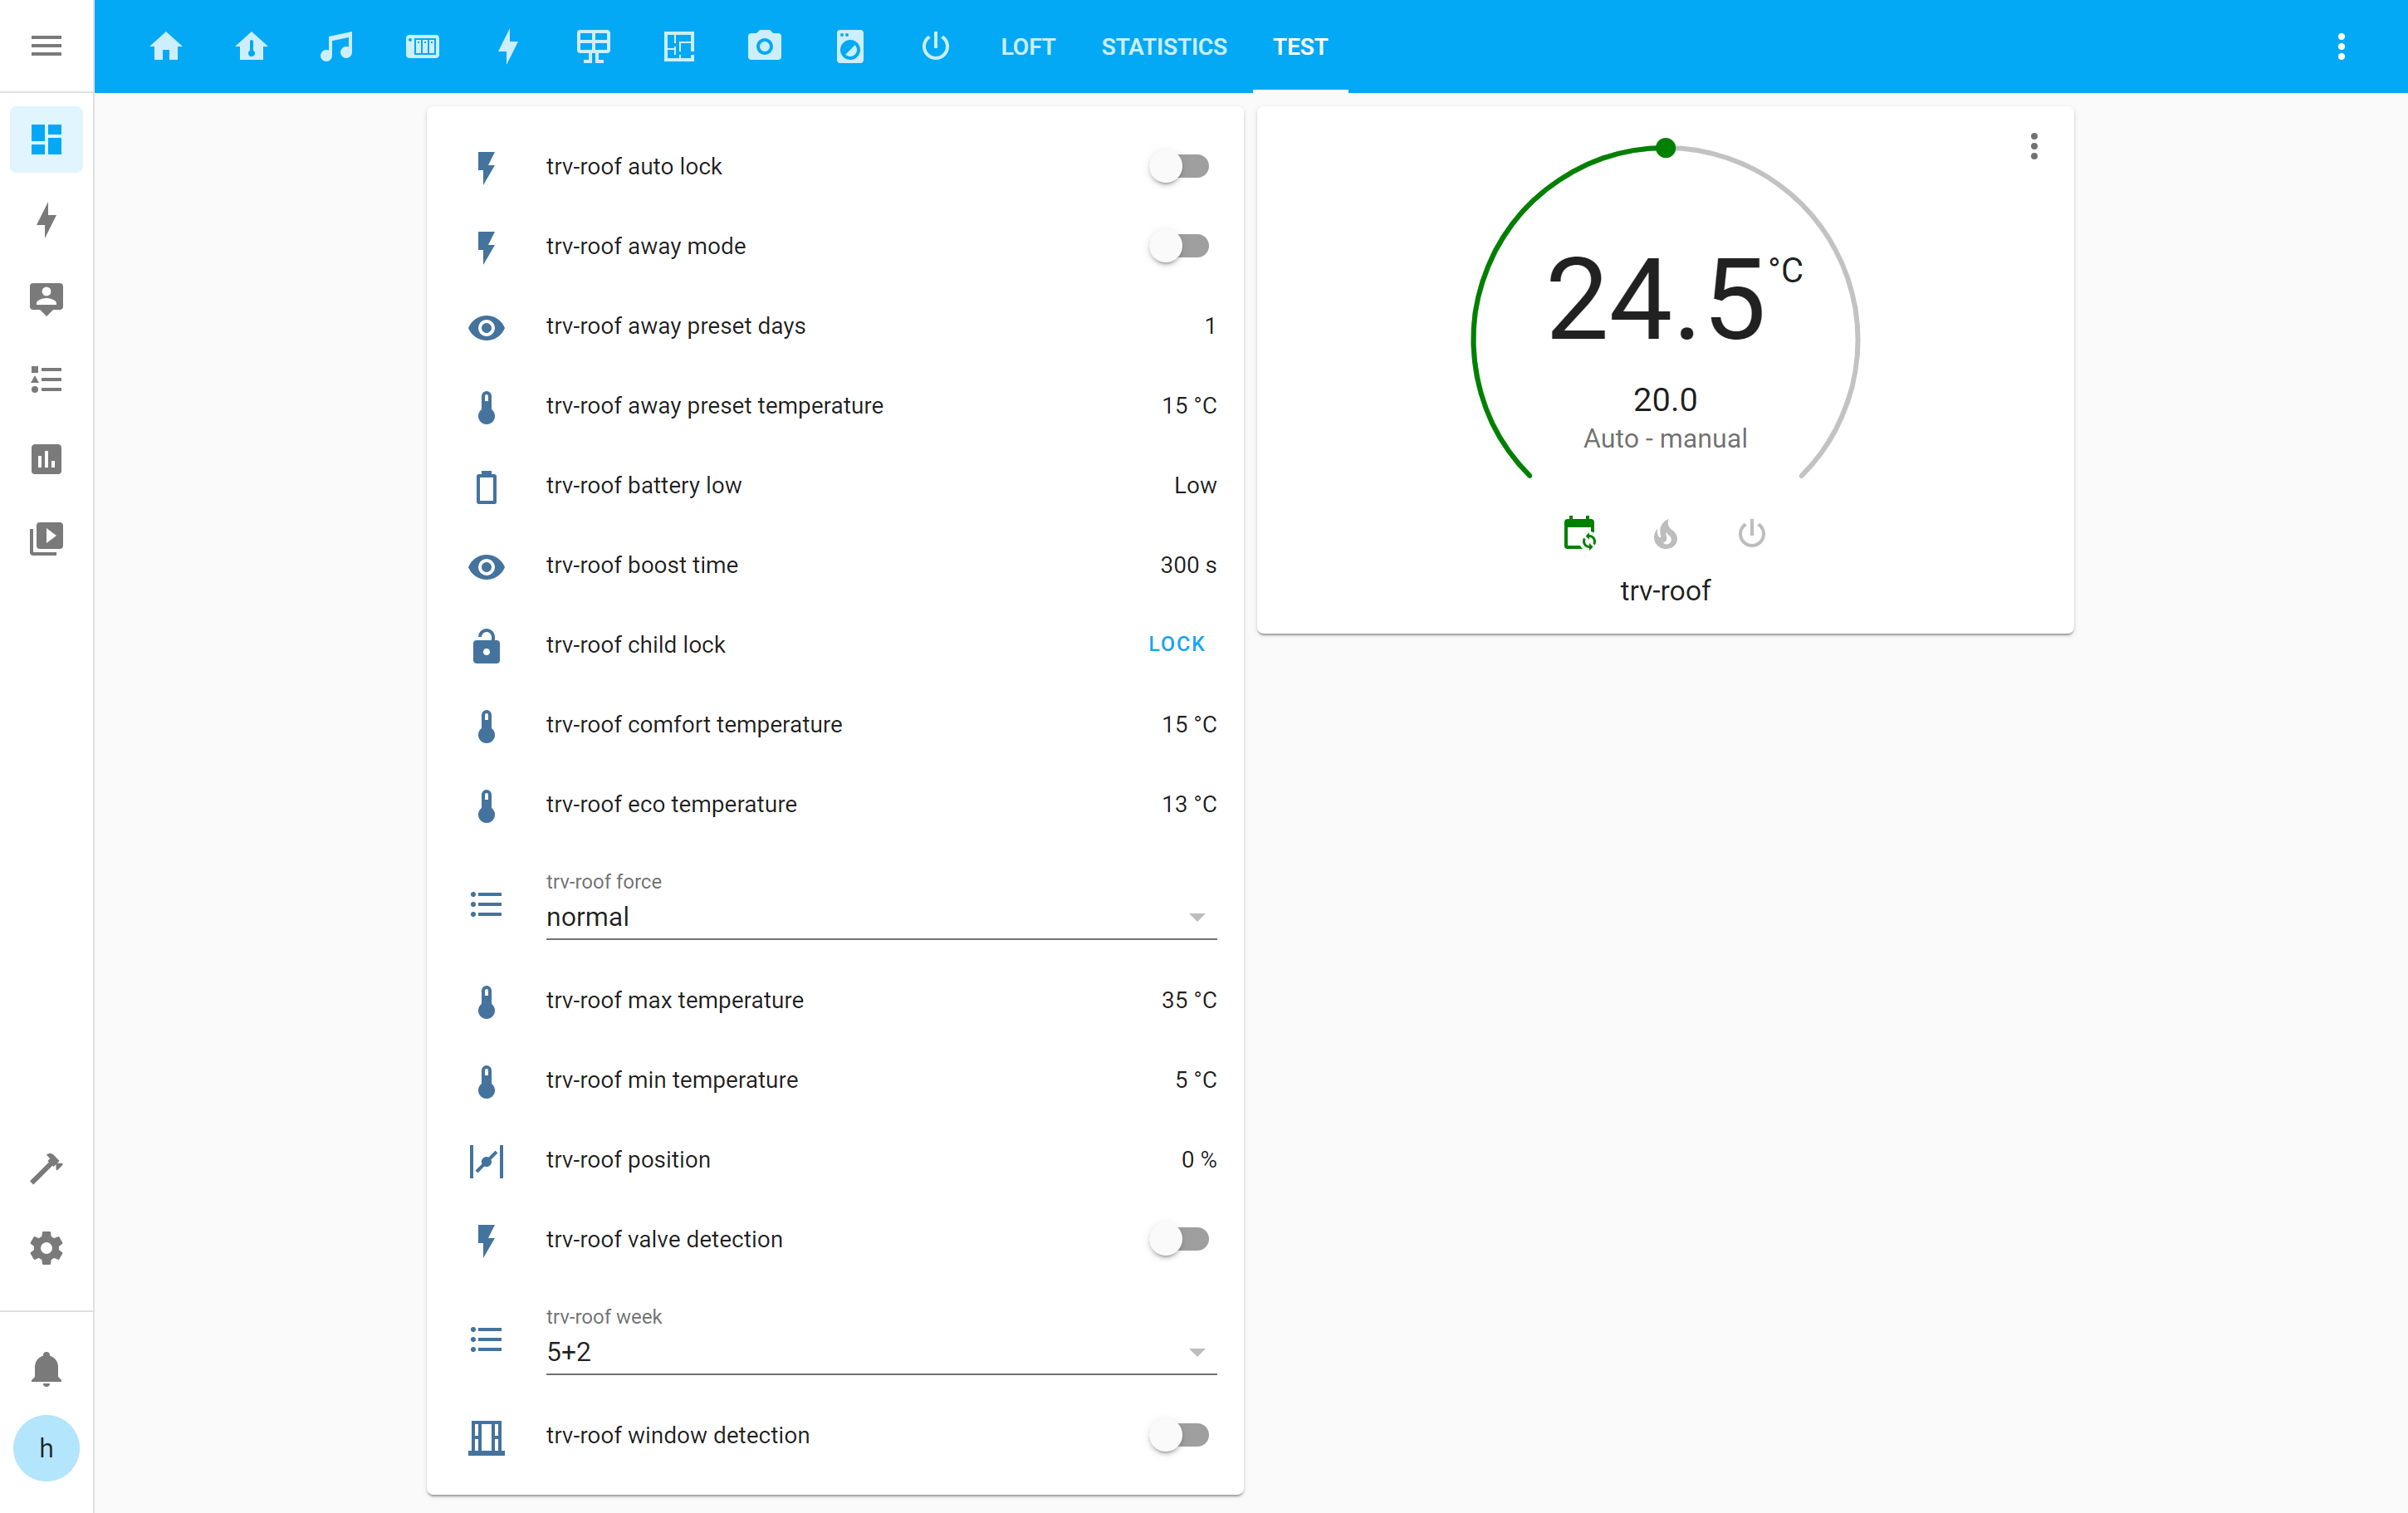
The Exposes screen below shows all the available settings for the TRV. Many of these are not editable in Home Assistant, so that you can update these in Zigbee2MQTT.
The TRV has a setting only available in Zigbee2MQTT called "local_temperature_calibration" This allows you to add a temperature offset to allow for localised heating by the radiator or other heat sources.
Adding to Home Assistant
In Home Assistant, go to Configuration, then Integrations. If you do not already have MQTT installed, add the MQTT integration, and once it is set up, it will show the number of detected devices and entities.
Click the Devices total, which will take you to a list of all available MQTT devices and select the new TRV entry.
An overview page will load, showing the device information, Entities, Automations, Scenes and Scripts.
At the end of the Entities list is a link to "ADD TO LOVELACE" clicking this will open a dialog with all your current views; after selecting the required view, the new entities will be shown in Home Assistant.
A list of all the entities is added, and a Thermostat Card which allows you to set the target temperature.
If you want to force the valve to the fully open or closed position, you can use the "force" menu from Normal to Open or Close, and after several seconds the valve will start to move to the new position.
Battery Life Update 28th October 2021
After the first six weeks of the TRV being installed, it has used three sets of Amazon Basics AA batteries and one set of 1400 mAh nickel metal hydride rechargeable batteries.
The TRV is installed less than 2m from the Zigbee dongle, so the RF system shouldn't struggle to get a good signal. I am returning to a manual-controlled TRV for the loft radiator and have cancelled the plans to purchase five more Zigbee TRVs for the house's other radiators.
Marco
Hi, nice article. Is there a way to reset to factory? I have some issues, the main is that valve goes to full open, even if room temperature is higher than desired. I think I did something wrong in the first config, but now I can't remove to reconfigure. Help please!
Craig
Hi Marco
I have the same issue as you did u find a solution as is it useless
Luis L.
Thanks. After reading your report on battery usage I am keeping the old manual controlled TVRs.
Nick
I bought 6 of these and was running them off NiMH batteries. The valves would show the battery warning sign within a few days, and stop working after 2 weeks or so. It turns out they don't work with NiMH which only outputs 1.3 volts or so. I've replaced my batteries with Li-ion rechargeable batteries and they've been working solidly for a month now with no battery issues reported.
Mat Smith
Thanks for saving me the hassle of buying these and getting annoyed that it eats batteries :) I wanted to play with them, although every time I think about automating TRV in rooms, I think "surely the whole point of a (manual) TRV is that it exists to set the temperature of a room, i.e. relative to the temperatures of other rooms?" A TRV is already automated, it has a feedback loop - once the temperature is reached, the valve turns to reduce heat in the radiator. The idea with a (manual) TRV is that you set it once - perhaps taking into account the temps in other rooms, then forget it and don't touch it. The only exception I can think of is if you choose to *not* use a room, or if like me the head of your bed is right next to the rad and you don't want to wake up with a headache in the night time...
Robin
Thanks for a very informative article. I was hoping to find a Zigbee TRV since I already have Zigbee build into an Echo unit. Seems strange there is not a quality product available today but providers must make money off selling hubs and locking you in.
Sticking with manual TRV for now. Thanks for saving my time and sharing this.
Edouard
Thanks for this article. I replace Tuya zigbee trv with Schneider (or Drayton) Wise. It's work very well, no battery issue, and we have a really full integration with HA thanks to the community.
David
What Zigbee2MQTT set up do you have? I have Conbee 2 to deConz. It will not pair up with the Moes TRV. I followed the Bearded Tinker video too.
Brian
I am using a Conbee 2 and ZigBee2MQTT is running on a docker instance on the host computer.
Kris
Hello, I bought one of these last year and had the same issue as others here with the valve seeming to go open even when it was above the set temp. I gave up on it at the time but I have just updated to the latest Home Assistant and thought I would try it again, now it seems to be working fine! I bought a different, more basic, zigbee TRV from Tuya at the same time that doesn’t have any built in scheduling, this one has been running for at least a few months on the same set of batteries and works great.
Chris
I have 7 of the fully programmable Tuya valves (the ones with the black top) Cheap alkaline batteries last for more than 6 months, so I just need to change them once a year.
The only issue I have is the overshoot.
Adrian
Nice article. I'm annoyed that they eat batteries, is this because the values are constantly being changed?- I have been looking at them for a while, now that I have every light in the house managed.
The nice thing about remote control TRVs, is that one can set "scenes" for the house, Such as times of the day, frost, heating single rooms and the like.
What people do not seem to understand about TRVs, is that they control a room or zone - to be effective DOORS MUST BE CLOSED! And in addition, the room containing the thermostat should usually have (the door closed and) the TRV fully open. If not, say the room with the stat has the stat set higher than the TRV, then the called heat is never reached (TRV turns off the radiator too soon) and other areas of the house may (usually because doors are open) get too hot, the boiler runs on etc. which is wasteful.
Chuck
Hey guys. First of all thanks for the article and feedback.
A couple of months ago, I ran into this article because I was facing an issue with these TRV's (I have 5 of them installed and hooked up to Home-Assistant using Zigbee 2 MQTT). I didn't find the answer, but now I feel like I have it working in an acceptable way, so I came back to share.
- First of all I noticed that when you have the window open detection on the valve act strange and becomes useless. So deactivating the feature is my first suggestion.
- Also, I noticed that when the target temperature was reached, the valve didn't shut down, there are always a few degrees of overshoot. In addition to this, when the target temperature is lower than the actual temperature, the valves start opening before its temperature drops to the target. My solution for this is to have the set point a few degrees lower than the actual required temperature. Because it would be weird (especially explaining to my wife or guests) that they need to set the temperature to 18°C when they actually want 21°C. Therefor I do not use the temperature card as in the examples. I only play with the preset eco and comfort. A schedule is easy to set up in HA and with some buttons (also easy to set up) I can turn the heat on or off for my different TRV's (rooms).
- Another thing I noticed is that when turning on the heat the valves were only opening halfway (40% sometimes 60%) and it would start regulating from there (slow). To counter this issue, I have some automations in place where I set the preset to boost when the preset goes from eco to comfort. Meaning that when the heat is turned on the valves open at 100% after a preset time the regulation starts, this time it starts at 100% not at half way.
In the end, I am quite happy with the setup.
I hope with this I was able to help someone here.
Krzysztof
I had battery issues with Moes as well, I switched to different brand (they have rotating circle on top), few from Hama, few from Goldlux. Few less settings than Moes ones but if you use Home Assistant or Homekit (via Homebridge) you don't need them anyway.
Link https://zigbee.blakadder.com/Hama_00176592.html
Dunc
As Nick said back in 23 November 2021 at 4:55 pm - get Li-ion batteries
I got several of these and thought I'd made a mistake due to the battery issue, but I've replaced them with Li-ion and been running since New Year and all still working.
Thanks Nick :-)
Dunc