Latest Posts and Projects
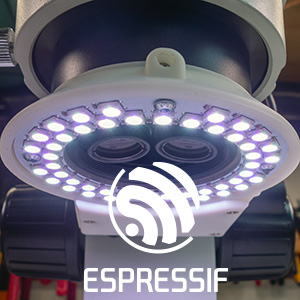
ESP32 RGB Microscope LED Ring Light
Designing a new RGB LED ring light for our microscope with an ESP32 WiFi controller using a manual control and web interface

What’s happening and plans for 2024
An overview of what I have been doing for the past few months and changes to work and plans for my businesses Apexweb and AB Electronics UK
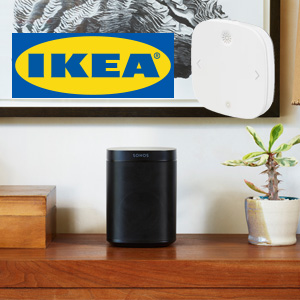
Ikea Styrbar with Home Assistant as a Sonos Remote Control
Using the Ikea STYRBAR, four-button remote as a simple controller for Sonos Smart speakers with Home Assistant
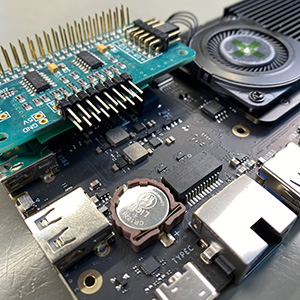
Radxa X2L Computer Custom 3D Printed Case
Enhance your Radxa X2L Computer with style using a custom 3D printed case with STL files on GitHub to print your own
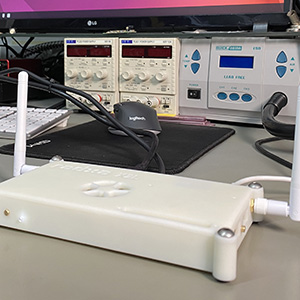
Radxa X2L and ADC Pi, Bridging Microcontrollers with Linux
Adding analogue inputs to the Intel Celeron J4125 Radxa X2L using an ADC Pi Raspberry Pi expansion hat with micro python
Popular Posts
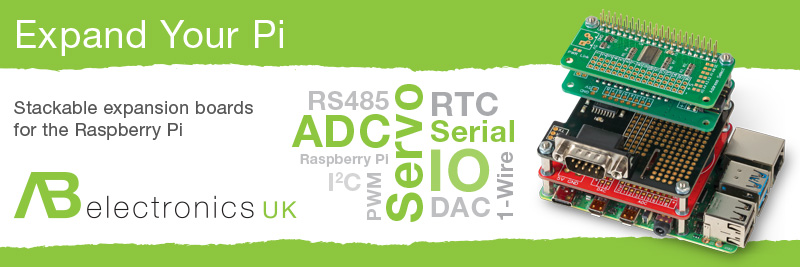
Please support the blog and our projects by buying your Raspberry Pi expansion boards from our online store at abelectronics.co.uk.
Categories
- Projects (97)
- Electronics (67)
- Home Automation (47)
- General (40)
- Solar Power (35)
- DIY Pick and Place (30)
- Raspberry Pi (30)
- Photography (18)
- Radio and RF (13)
- Programming and Code (13)
- Arduino (11)
- Video and Audio (10)
- Apple (8)
- Land Rover (7)
- Xbox (6)
- Soldering Robot Project (6)
- Linux (6)
- RC Models (4)